
When To Put Meat On A Charcoal Grill
Charcoal grilling feels a little like camping in your own backyard. You build a fire, you watch it change, and then you cook something great over it. But charcoal has one big trick up its sleeve: it does not get “ready” the same way every time.
That is why so many steak nights go like this: you toss the meat on too early, the grill breathes out sharp smoke, and the steak comes off tasting like a burnt match. Or you wait too long, the coals cool down, and your steak turns gray before it ever gets that bold crust.
This article is about one thing: timing. Not “how long do I cook it,” but “when do I put the steak on.” We will walk from fire setup to serving, with a focus on steak cooked on a charcoal grill. You will learn what to look for in the coals, what to smell for in the smoke, and how to set up your grill so the steak has a hot spot for searing and a gentler spot for finishing.
You do not need fancy gear or secret chef tricks. You just need a simple plan and a few reliable cues.
Pick A Steak That Likes Charcoal
Charcoal shines when you cook steak because it can get very hot, very fast. A good steak for charcoal is one that can handle a strong sear without drying out.
Cuts That Work Well
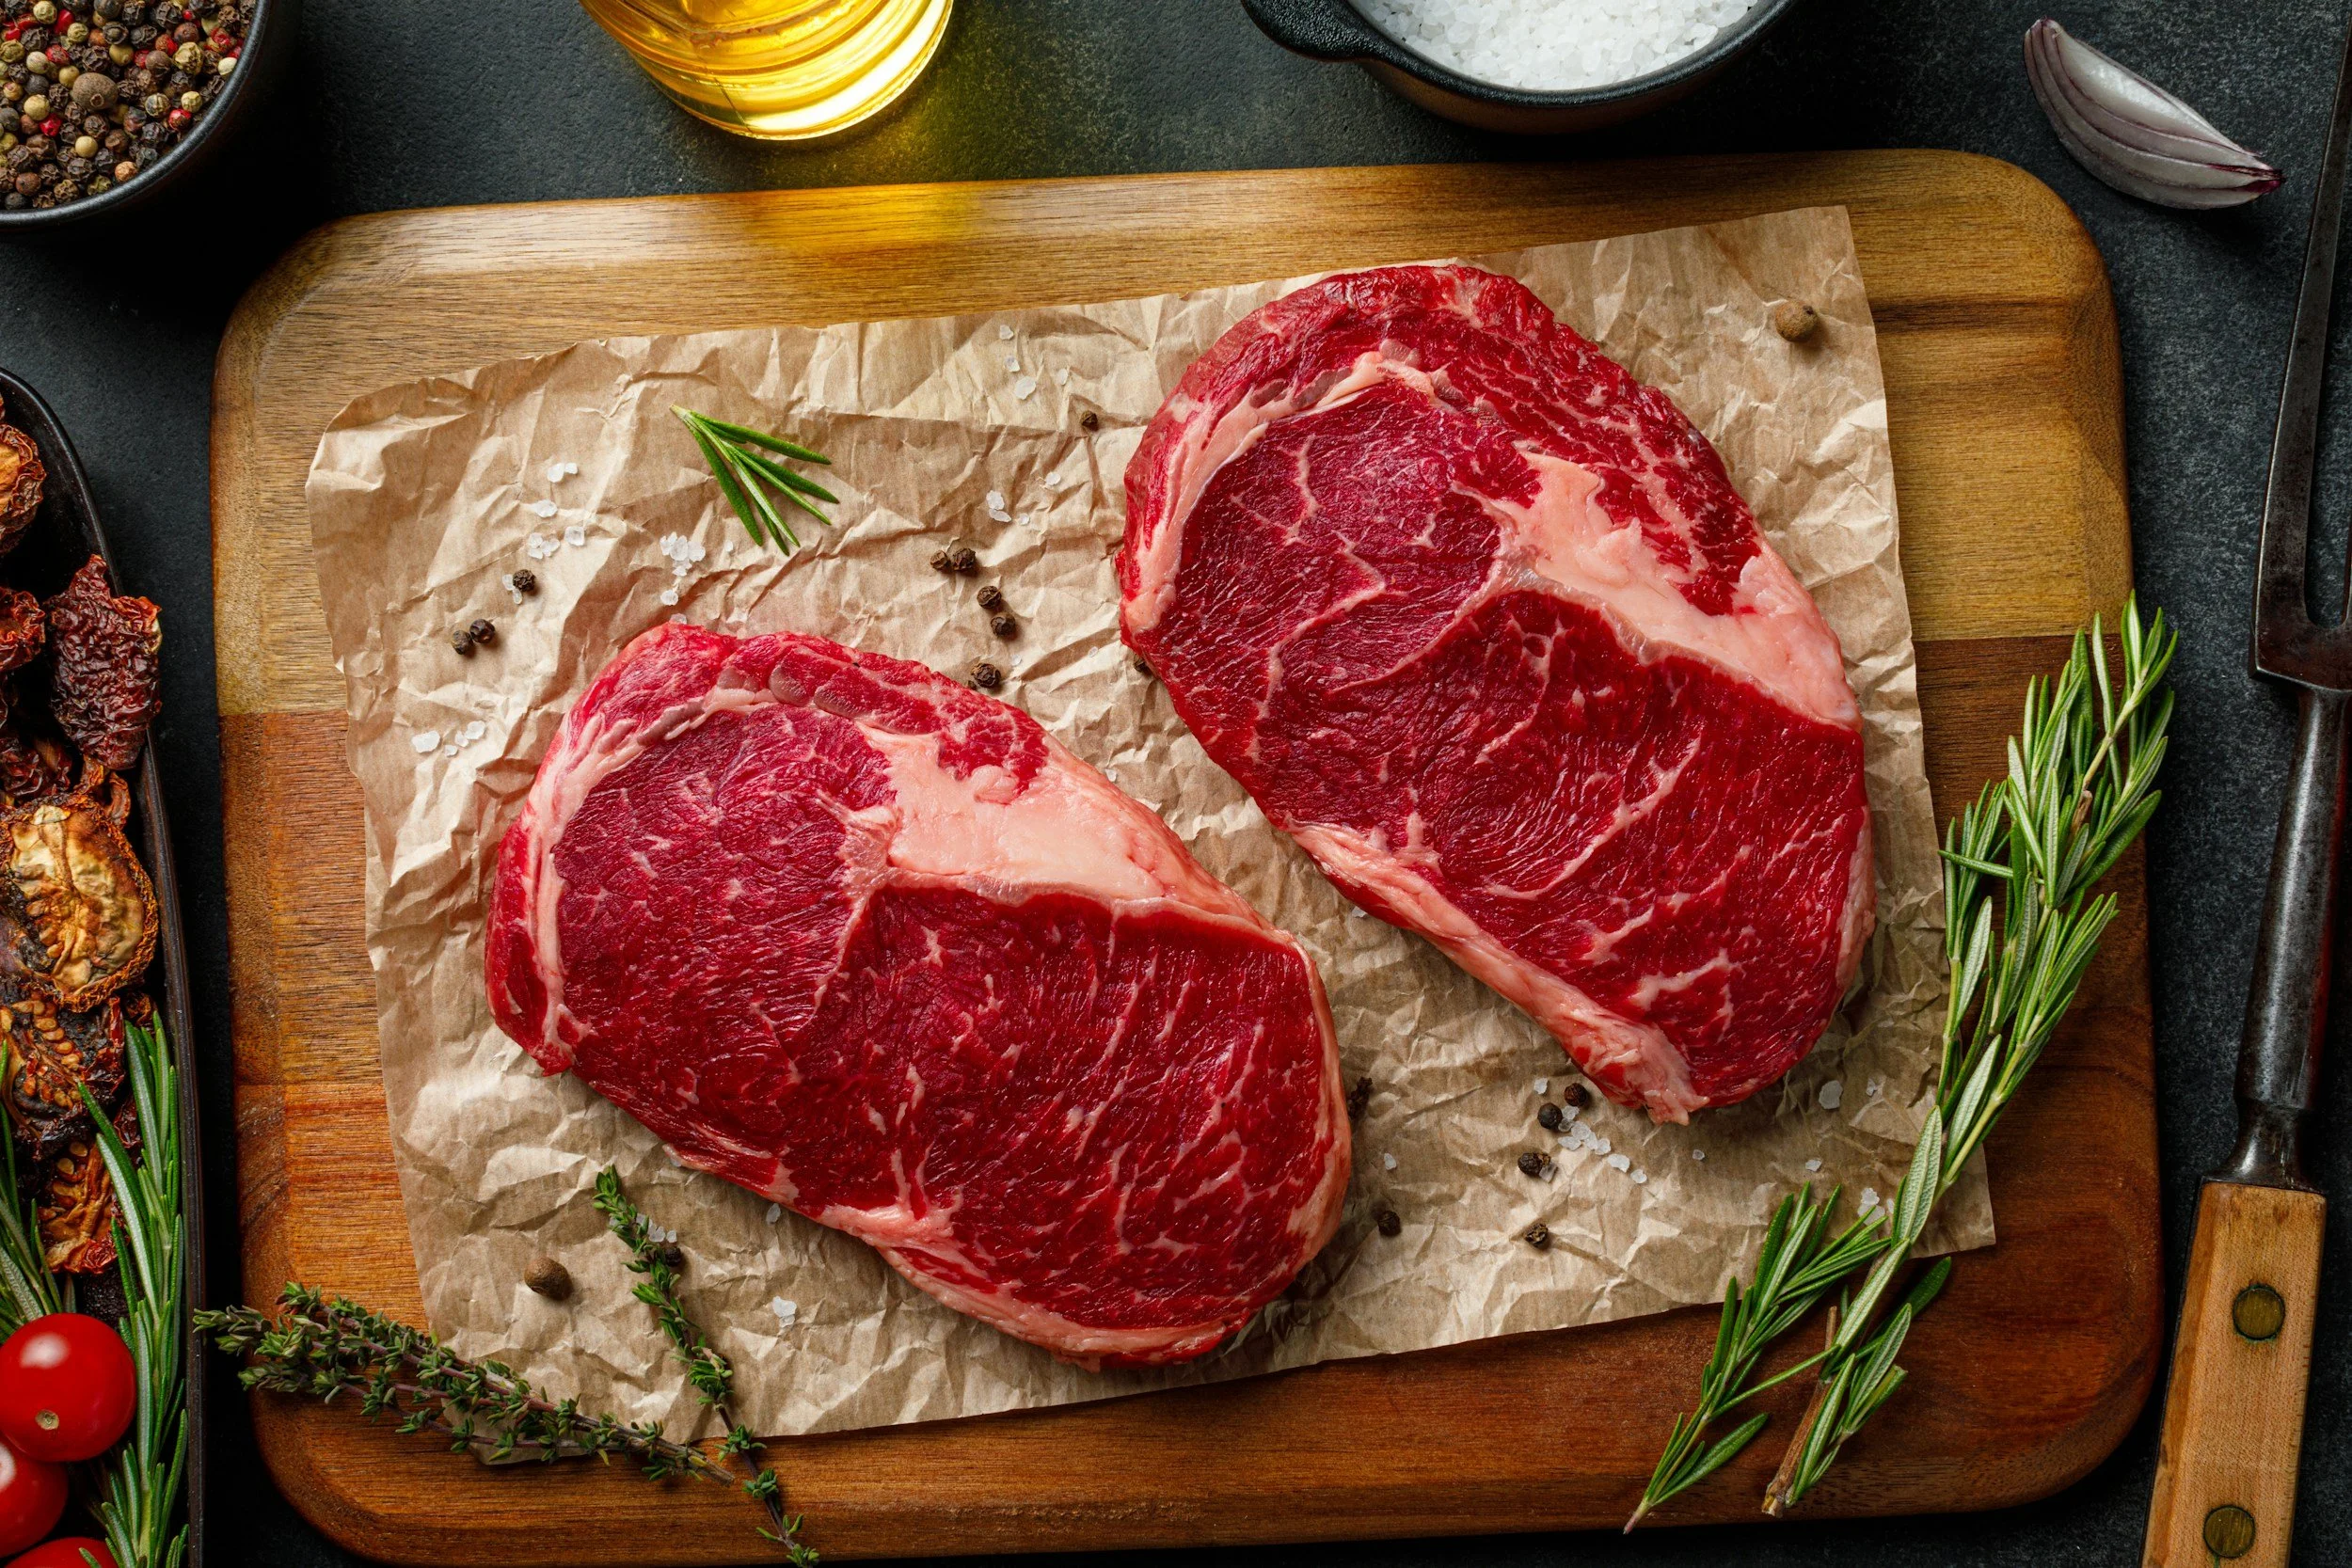
Ribeye, strip steak (also called New York strip), and T bone steaks are classic choices. They have enough fat and beefy flavor to stand up to a hot fire. Tenderloin is very tender, but it is also lean, so it can overcook quickly if you are not watching closely.
Sirloin can be a good value and grills nicely, but it may not be as tender as ribeye or strip. If you buy sirloin, aim for thicker cuts so you have more time to control doneness.
Thickness Matters A Lot
Thickness changes everything about timing. Thin steaks cook so fast that you barely have time to react. Thick steaks need two zones of heat so you can sear them without burning the outside.
A thickness around 1 to 1.5 inches is a sweet spot for many home grills. Thinner than 3/4 inch is doable, but you must be ready to move quickly. Thicker than 2 inches is great for special nights, but it takes more planning and better temperature control.
Marbling Is Your Friend
Marbling is the small streaks of fat inside the meat. During cooking, that fat melts and helps the steak stay juicy. A steak with decent marbling is more forgiving if your fire runs a little hot or if you rest it a bit too long.
Bone In Or Boneless?
Bone in steaks can taste great and look impressive. The bone can slow down cooking near that side, which sometimes helps prevent overcooking. But it can also make the steak harder to sear evenly because the bone can lift parts of the meat off the grate.
Boneless steaks are easier to manage and easier to slice. If you are learning charcoal timing, boneless is a simple place to start.
Gather Tools, Fuel, And Flavor


You can grill a steak with very little. Still, a few tools make the “when do I put it on” question much easier to answer.
You need charcoal, a way to light it, and a way to measure heat. You also need a way to move hot things without panic.
Charcoal comes in two main types: briquettes and lump charcoal. Briquettes tend to be more uniform in size, so they often give steadier heat for longer. Lump charcoal can burn hotter and lights quickly, but the pieces vary in size, so heat can vary too. Both can make excellent steak. The key is learning the cues for the charcoal you use most often.
A chimney starter is one of the simplest, most dependable ways to light charcoal. It uses paper and airflow to get coals burning without lighter fluid. Many grillers like it because it avoids chemical smells on food.
You also want long tongs, not a fork. A fork pokes holes and can let juices escape. A sturdy spatula can help too, especially for thinner steaks.
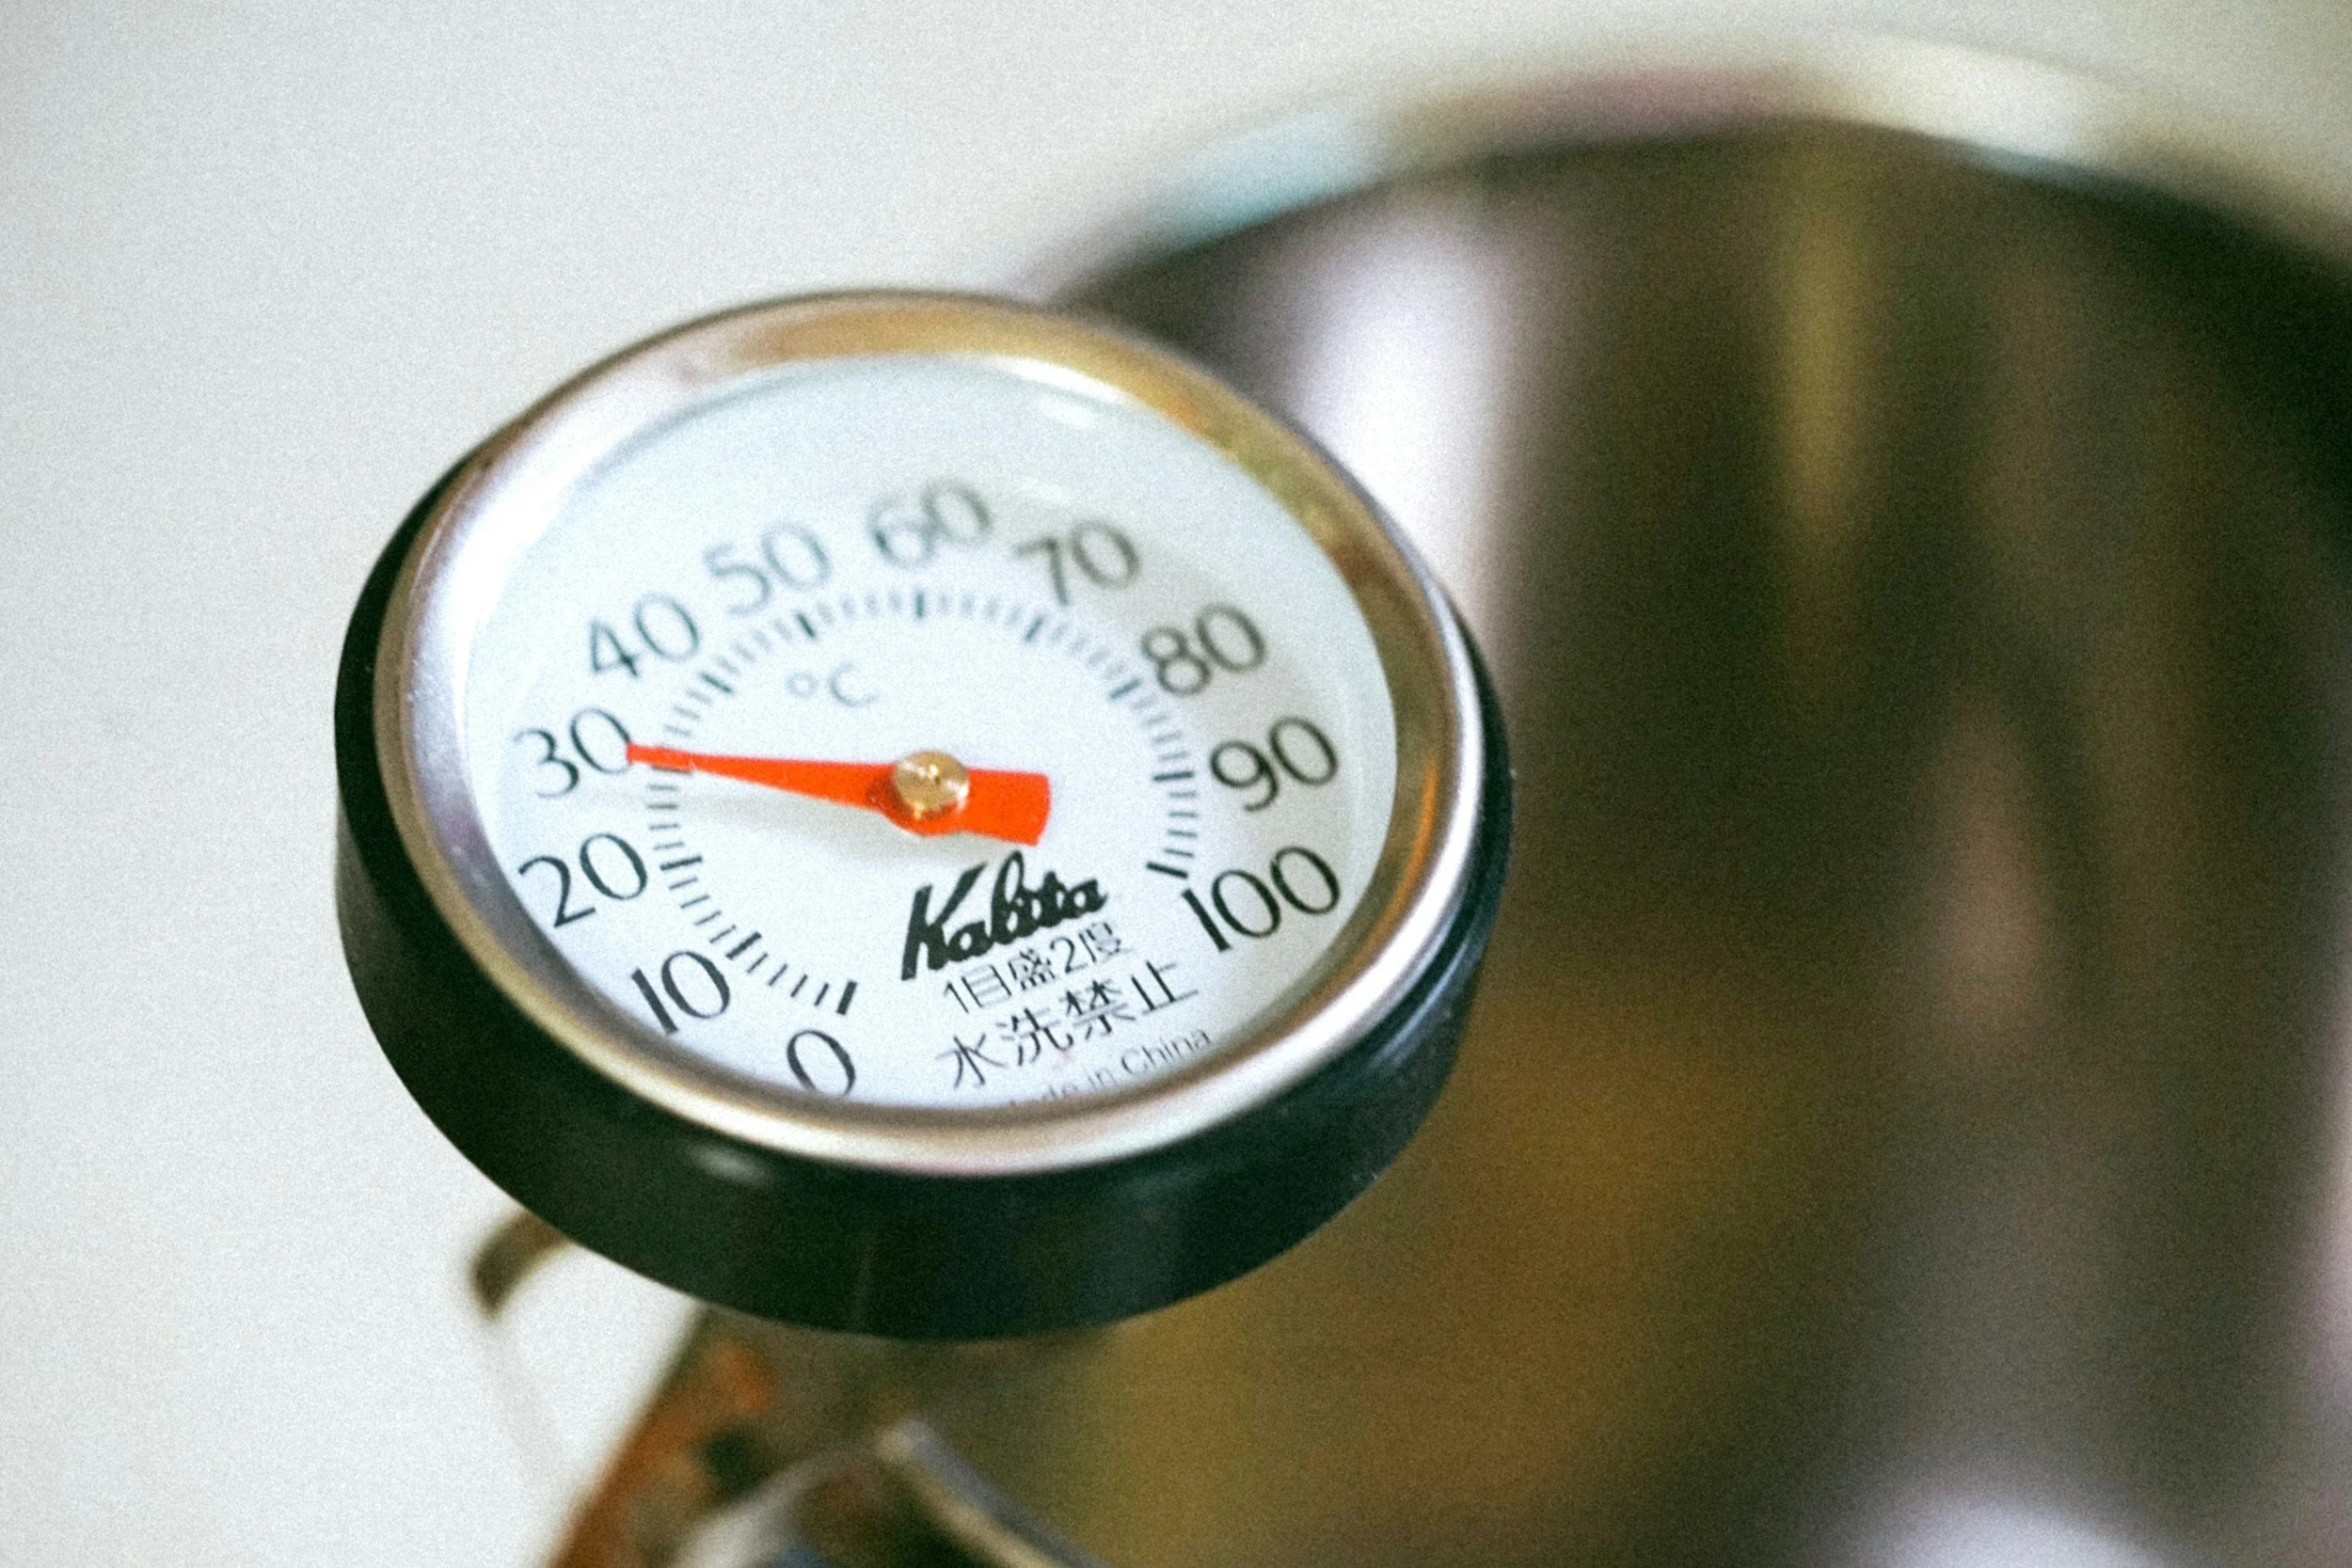
A thermometer is not “cheating.” It is how you stop guessing. An instant read thermometer lets you check the center quickly. A probe thermometer can stay in the steak while it cooks, if you have one that works with your grill lid.
For ingredients, you do not need a lot. Salt is the big one. Pepper is common too, but it can burn over very high heat, so you can add it later if you prefer. A little oil helps prevent sticking. You can also bring a simple compound butter, like butter mixed with garlic or herbs, for the finish.
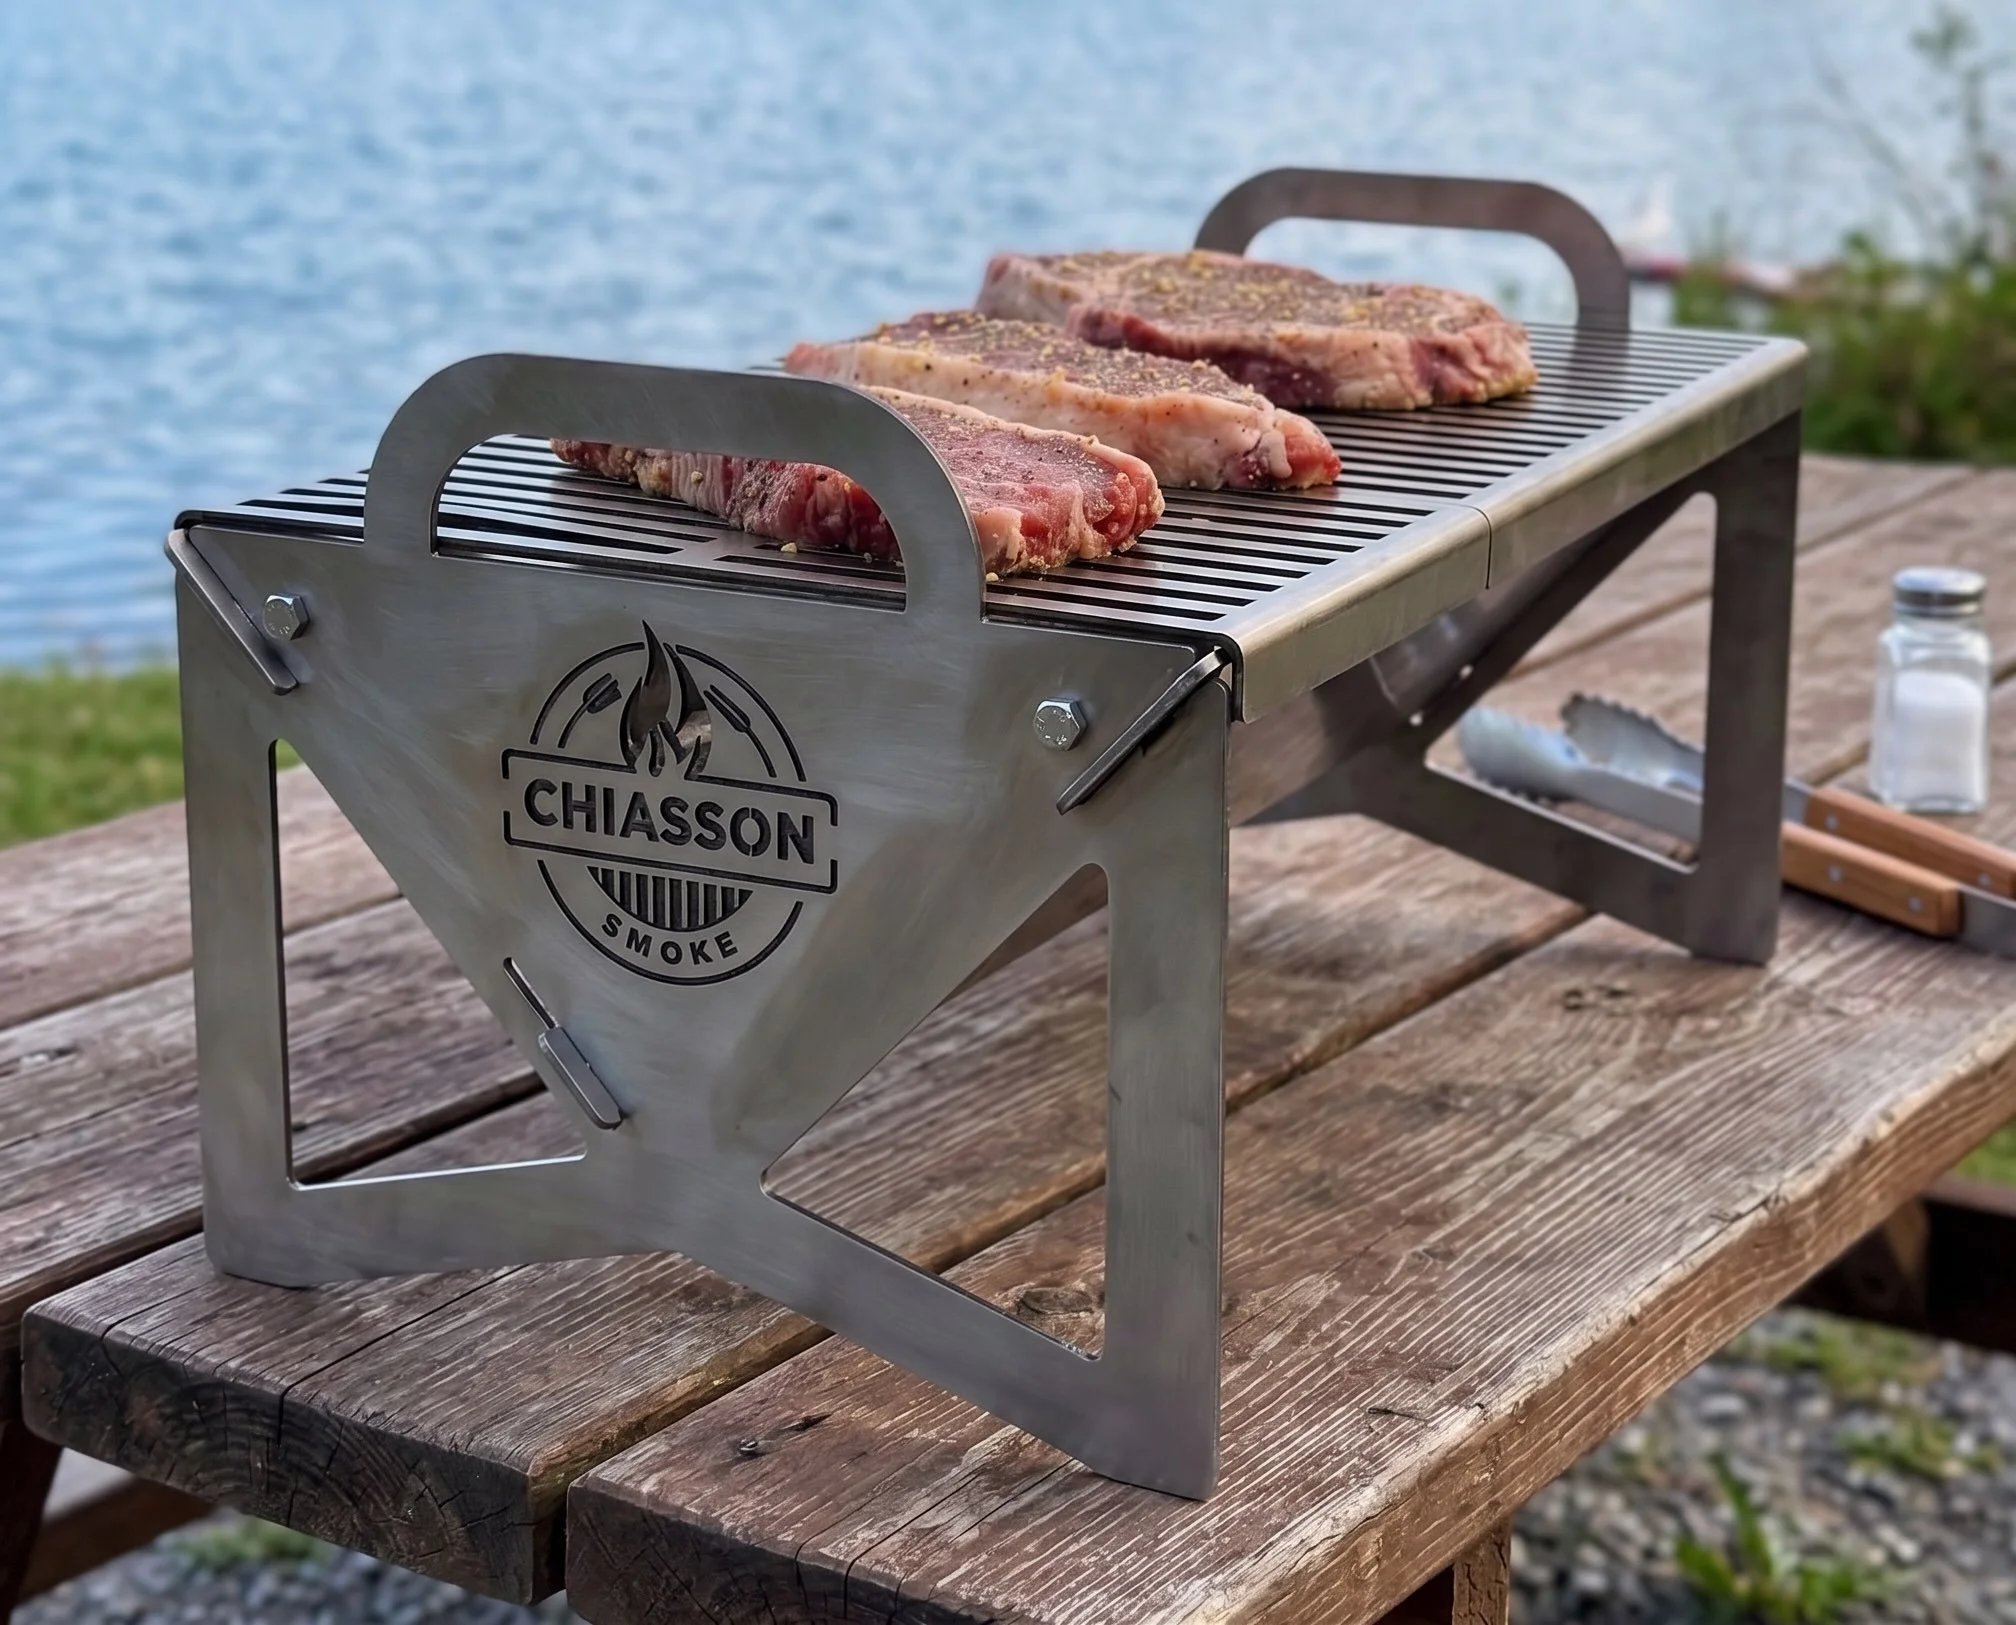
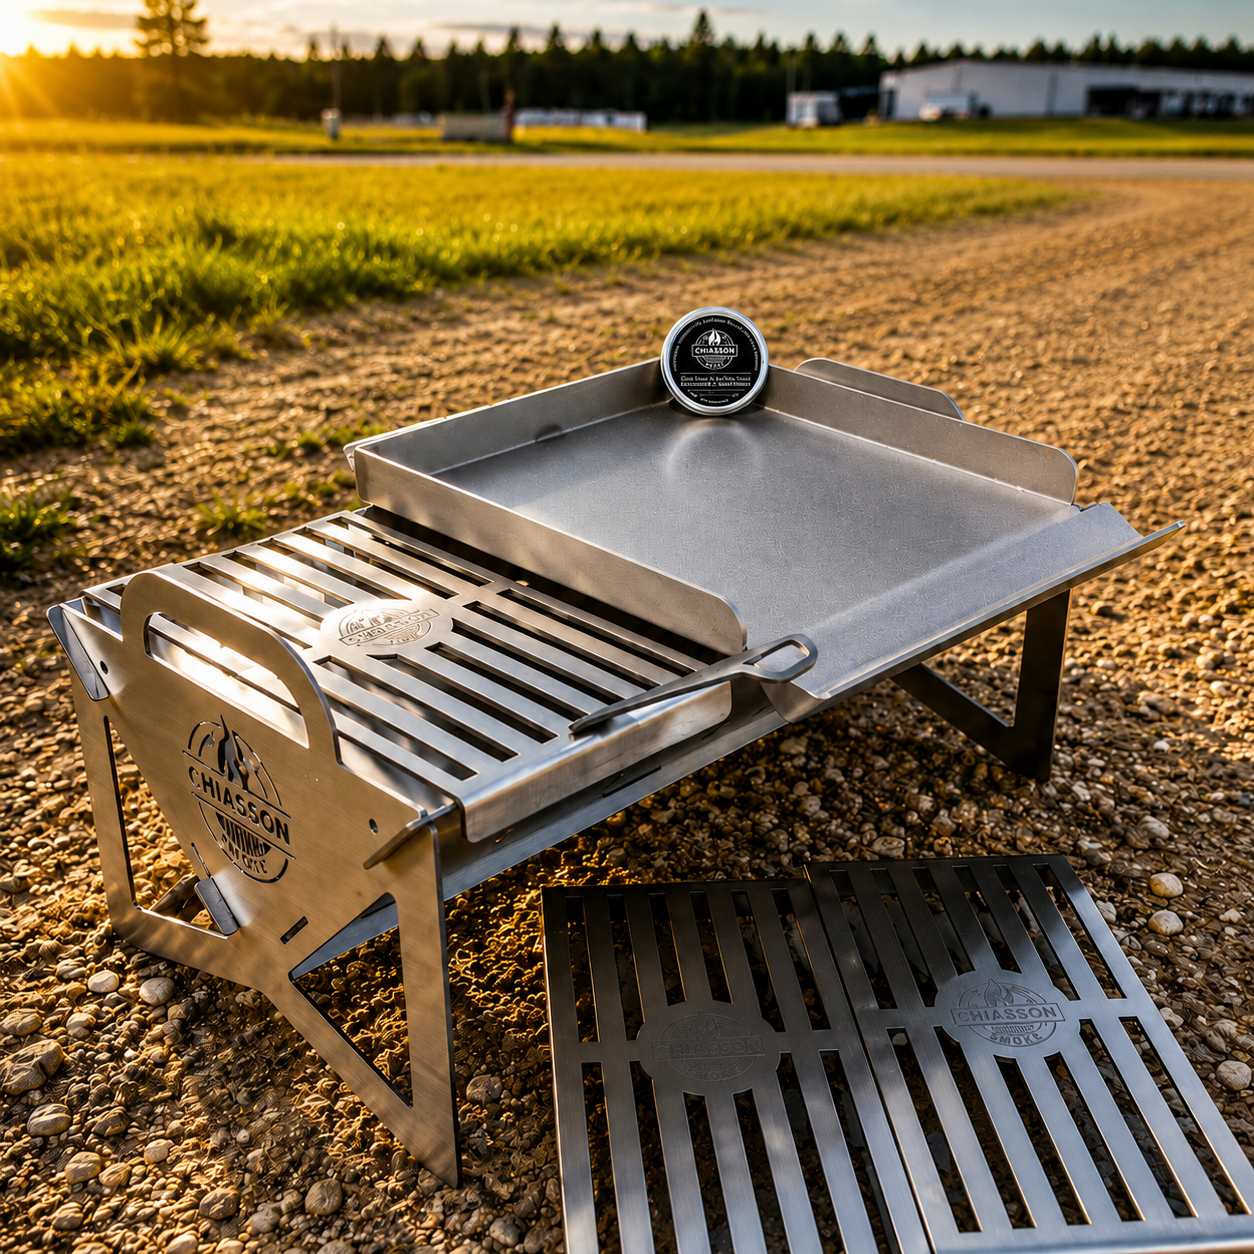
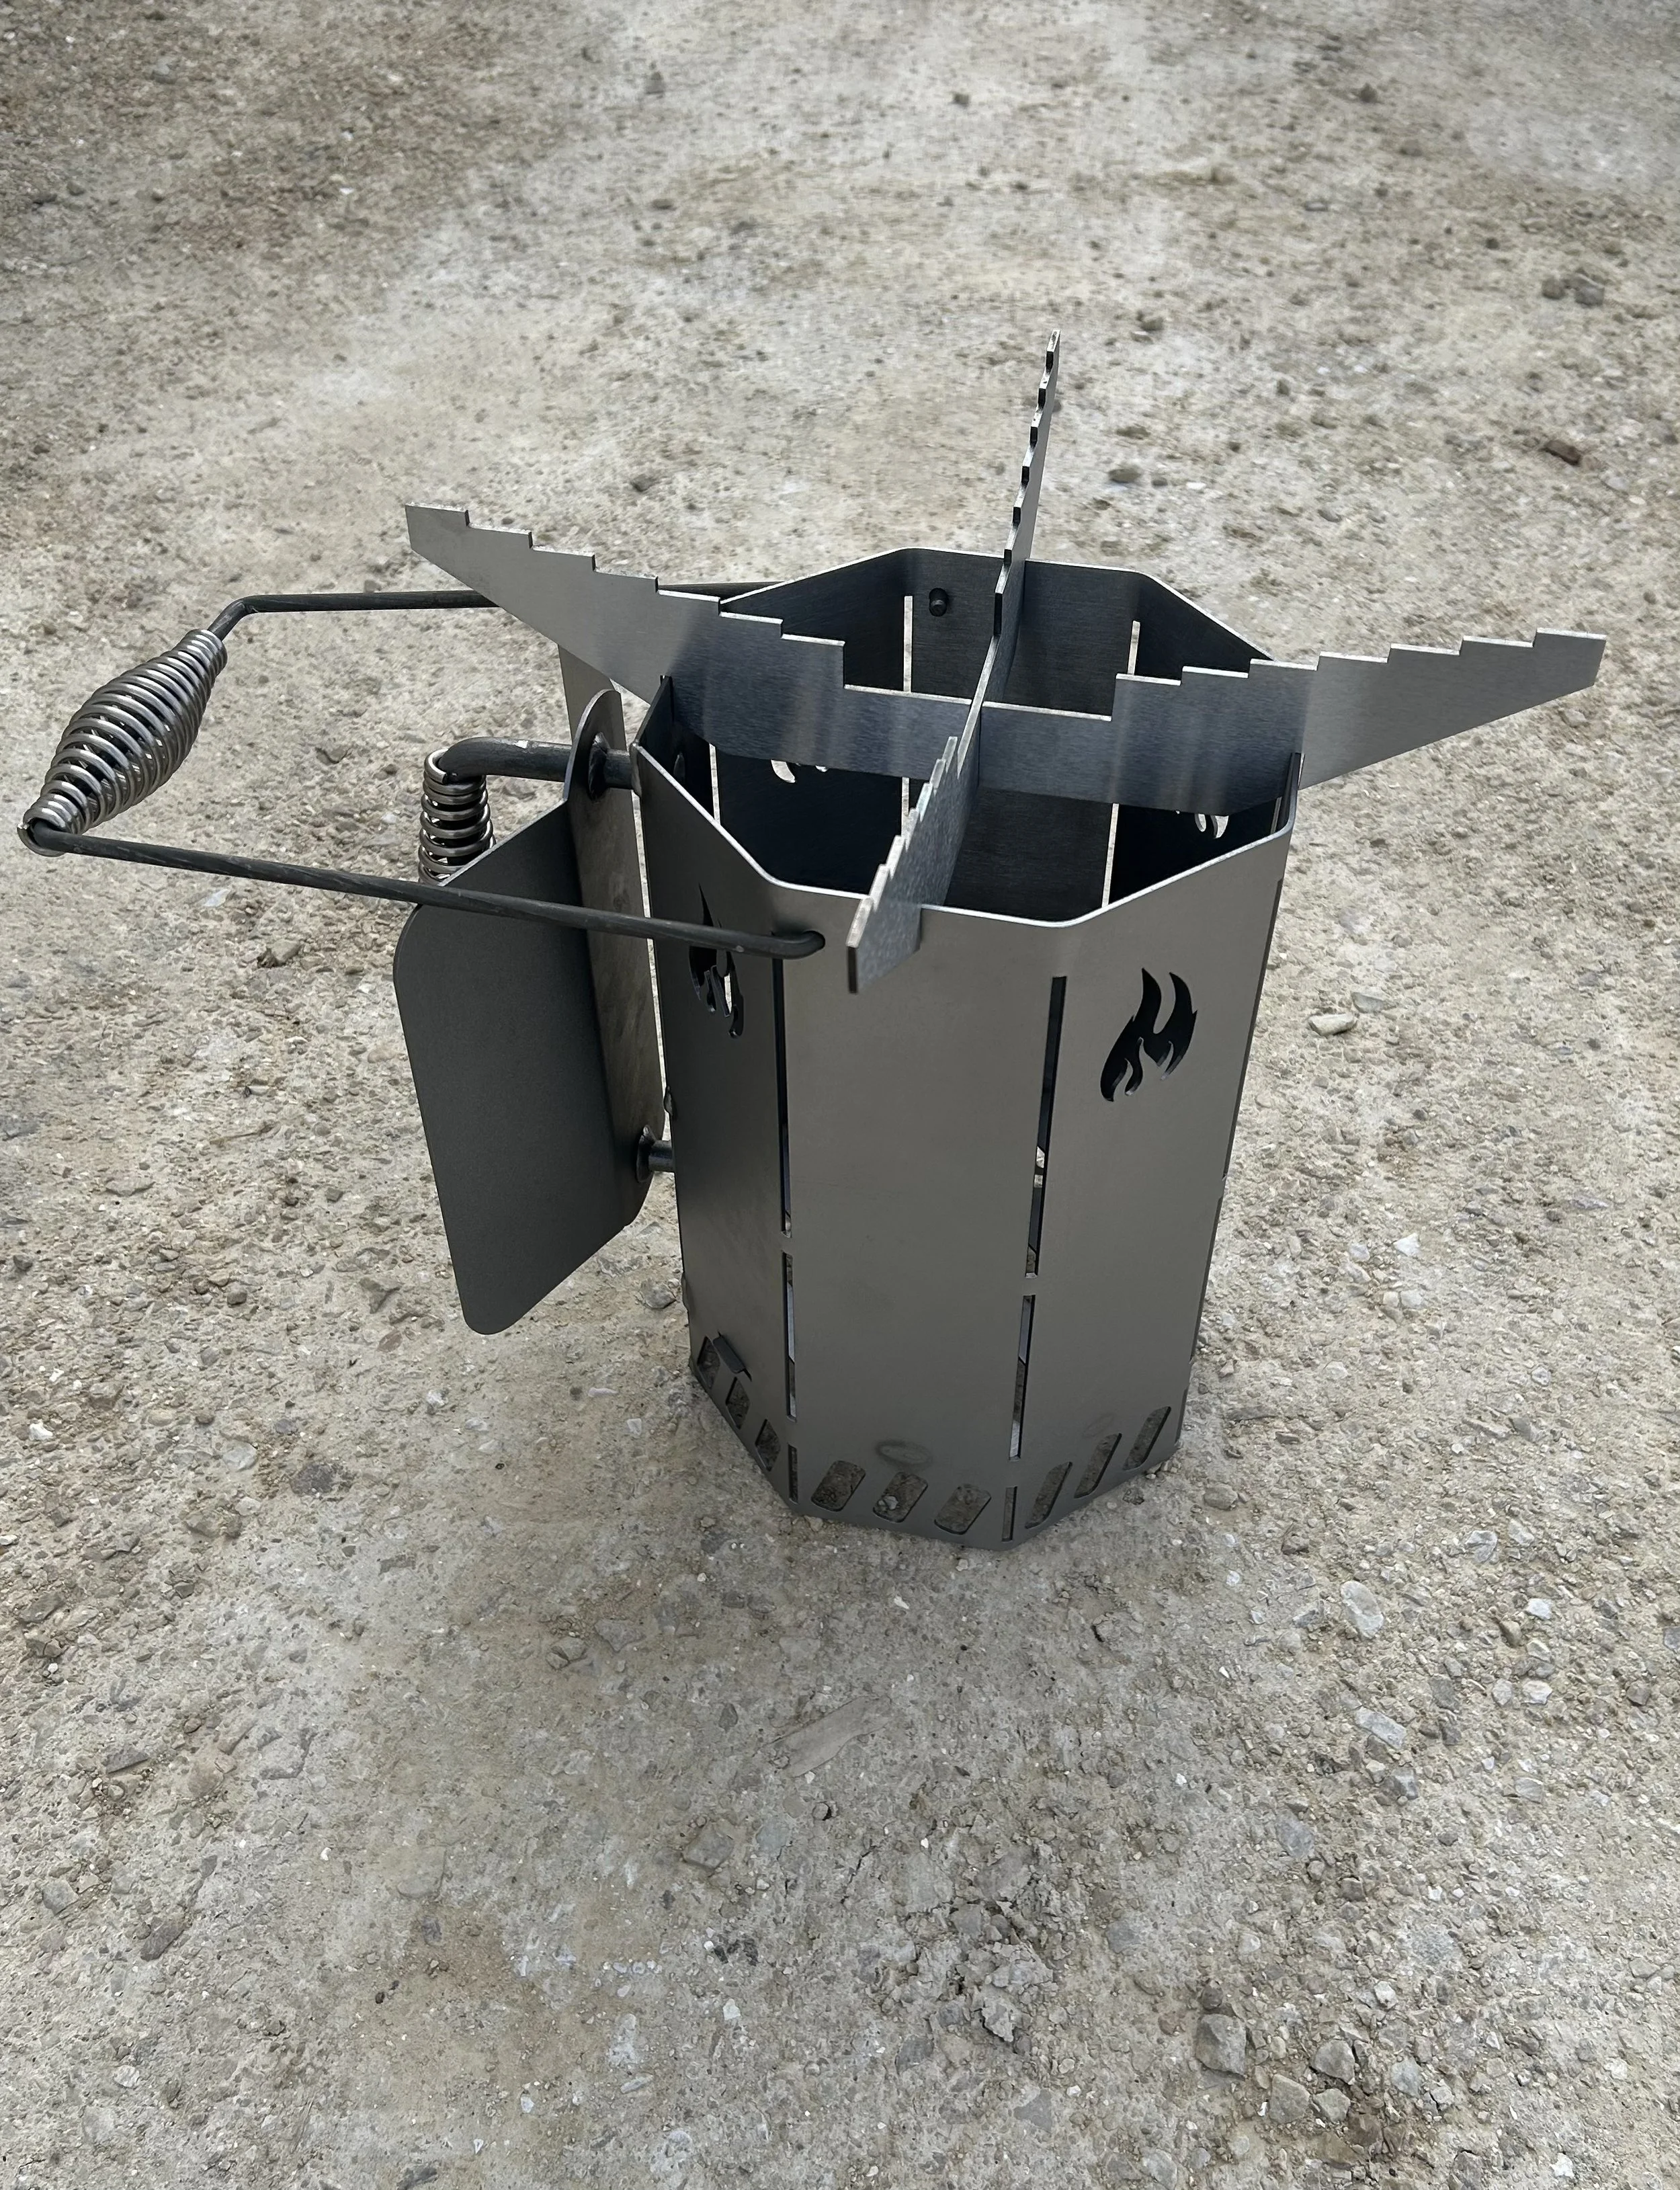
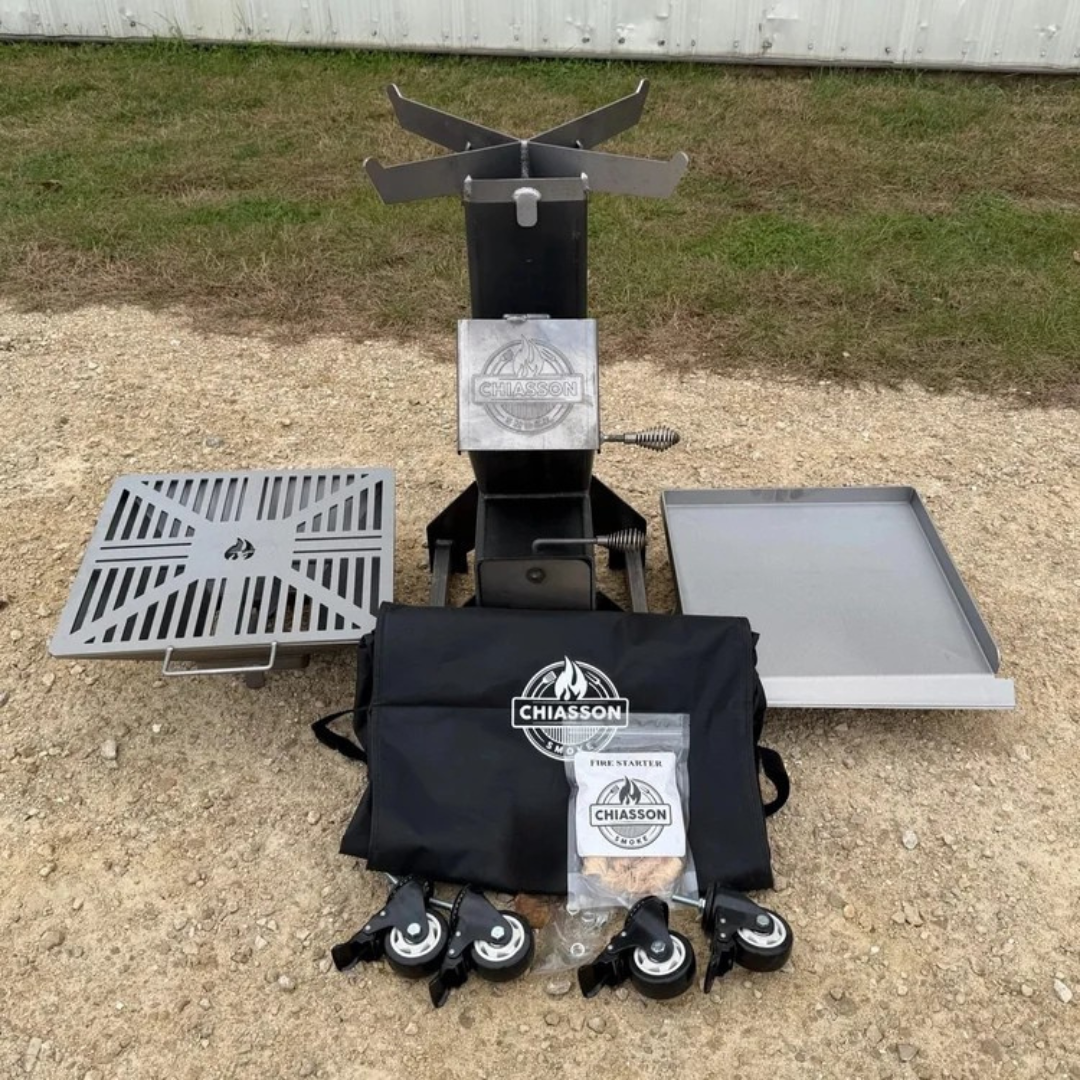
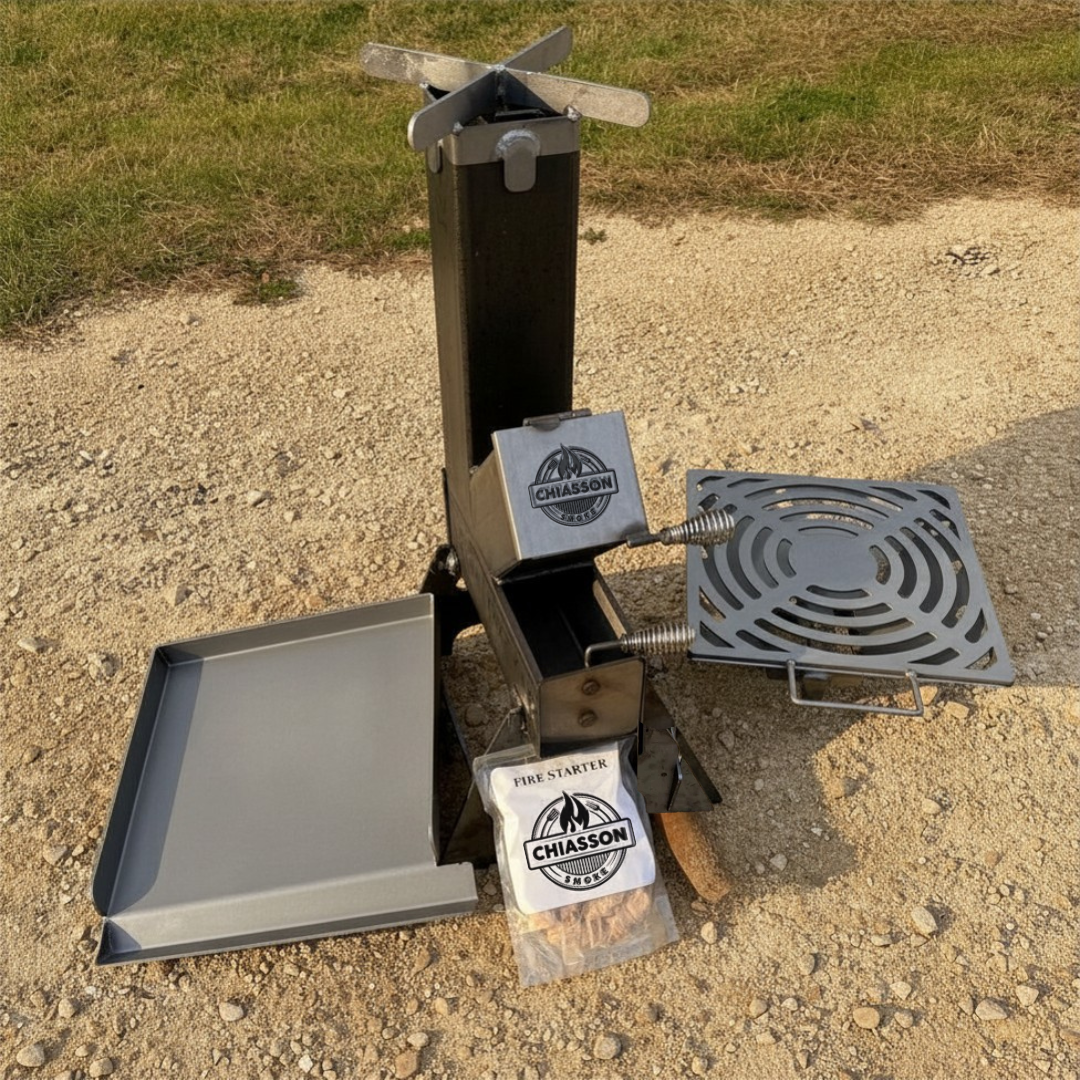
If you want to really take your grilling seriously, you’ll want to get one of the best portable barbecue grills available.
Plan Ahead And Stay Safe
Charcoal grilling is fun, but it is also real fire. A small plan keeps it relaxed.
Start with clean grates. Old bits of food can stick to the steak and can also burn and make bitter smoke. If your grill has a lot of grease buildup, that grease can catch fire.
Set your grill on a steady surface away from dry leaves, low branches, or anything that can melt. If it is windy, be extra careful. Wind can feed the fire and also blow ash.
Airflow is how charcoal lives. Your grill has vents for a reason. If the vents are closed too much, the coals struggle and can make more dirty smoke. If they are wide open, the coals burn hotter and faster.
Before you cook, decide where your hot and cooler zones will be. Two zone cooking is a big part of knowing when to put meat on. You want one area with strong heat for searing and one area with gentler heat for finishing.
Get The Steak Ready

Charcoal can be hot and fast, so steak prep should be calm and simple.
Trim And Dry
If your steak has a huge flap of fat that will just burn, trim a bit of it. But do not trim away the marbling inside the meat. That is flavor.
Pat the steak dry with paper towels. A dry surface sears better. If the surface is wet, it steams first, and steaming is the enemy of a good crust.
When To Salt?
Salt can be used two main ways.
One way is to salt right before the steak goes on the grill. This is quick and works well.
Another way is to salt earlier and let the steak sit, uncovered or loosely covered, in the fridge. Over time, salt draws out moisture, then that moisture can get reabsorbed, seasoning deeper. This also helps the surface dry. This takes planning, but it can improve browning and flavor.
If you salt earlier, give it enough time. A short wait can leave moisture on the surface right when you want it dry. If you do not have time, salt right before grilling and pat the surface dry again if needed.
Seasoning Options
A steak does not need much. Salt, and maybe pepper, can be perfect.
If you like more flavor, you can add garlic powder, onion powder, or a simple steak rub. Just remember that sugar burns easily over high heat, so sweet rubs can get dark fast.
Oil Or No Oil?
A light coat of high heat oil can help prevent sticking and can help browning. You can oil the steak lightly, or oil the grates using a folded paper towel held with tongs. Be careful, because oil and fire are not best friends.
Bring It Toward Room Temp?
Many cooks like to take steak out of the fridge before grilling. The main goal is not to make it “room temperature,” which can take a long time. The goal is to take the chill off so the steak cooks more evenly. While the coals light and the grill heats, the steak can sit out for a bit. Keep it out of direct sun and follow safe food habits.
Build And Light The Charcoal Fire
Your fire setup decides your cooking options later. If you build only one big hot zone, you have nowhere to rescue a steak that is browning too fast.
Chimney Method
The chimney method is simple: put paper under the chimney, fill the chimney with charcoal, light the paper, and let the coals catch. As the coals heat, the ones on top begin to turn lighter.
When the coals are mostly glowing and you see a good amount of gray ash on many pieces, you can pour them into the grill. Use heat safe gloves and pour carefully.

Direct Light Method
Some people light charcoal right in the grill using fire starters or other lighting aids made for grills. This can work well. The key is still the same: wait for the charcoal to burn cleanly before cooking.
Avoid using too much lighter fluid. Besides flavor issues, it can create extra smoke and uneven lighting.
Set Up Two Zones
For steaks, two zones are a comfort blanket.
You can bank most coals on one side for a hot sear zone and leave the other side with fewer or no coals for a cooler zone. This cooler zone is where you can finish thick steaks gently or park steaks if flare ups happen.
Add Wood If You Want
Wood chunks can add smoke flavor. If you add wood, use a small amount. Steak is not a long smoke like brisket. Too much wood can make the flavor harsh.
If you use wood, wait until the smoke smells clean before cooking. Sharp, thick smoke early on can taste bitter.
Know When The Charcoal Is Ready
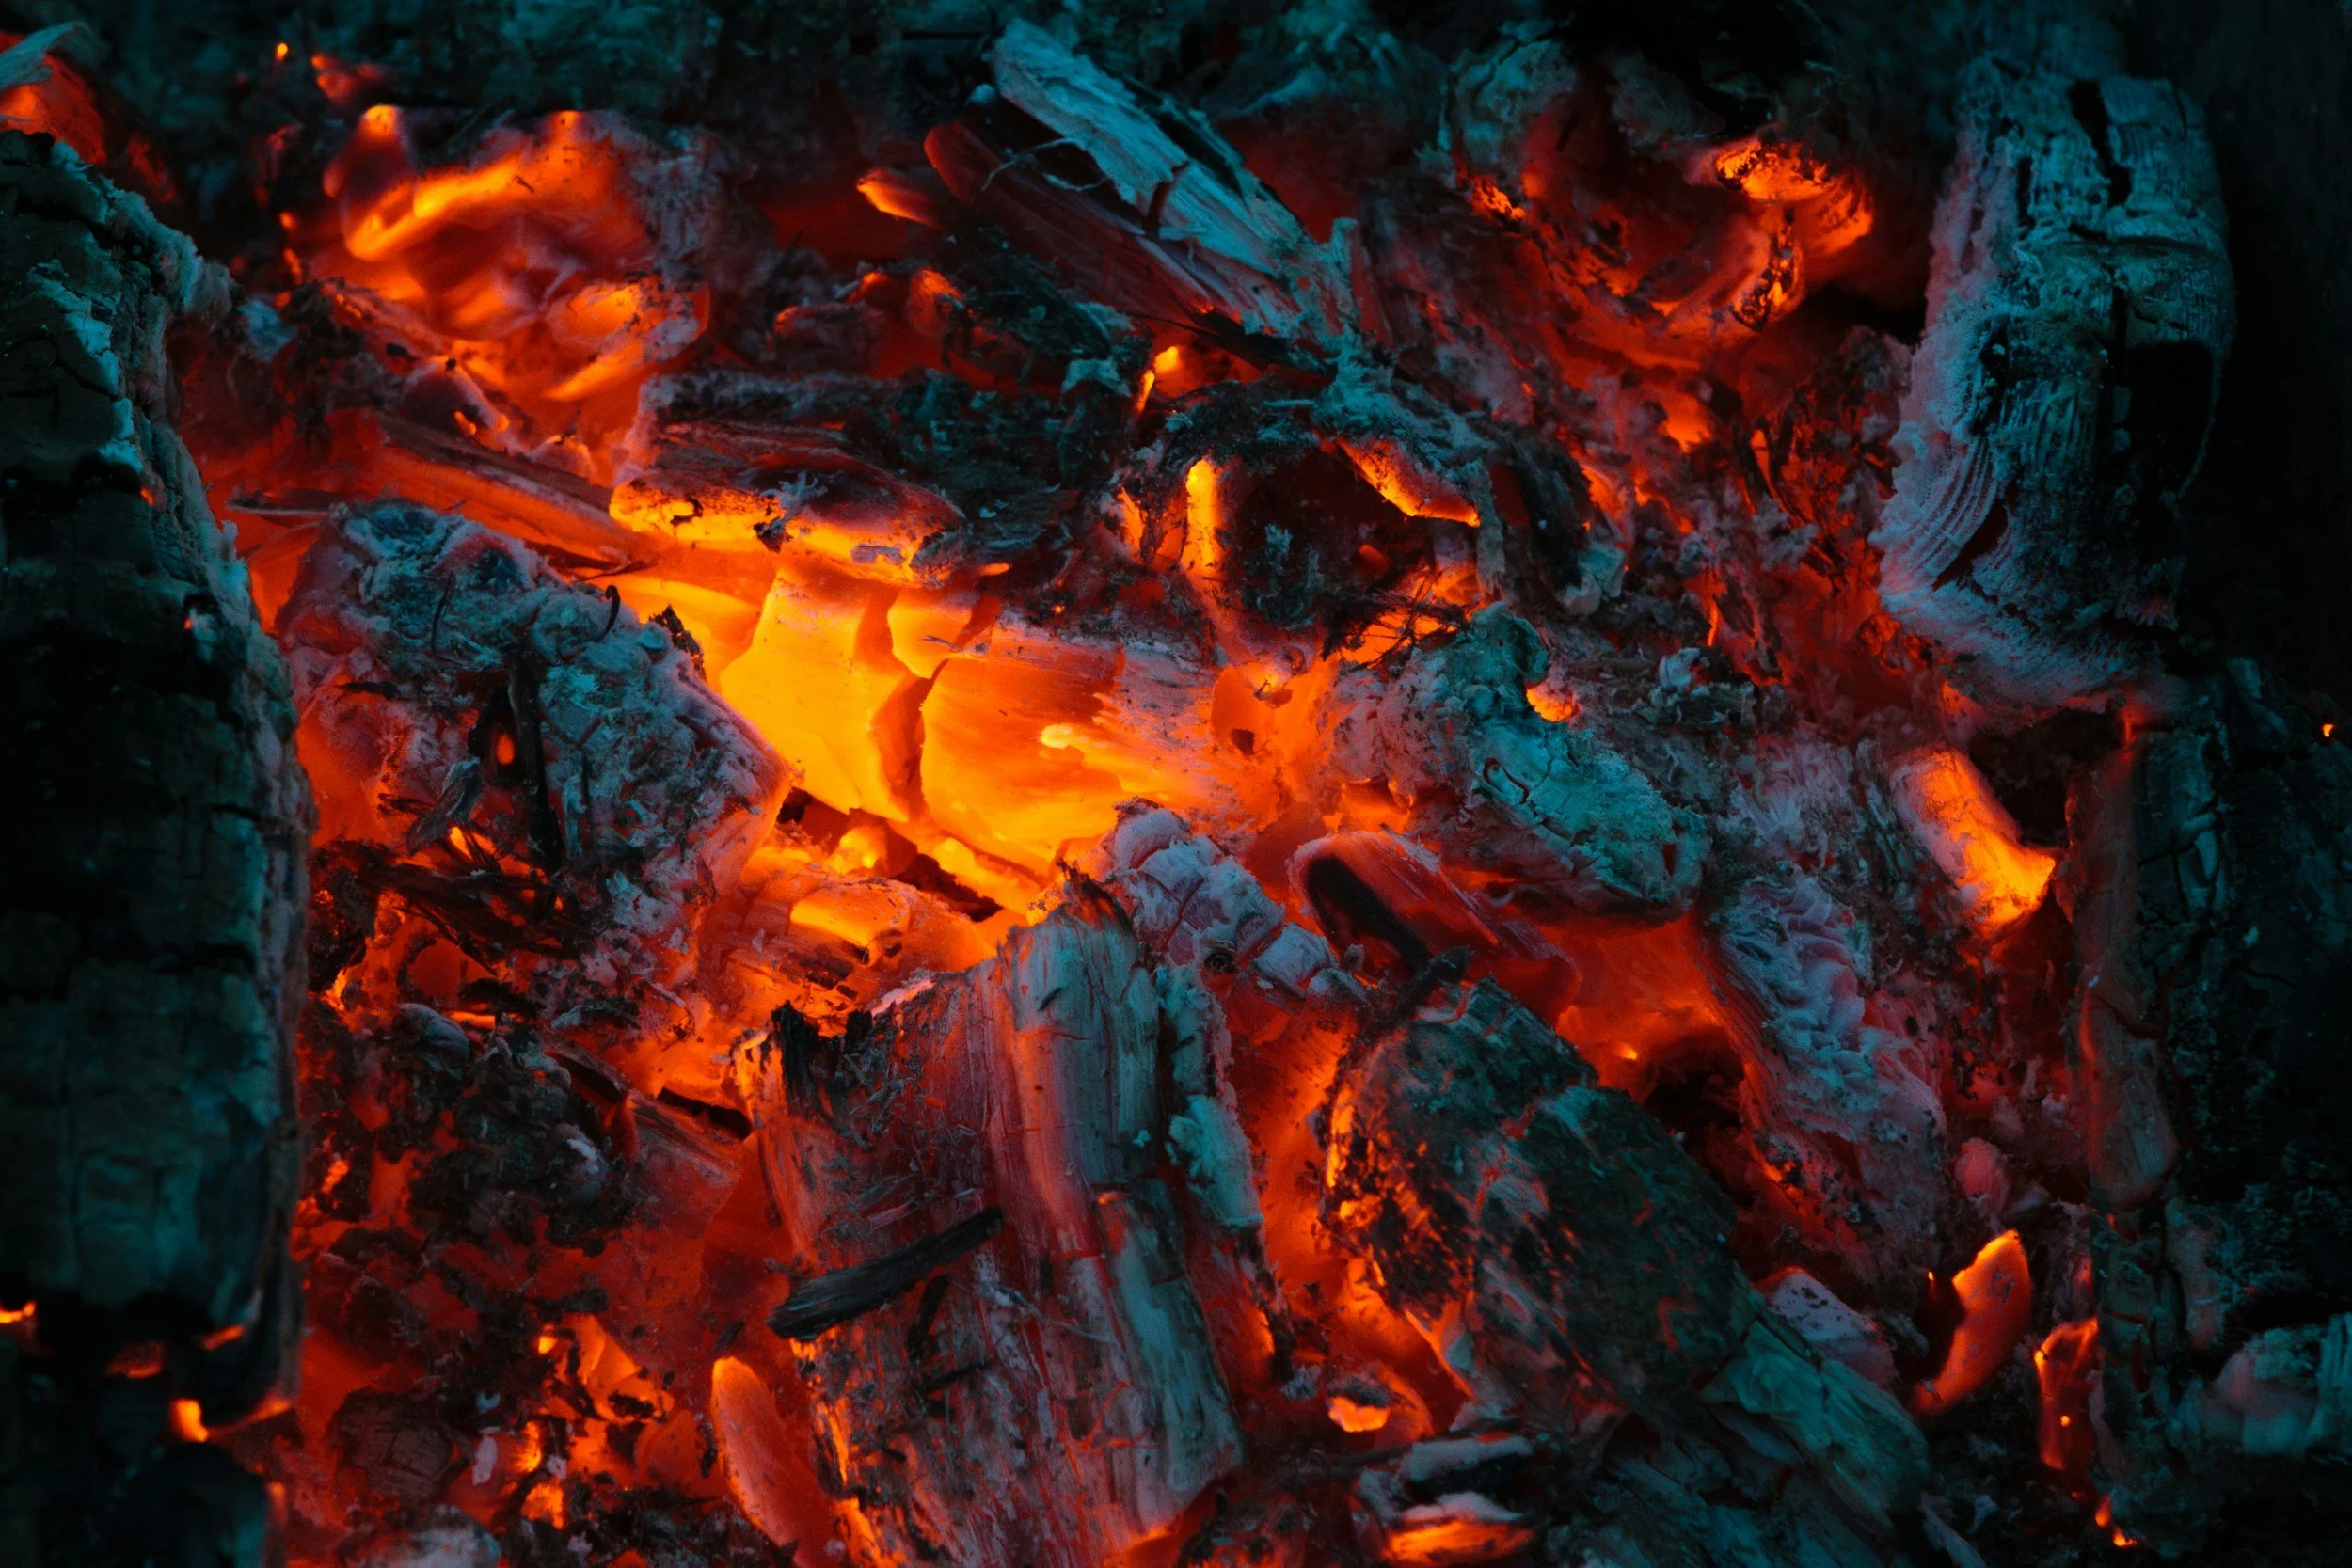
People often say, “Wait until the coals are white.” That is not wrong, but it is not the whole story. You want coals that are hot and burning clean.
Look For The Right Color
Coals often start black, then glow, then develop a coat of gray ash. Many pieces should be ashed over, but you should still see some red glow in places. If everything is fully gray and not glowing much, you might be past the hottest point.
With briquettes, you often look for a light gray coating on most pieces. With lump charcoal, the look can be less uniform, so you watch for steady glow and consistent heat.
Feel The Heat
You can sense heat by holding your hand above the grate area for a moment, but be careful and do not get too close. The goal is not to “test your toughness.” The goal is to notice if the heat feels strong and steady.
A more reliable tool is a grill thermometer or an infrared thermometer, but many home grillers learn the feel over time.
Watch The Smoke
Early smoke can be heavy and sharp. As the charcoal settles, the smoke often becomes thinner. Thick, billowing smoke that smells harsh is a sign the fire is not ready for meat yet.
Clean burning charcoal often produces little visible smoke. You may still see heat waves. That is a good sign.
Check Consistency Across The Coal Bed
If one corner is roaring and another corner looks half lit, you will get uneven cooking. Stir or spread coals so they are burning evenly before you start.
When To Put Food On The Grill
Now we get to the big timing question. Here is a clear readiness checklist that works for most foods, including steak.
Your coals should be mostly ashed over and producing minimal harsh smoke. The heat should feel stable, not wildly changing minute to minute. Your vents should be set to support steady heat. Your grate should be preheated.
Preheating the grate matters. A hot grate helps prevent sticking and helps create those grill marks people love. It also burns off tiny leftover bits from the last cook.
If you put food on a cold grate over coals that are still smoking heavily, you are stacking problems. Wait a bit, preheat, and you will feel the whole cook get easier.
When To Put Steaks On The Grill
Steaks have their own version of “ready.” A steak wants a strong sear and then controlled finishing. That means you need to know your zones, your tools, and your goal temperature before you place the meat down.
First, make sure your high heat sear zone is established. This is usually the side with the most coals. Then make sure your cooler finishing zone is truly cooler. If your grill is small, the cooler zone may still be pretty warm, but it should be less intense.
Next, make sure the grate is hot. Let it heat for several minutes with the lid on. Then oil the grate lightly, or oil the steak lightly. This step can make the first flip much smoother.
Finally, know your target internal temperature. You do not need to memorize a chart, but you should have a plan like “I want medium rare.” Then you can pull the steak at the right time and let carryover cooking finish the job.
If you have those pieces in place, that is your moment. Put the steaks on.
Arrange Coals For Even Cooking
After you pour the chimney or light the coals, take a minute to arrange them. This is like setting the stage before the actors walk out.
For uniform heat, you can spread coals in an even layer. For two zones, bank them to one side. If you are cooking several steaks, you may want a wide hot zone so each steak gets the same sear power.
For longer cooks or very thick steaks, you may need to replenish heat. That can mean adding a few unlit coals to the hot side, or lighting more in a chimney. Unlit coals can cool things down for a bit, so if you add them, give them time to catch before you need peak heat again.
Control Grill Temperature
Charcoal grills are controlled mostly by airflow. More air usually means hotter fire. Less air usually means cooler fire.
The bottom vent feeds the fire. The top vent helps draw air through and lets smoke escape. If you choke the fire too much, it can struggle and make dirtier smoke. If you open everything wide, it can run hot and fast.
Lid on or lid off also changes cooking. Lid off acts more like cooking over a campfire. Lid on traps heat and helps the steak cook through more evenly, especially when using the cooler zone.
Flare ups happen when fat drips onto coals and ignites. A small flare up is normal, but a big one can scorch your steak. If flames leap up, move the steak to the cooler zone and put the lid on for a moment. You can also adjust vents to calm the fire.
Wind and cold weather matter, too. Wind can make the fire burn hotter and can make it harder to hold steady heat. Cold air can steal heat from the grill. In tough weather, give yourself extra time, and consider using a bit more charcoal.

Choose A Steak Cooking Method
The method you choose changes when you put the steak over the hottest part of the fire.
Direct Sear Then Indirect Finish
This is a classic approach. You sear over the hot zone to build crust and color, then move the steak to the cooler zone to finish cooking to your target internal temperature.
This works well for thicker steaks because it helps prevent burning while the inside catches up.
Reverse Sear
Reverse sear is almost the opposite. You start the steak on the cooler zone with the lid on, letting it warm and cook gently. Then you finish with a fast sear over the hot zone at the end.
This method can make it easier to hit a precise doneness, especially for very thick steaks. It also gives you a calm start, which some people like.
Thick Versus Thin
Thin steaks often do best with a quick, direct cook because they do not need much time to finish. Thick steaks often do best with a two stage plan, either sear then finish or reverse sear.
Time And Temperature Basics
Time is helpful, but temperature is truth. Steak thickness, starting temperature, grill heat, and even the shape of the steak can change cook time.
A thermometer keeps you honest. Many cooks use these doneness targets:
Rare is about 120 to 125 degrees F in the center. Medium rare is about 130 to 135 degrees F. Medium is about 140 to 145 degrees F. Medium well is about 150 to 155 degrees F. Well done is about 160 degrees F and up.
These numbers are common targets used by many cooks, and they help you pick a stopping point.
Also remember carryover cooking. After you pull a steak off the grill, the inside temperature can rise a bit while it rests. That rise depends on steak size and how hot the outside is. For a thick steak, it can be noticeable. That is why many people pull the steak a few degrees before their final goal.
Cook times are hard to promise, but here is a safe way to think about it: a 1 inch steak over strong direct heat might be done in minutes per side, while a 2 inch steak may need time on the cooler zone to reach the center temperature without burning the outside. Use time as a rough guide, and use temperature to decide.
Step By Step Steak Grilling
This is a repeatable process you can use on most charcoal grills.
First, light your charcoal and set up two zones. Let the coals burn until they are mostly ashed over and the smoke is not harsh.
Next, preheat the grate with the lid on. This usually takes several minutes. When the grate is hot, oil it lightly or oil the steak lightly.
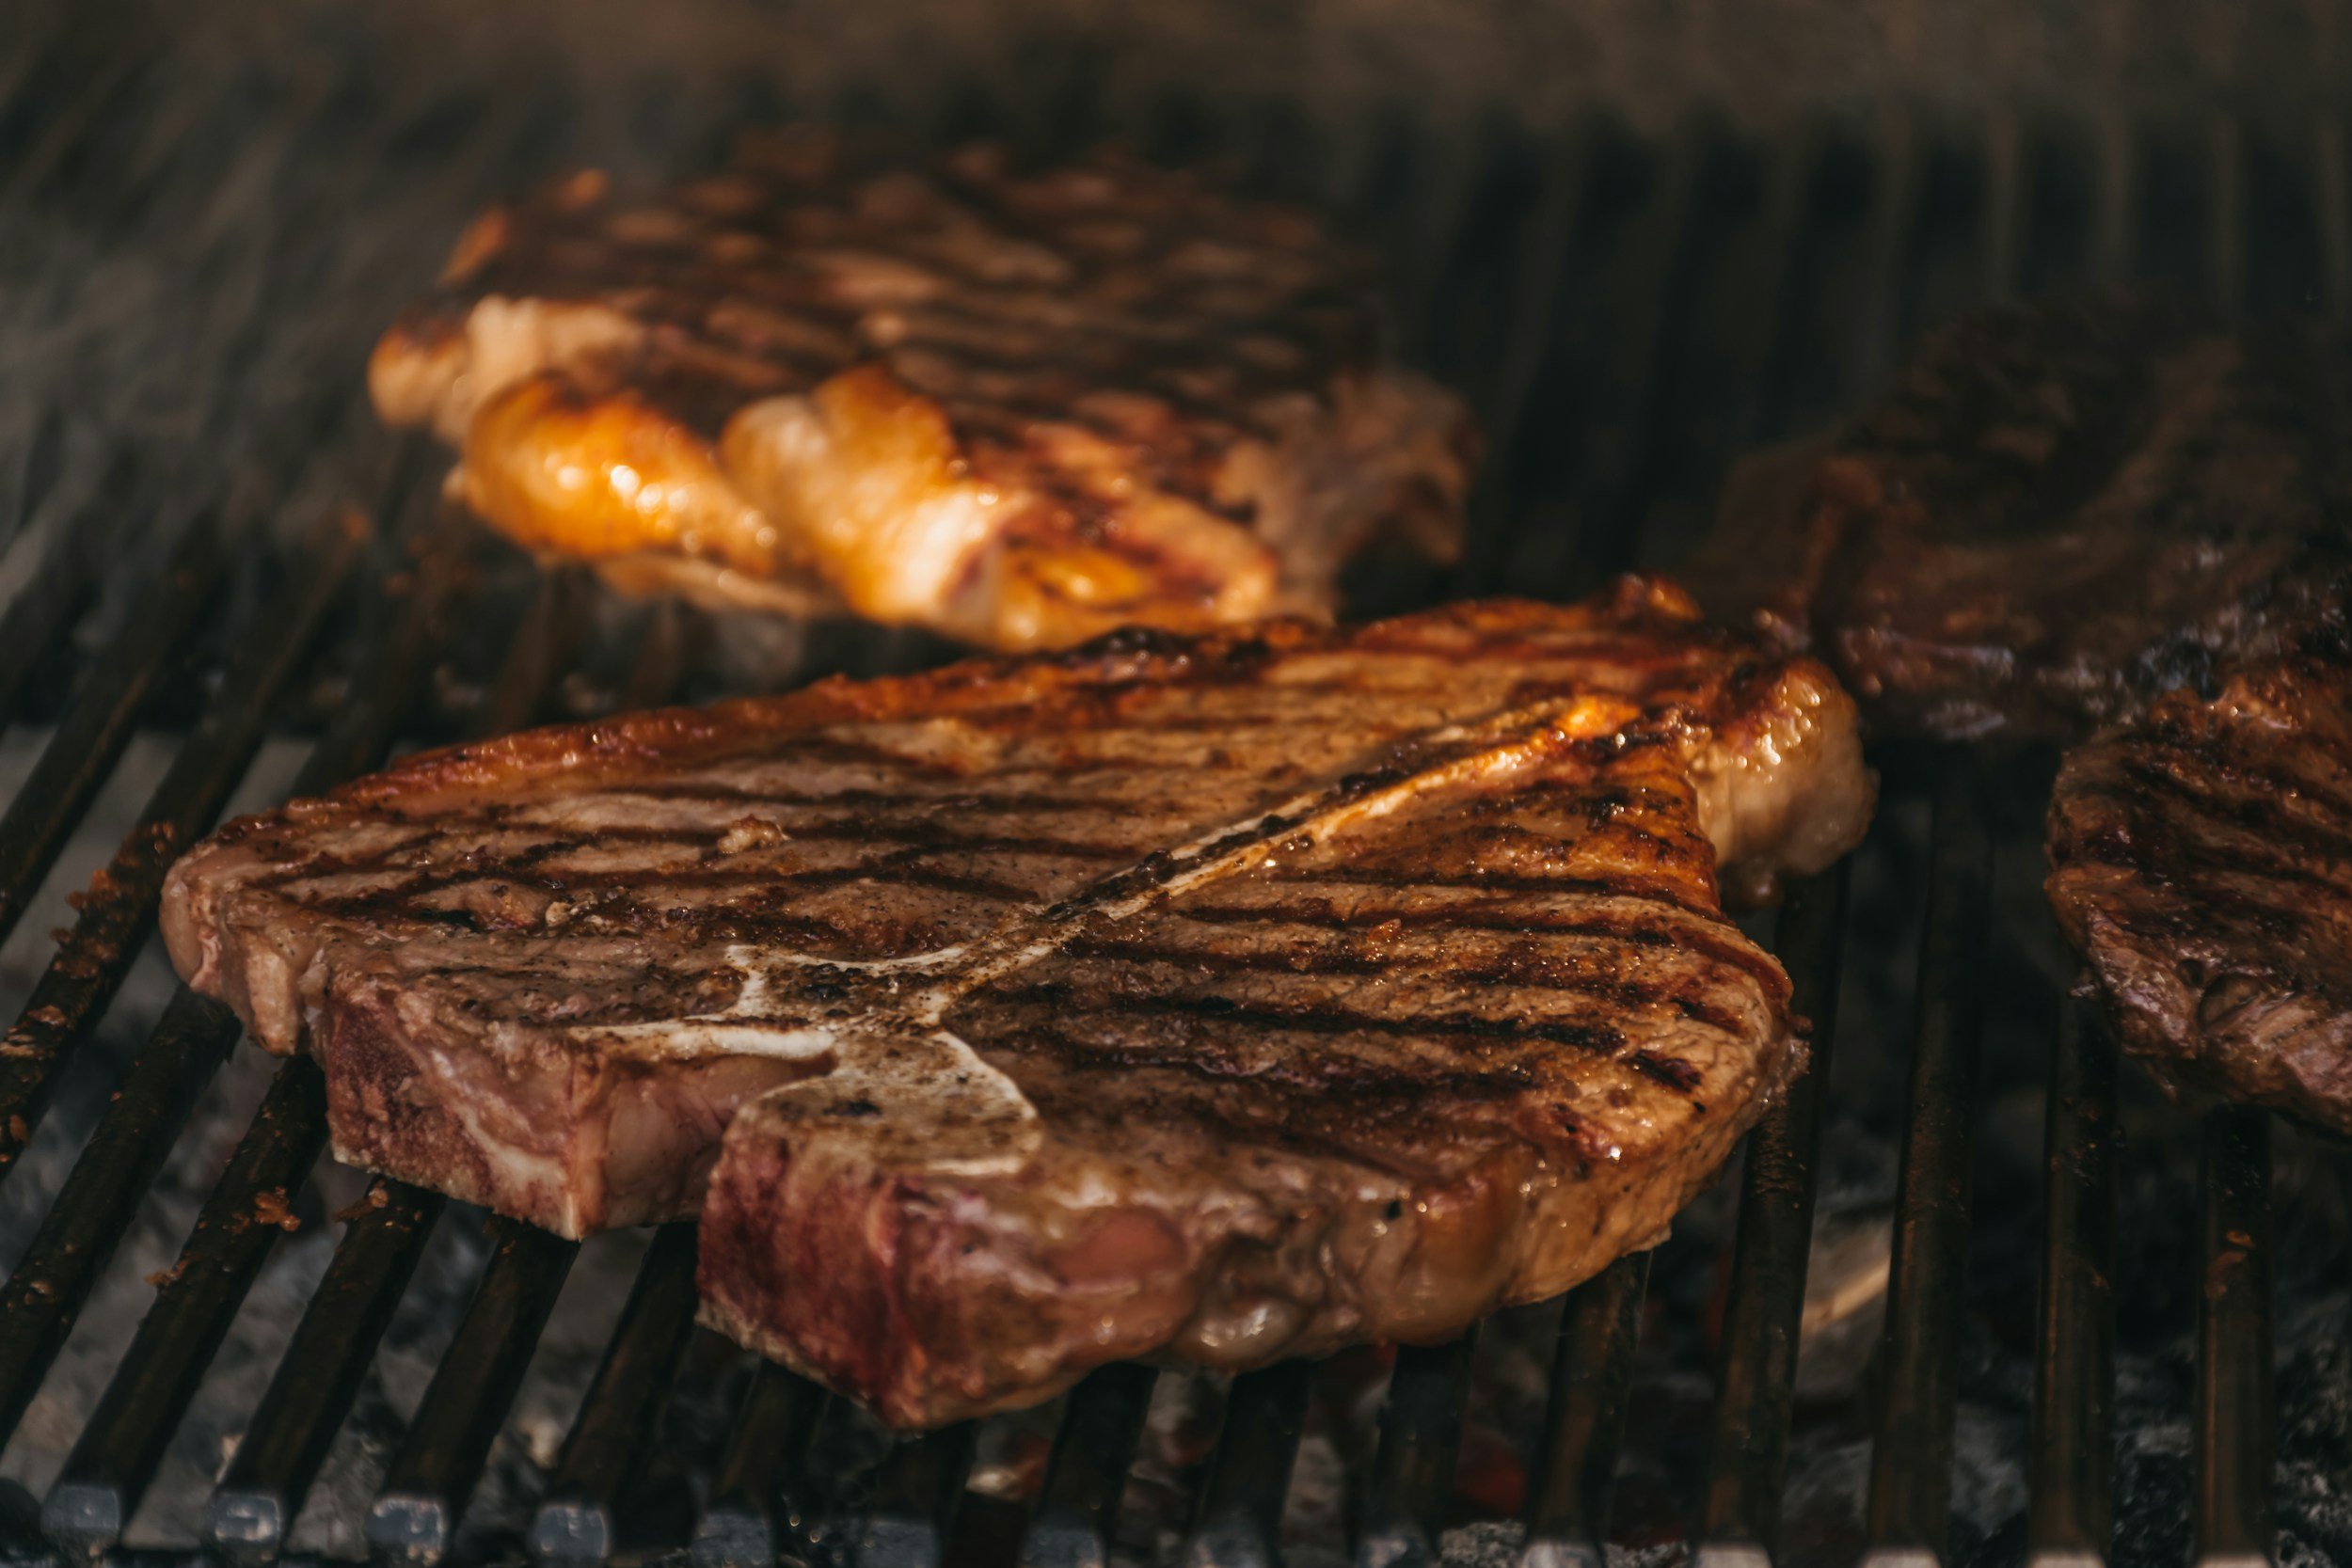
Place the steaks on the hot zone. Set them down and do not move them right away. Let the sear start.
Flip with tongs when the first side has good color. Many cooks flip more than once to help cook evenly, but you do not need to flip every ten seconds. The key is to avoid burning and to build a crust.
If the outside is browning quickly but the inside is still far from your target temperature, move the steak to the cooler zone and close the lid. Let it finish more gently.
Keep checking the internal temperature as you get close. When it is a few degrees below your target, pull it off and rest it.
If you want a final touch, you can do a quick last sear at the end. Just keep it short so you do not overshoot your doneness.
Measure Temperatures The Right Way
A thermometer is only helpful if you use it correctly.
An instant read thermometer is fast. You insert it, get a reading, and pull it out. A probe thermometer stays in the steak and can show you the temperature over time.
Measure in the thickest part of the steak, away from bone and away from large pockets of fat. If you hit bone, your reading can be off. If you measure too close to the surface, you may read hotter than the center.
Also remember that grill lid thermometers, when a grill has them, measure air temperature near the lid, not grate temperature. The grate can be much hotter. That is why the steak can sear even when the lid thermometer does not look extreme.
Finishing Touches That Matter
Once the steak is close to done, small choices make a big difference.
A final sear can sharpen the crust. If you cooked gently first, like reverse sear, the last sear is where the magic happens. Keep it quick and watch for flare ups.
Basting is optional. Some people baste with butter and herbs. Butter can burn over very high heat, so basting works best on the cooler zone or near the end when heat is gentler.
Compound butter is an easy win. Put a small slice on the resting steak and let it melt. It adds shine, flavor, and a little richness without changing the grill process.
If you used wood chunks, keep the smoke light. Steak does not need a heavy smoke bath. A little smoke can taste amazing. Too much can cover up the beef.
Rest, Slice, And Serve
Resting is not a fussy rule. It is a practical step. When steak cooks, juices move toward the surface. Resting gives the steak time to settle so more juice stays in the meat when you cut it.
A rest of about 5 to 10 minutes works for many steaks. Very thick steaks can rest a bit longer. While it rests, you can set the table or warm your sides.
When it is time to slice, cut against the grain. The grain is the direction the muscle fibers run. Cutting across those fibers can make each bite feel more tender.
Finish with a pinch of salt if needed. Some people like flaky salt for a little crunch. Then serve it simply. Steak does not need a parade. It just needs a plate and people who are ready to eat.
Fix Common Charcoal Problems
Charcoal grilling is not perfect, but most problems have simple fixes.
If you have too much smoke, the coals may not be ready, or grease may be burning. Wait for the smoke to thin and smell cleaner. Make sure the grill is clean and the vents are not choked too far.
If the coals are not hot enough, open vents to increase airflow, and give it a few minutes. You may also need more charcoal. For the future, use a fuller chimney or give the coals more time to catch.
If heat is uneven, your coal bed may be uneven. Spread coals more evenly, or make your zones more clear. Also preheat the grate long enough so the cooking surface is not patchy.
If the steak sticks, the grate may not be hot enough, or it may be dirty. Preheat more, clean better, and use a light oil. Also, do not try to flip too early. A good sear releases more easily.
If flare ups keep happening, move the steak to the cooler zone, put the lid on, and let flames die down. Trim excess fat next time, and keep a clear cooler area available.
If the steak is overdone, your heat may be too high for too long, or you may have skipped the cooler zone. Use two zones and start checking temperature earlier. Pull a few degrees before your target and rest.
If the steak is underdone, finish it on the cooler zone with the lid on. Avoid blasting it over the hottest coals for too long, or you may burn the outside before the inside warms up.
Simple Tips For Better Results
The best charcoal grilled steaks come from a steady routine.
Use a consistent charcoal type until you learn its behavior. Keep notes in your head like: “A full chimney gives me a strong sear for about this long.”
Season in a way you can repeat. Salt and pepper is easy to control. Fancy rubs are fun, but they can hide what the fire is doing.
Take care of your grate. A clean, hot grate is one of the biggest secrets to good grilling, and it is not really a secret.
If you cook multiple steaks, do not crowd the hot zone. Crowding can drop the heat and can reduce searing. If you have many steaks, sear in batches, then move them to the cooler zone to finish and stay warm.
Most of all, decide “what happens if something goes wrong” before it goes wrong. That is what the cooler zone is for. It is your safety net.
Try Next Time Variations
Once you can answer “when do I put it on,” you can start playing.
You can try a pepper crust, adding pepper near the end so it does not scorch. You can try a coffee or chili rub, keeping an eye on sugars that can burn.
You can try a marinade, especially for cuts that need a little help. Just pat the steak dry before it hits the grate, so it sears instead of steams.
You can try a sauce after cooking, like chimichurri, or a simple pan sauce made separately. You can also keep it super simple with lemon, salt, and olive oil.
Sides can go on the grill too, but think about timing. Veggies like peppers, onions, and zucchini can cook on the cooler zone while the steak rests. Bread can toast quickly, so do it near the end.
And if you like the charcoal flavor, try other meats once you master steak. Chicken thighs, pork chops, and burgers all benefit from the same skill: waiting until the fire is clean and the heat is where you want it.
The Real Answer
So, when do you put meat on a charcoal grill?
You put it on when the coals are burning clean, the heat is steady, the grate is hot, and your vents are set for the cook you want. For steaks, you also put it on when your hot sear zone is ready and your cooler zone is ready to catch you if the fire gets wild.
If you learn to wait for that moment, charcoal stops feeling like a mystery. It starts feeling like a partner. And your steak starts tasting like you meant it to.