
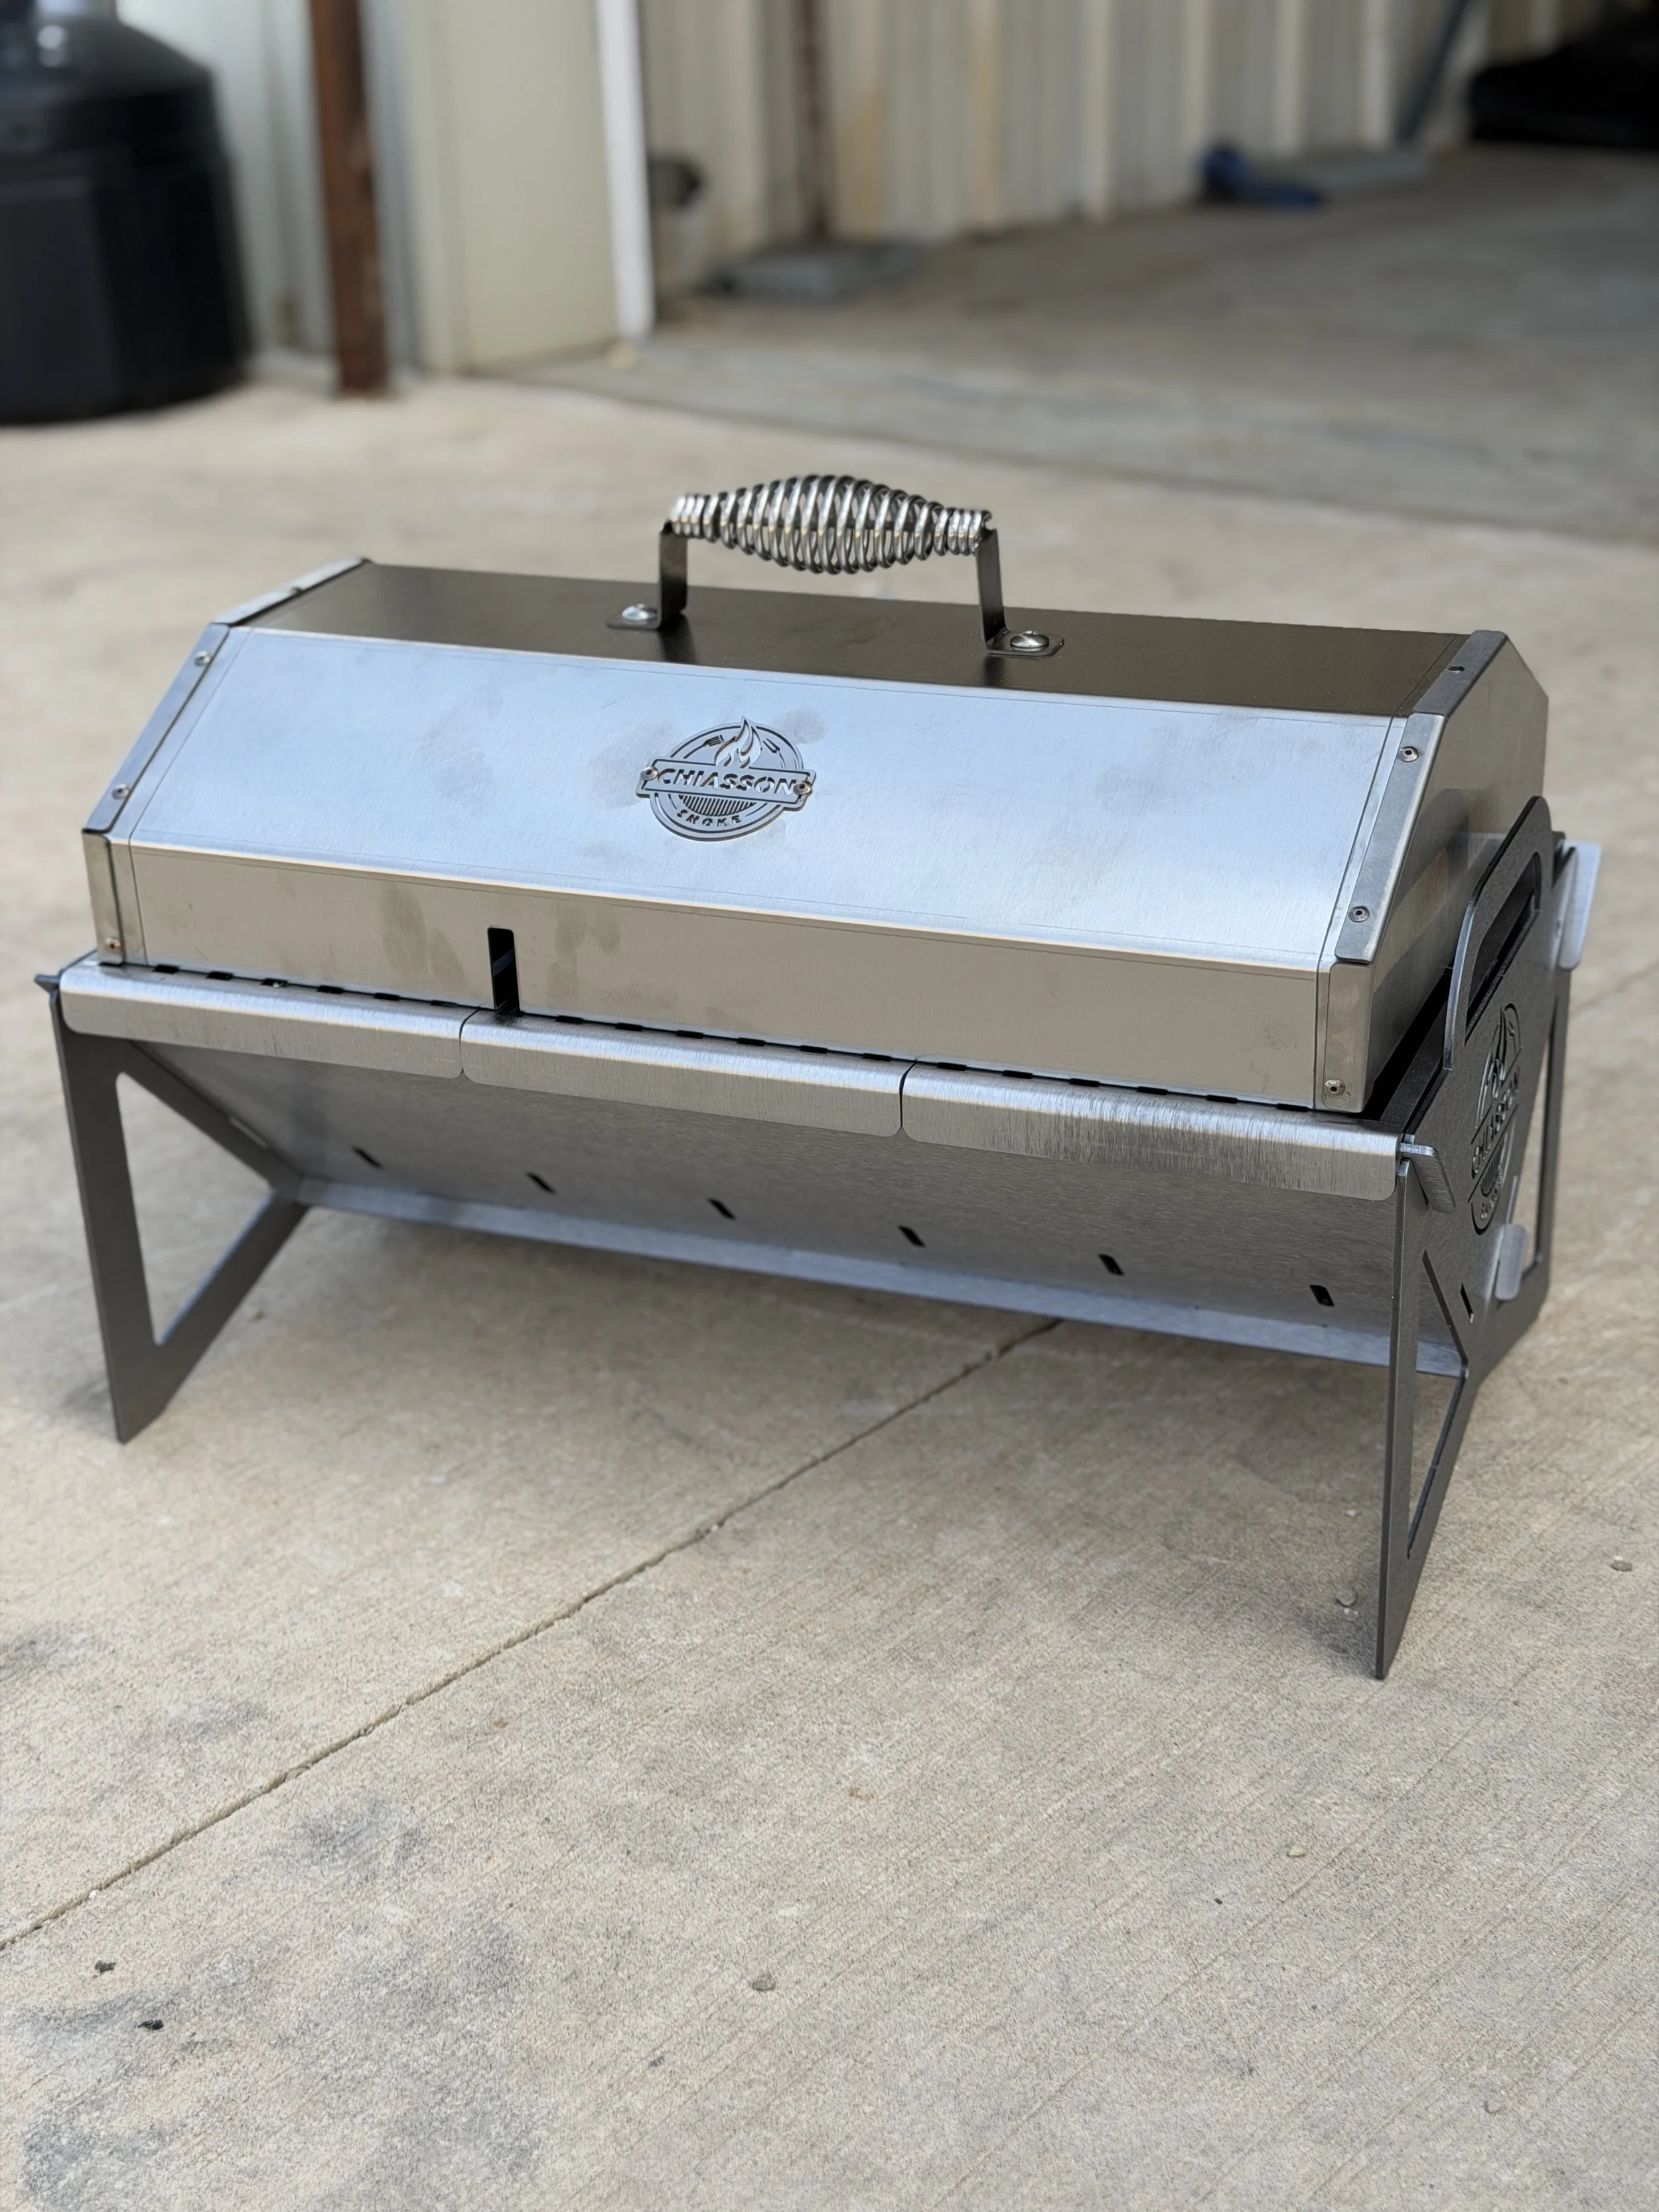
Grill Zone Basics
Grilling is not just about fire. It is about control. Heat management is the skill that turns a random flame into a reliable cooking tool. When you can control heat, you can choose when food browns, when it stays juicy, and when it finishes cooking without burning.
A lot of grilling problems come from the same place: too much heat in the wrong moment. You might have seen chicken that looks perfect on the outside but is still raw inside. Or a steak that is gray and dry because it sat over high heat for too long. Or burgers that flare up, turn black, and taste like smoke in a bad way. Heat management helps you avoid all of that.
It also makes grilling less stressful. Instead of rushing, poking, and guessing, you create a plan with different heat areas. Then you move food to the right spot at the right time. That is the heart of grill zones.
Direct Heat Vs Indirect Heat
Before you build grill zones, you need two core ideas.
What Is Direct Heat?
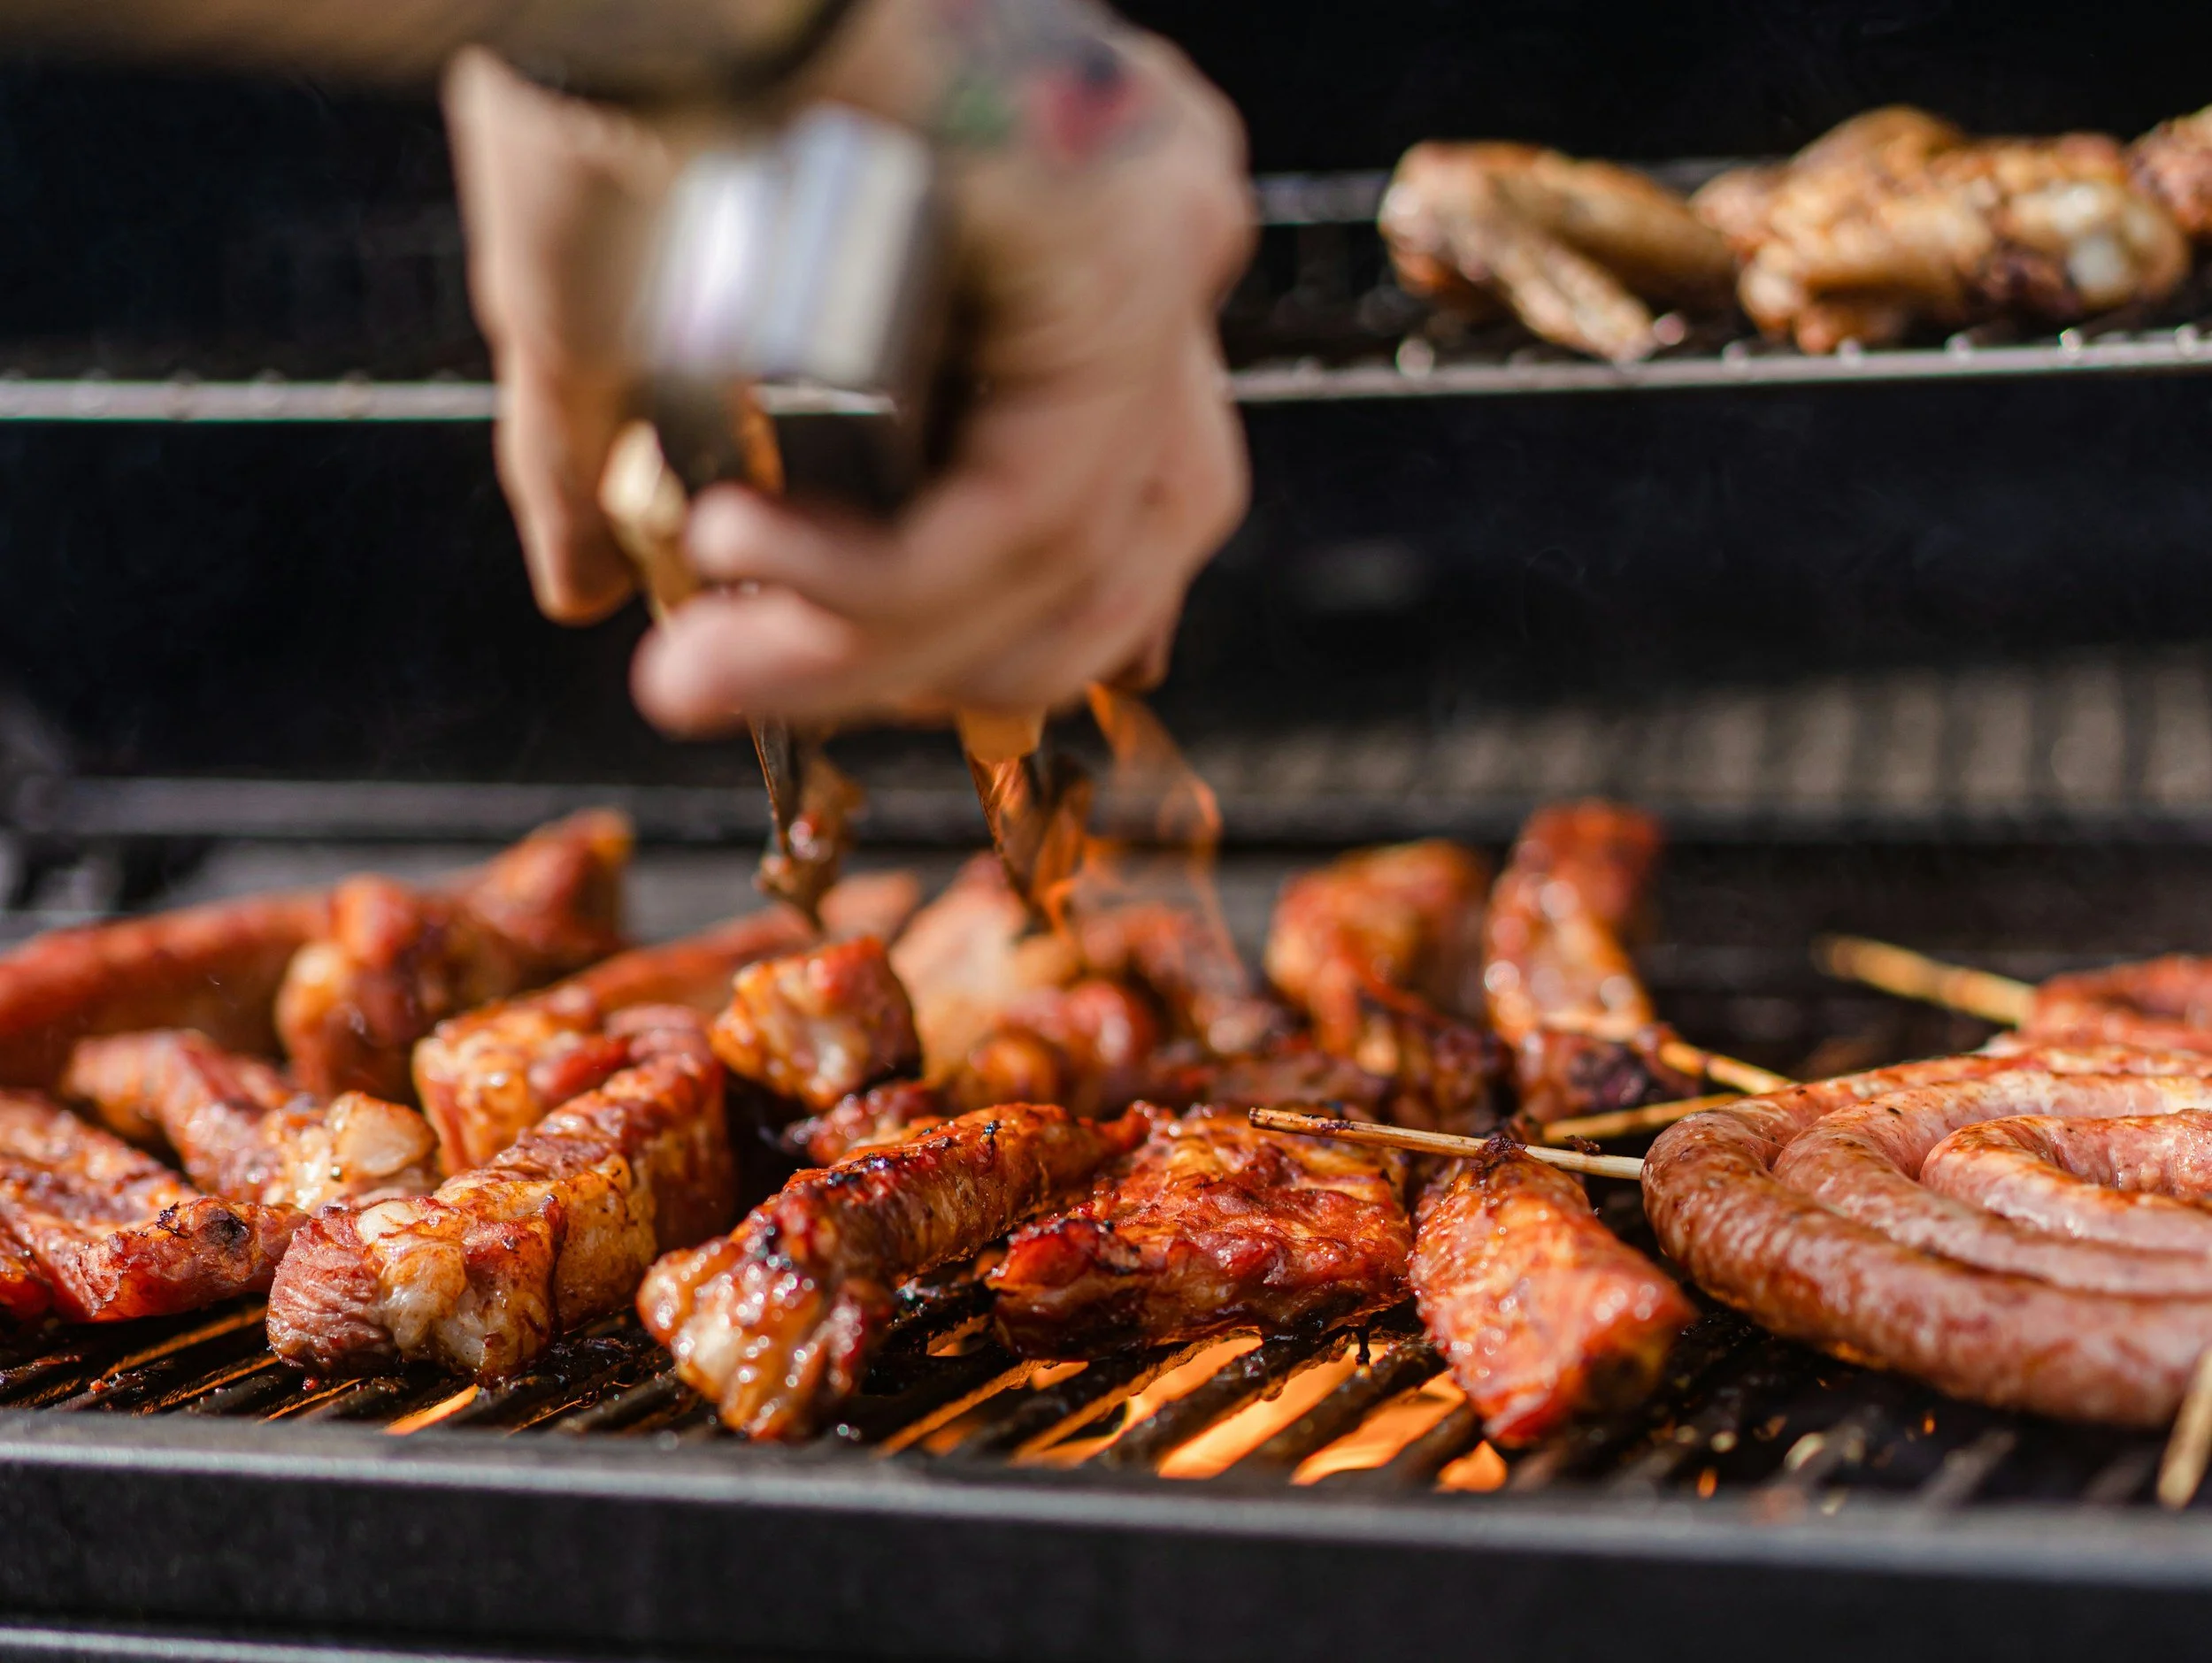
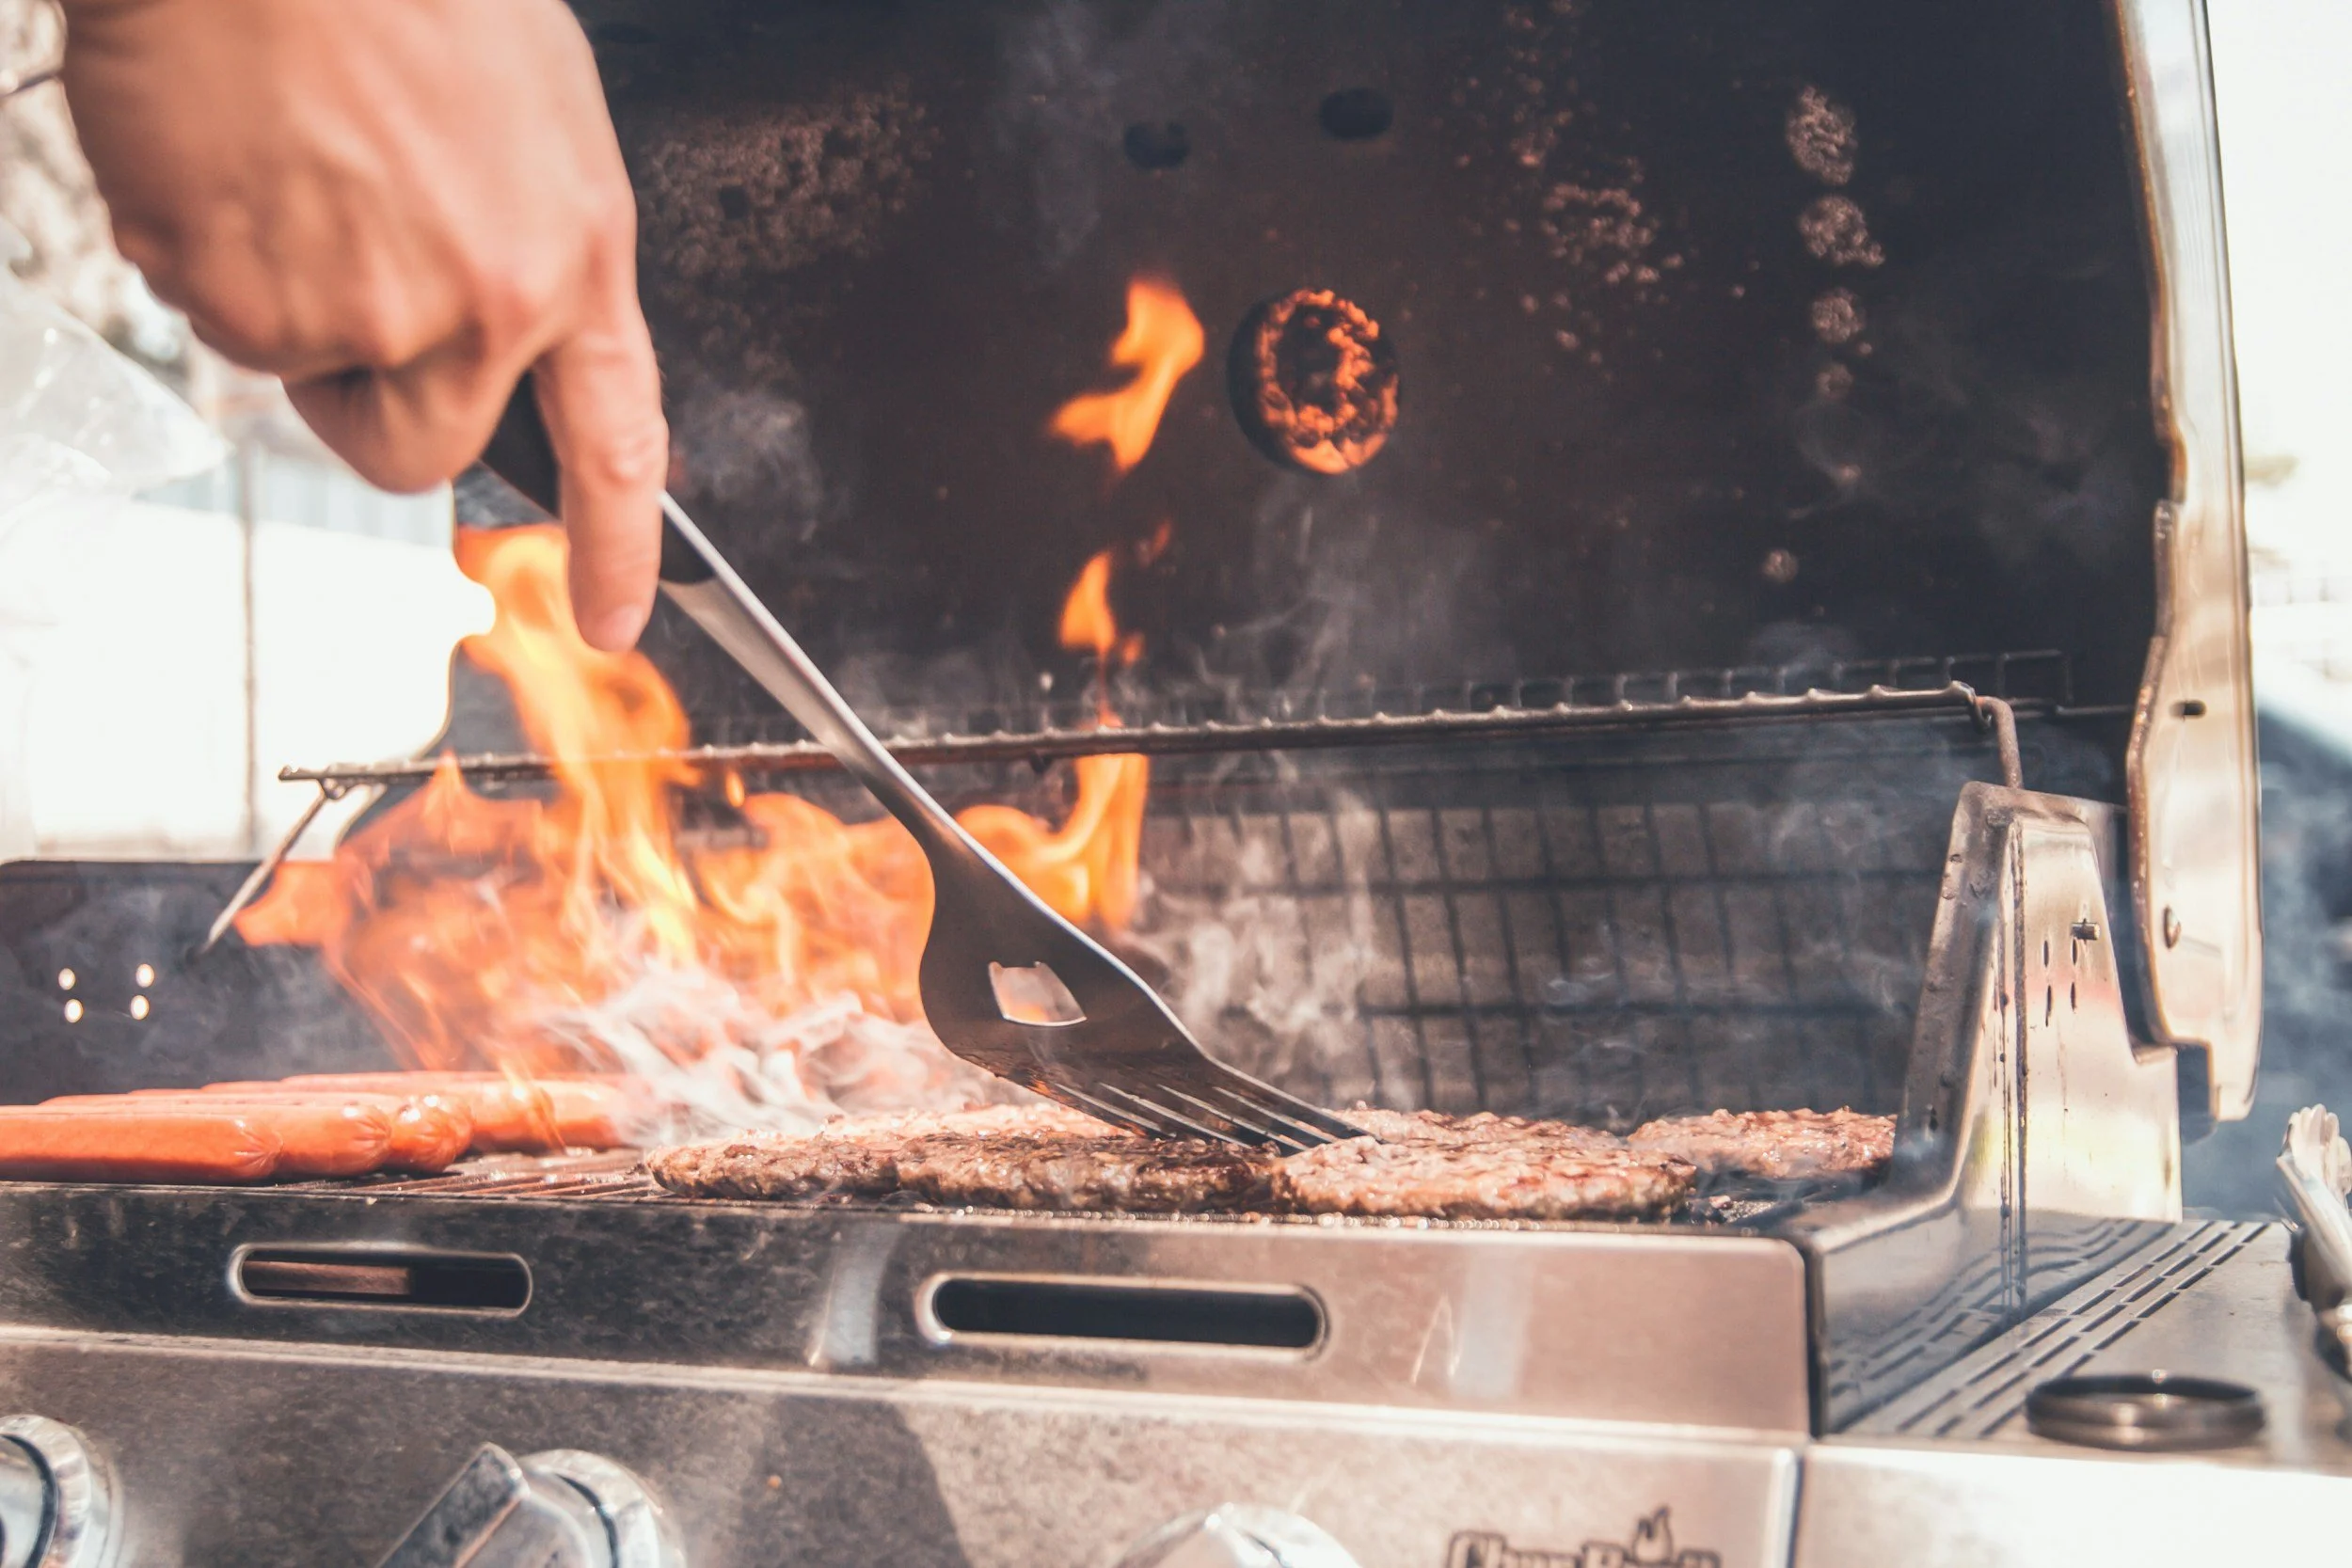
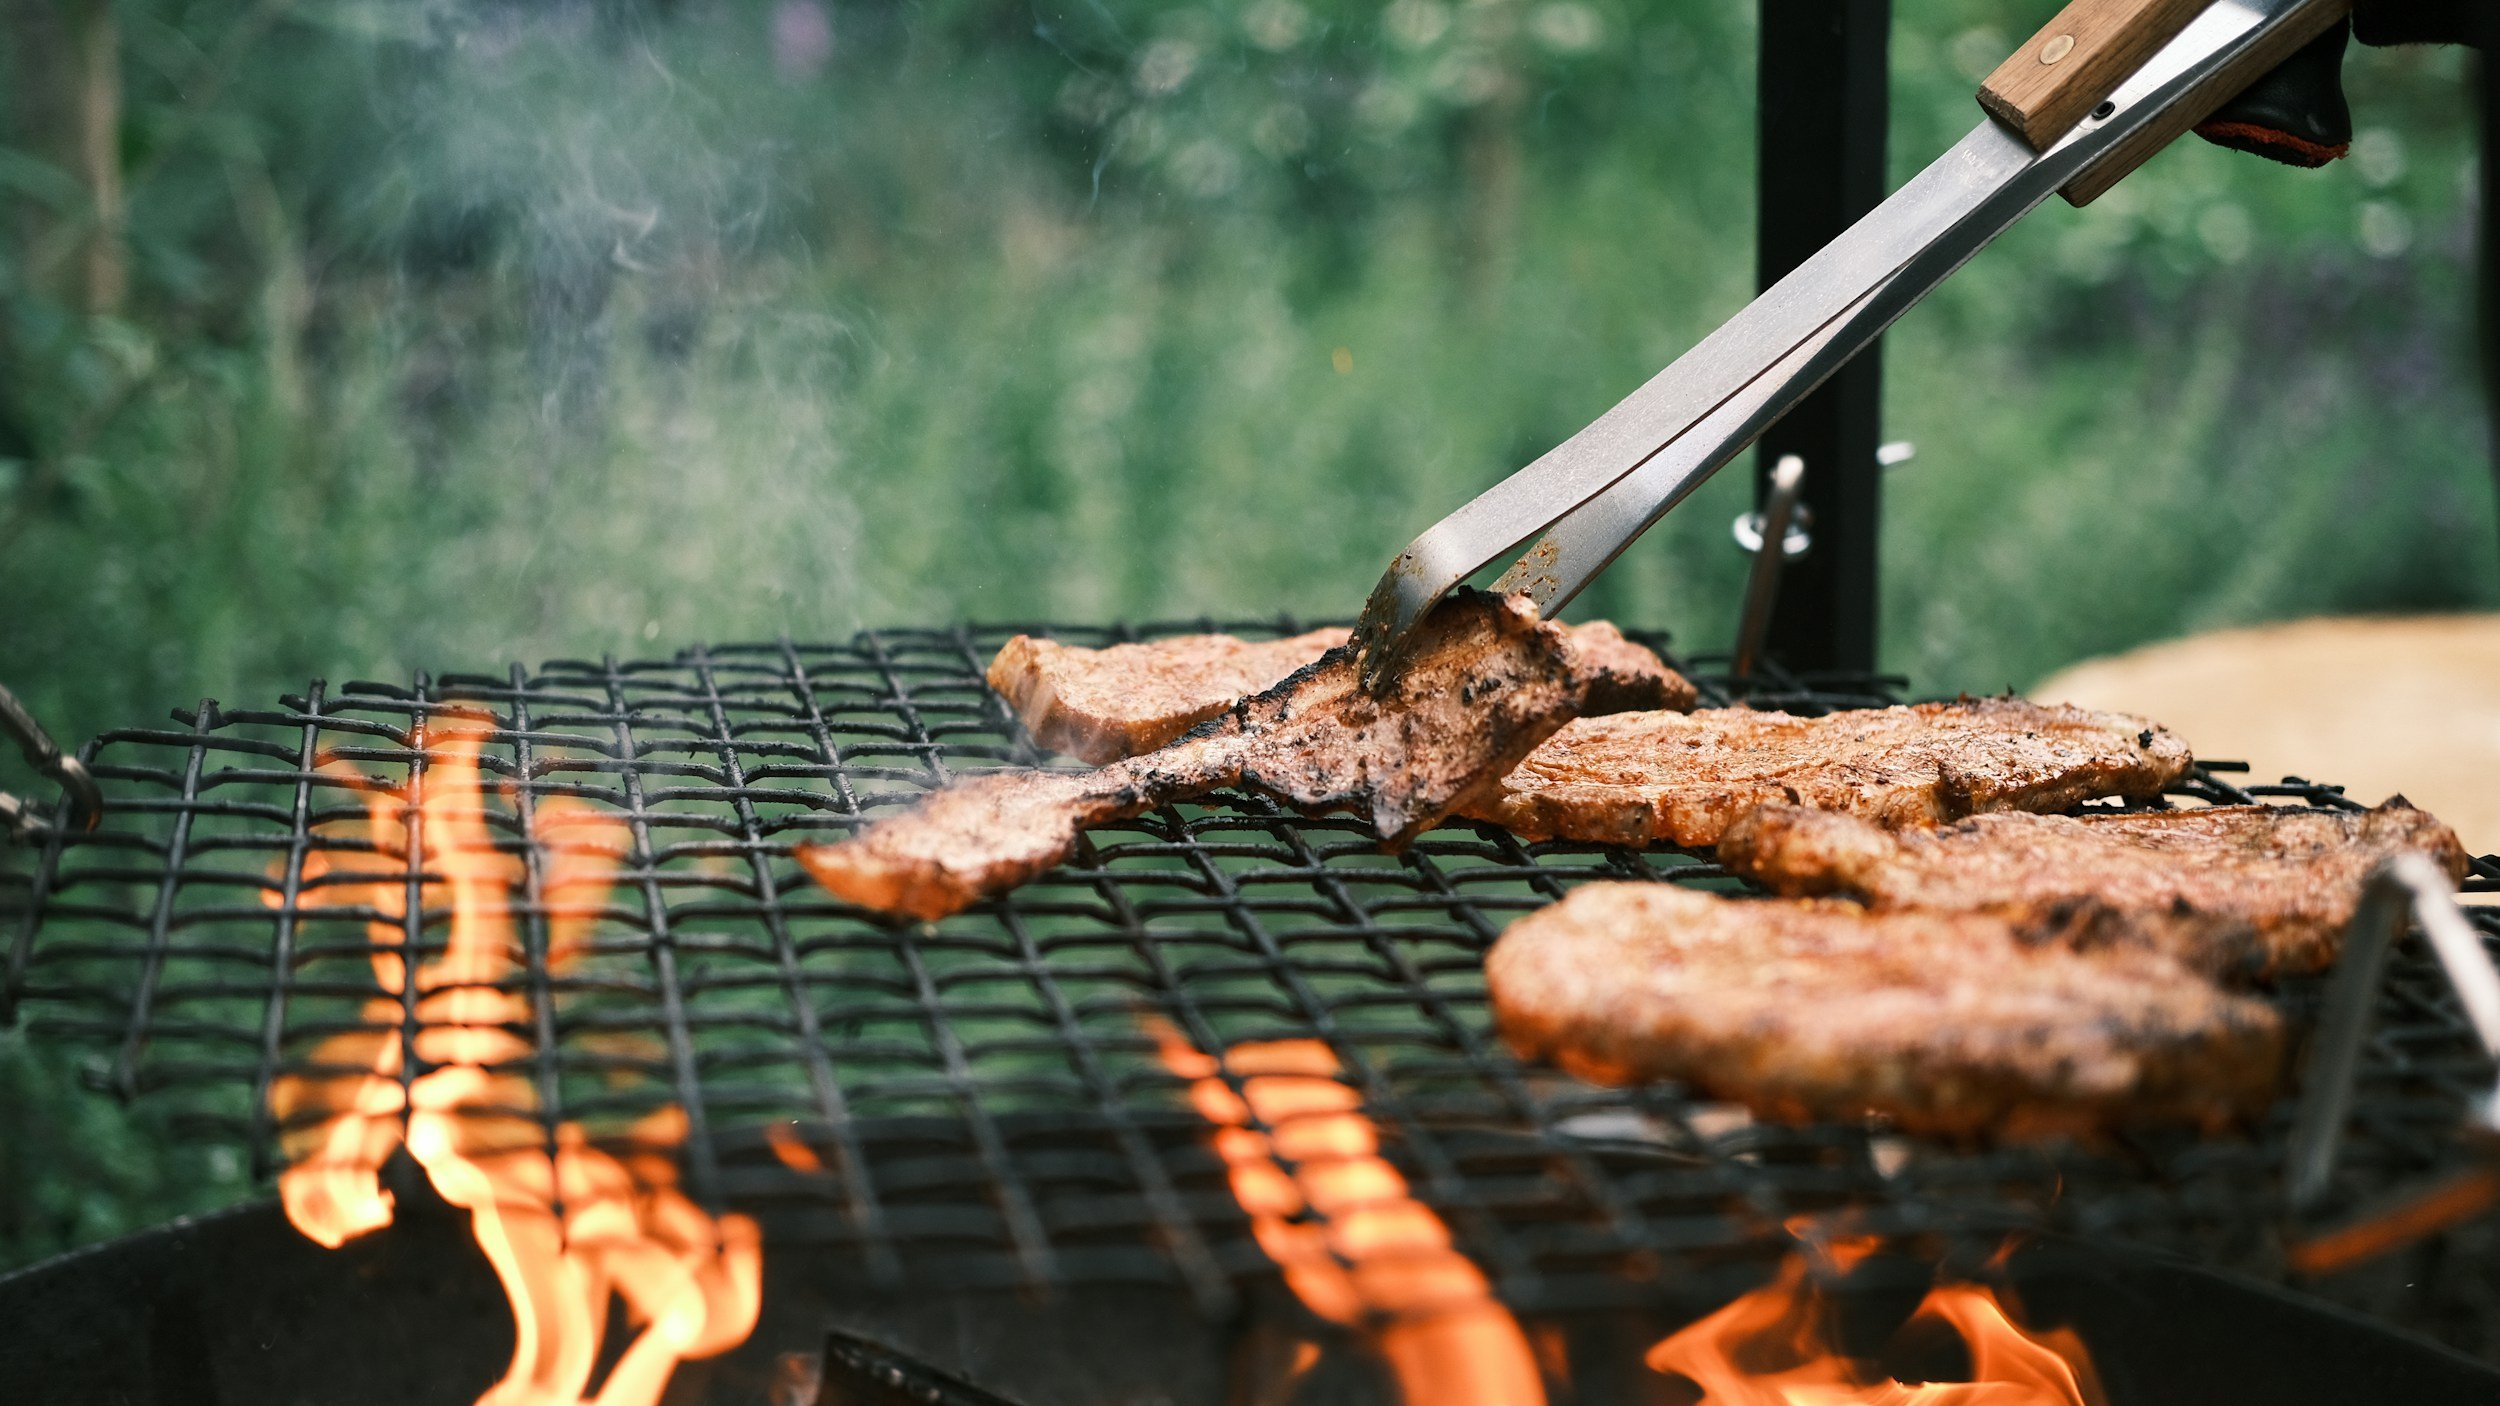
Direct heat means the food sits right over the flame or hot coals. That heat hits the food fast. It is great for browning and crisping because high heat helps create the deep flavor and color many people love. On a gas grill, direct heat is above lit burners. On a charcoal grill, it is above the coal pile.
Direct heat is powerful, but it is easy to overdo. The outside can burn while the inside stays undercooked, especially with thick foods.
What Is Indirect Heat?
Indirect heat means the food is not directly over the flame or coals. The grill works more like an oven. Heat moves around the food instead of blasting one spot. Indirect heat cooks more gently, which helps thicker foods cook through without burning.
On a gas grill, indirect heat is above burners that are off, while other burners are on to provide heat. On a charcoal grill, indirect heat is on the side with no coals under it.
Both types of heat are useful. The best grilling uses both on purpose.
What Grill Zones Are
Grill zones are different areas on your grill that run at different heat levels at the same time. Usually, you make one hot zone and one cooler zone. Then you cook in stages.
This changes everything because it gives you options. If food is browning too fast, you can move it. If it needs a crust, you can place it over the hot zone. If a flare-up starts, you have a safe place to escape without pulling food off the grill.
Grill zones also help you cook more than one kind of food at once. You can sear burgers on the hot side while vegetables soften on the cooler side. You can crisp chicken skin over direct heat and then finish the meat gently on indirect heat.
A grill with zones is like having more than one grill in the same box.
2-Zone Grilling Explained
Two-zone grilling is the most important zone setup to learn. It is simple, flexible, and works on almost any grill.
In a two-zone setup, you create:
A hot direct side for searing and crisping.
A cooler indirect side for gentle cooking and finishing.
Think of the direct side as the stovetop burner and the indirect side as the oven. You do not have to choose one forever. You can move food back and forth depending on what it needs.
When people talk about “grill mastery,” they are often talking about this. Two-zone grilling makes it easier to hit the right doneness, avoid burning, and serve food that tastes cooked with intention.
When To Use Direct Heat
Direct heat is best when you want quick results and strong browning.
Use direct heat for:
Thin cuts cook fast, so they can handle the heat without burning before the middle is done. Examples include thin steaks, small fish fillets, shrimp, sliced vegetables, and many store-bought hot dogs and sausages.
Direct heat is also great for crisping. If you want chicken skin to turn golden and bite-through, a blast of direct heat can help, as long as you watch closely. It is also useful at the end of cooking to tighten the surface and add color.
Direct heat is not only about cooking through. It is about building flavor on the outside. The trick is to use it with timing, not panic.
When To Use Indirect Heat
Indirect heat is your slow and steady zone. It helps you cook thicker foods safely and evenly.
Use indirect heat for:
Foods that take longer to cook through, like thick chops, bone-in chicken pieces, whole chicken, and large sausages. It is also better for foods with sugary sauces because sugar can burn quickly over direct heat.
Indirect heat is also a burn-prevention tool. If something is getting too dark, move it to indirect heat. If fat drips and flames jump up, slide the food away from the fire until things calm down.
Indirect heat gives you time to think. It is where many great grilled meals are actually finished.
Using Both Zones In One Cook
The magic of two-zone grilling is combining both zones in one smooth plan.
Sear First Or Sear Last?
There are two common ways to combine zones.
Sear first means you start over direct heat to brown the outside, then move to indirect heat to finish cooking the inside gently. This is a great method for chicken pieces, thick pork chops, and larger sausages. It gives you color early, then protects that color while the inside finishes.
Sear last means you cook most of the way on indirect heat, then finish with a quick sear over direct heat for a crust. Many people like this for thick steaks because it can help you avoid overcooking the outer layers. You build doneness gently, then add a fast, hot crust at the end.
Both methods can work. The best choice depends on the food and how hot your grill is running.
Finishing On The Cool Side
Even after a sear, the indirect side is where you can land the food to finish safely. If you ever feel like you are losing control on the direct side, the cool side is your rescue zone. That is a big reason zones make grilling calmer and more fun.
Choosing A Grill For Zone Cooking
You can do zone cooking on most grills, but some setups make it easier.
Gas Grills
Gas grills are convenient because you can turn burners on and off and adjust heat with knobs. This makes it straightforward to create a hot side and a cool side. Gas grills also recover heat quickly after you open the lid.
A common challenge is that some gas grills have hot spots, especially near certain burners. Zones help you work around that by giving you a planned place to move food.
Charcoal Grills
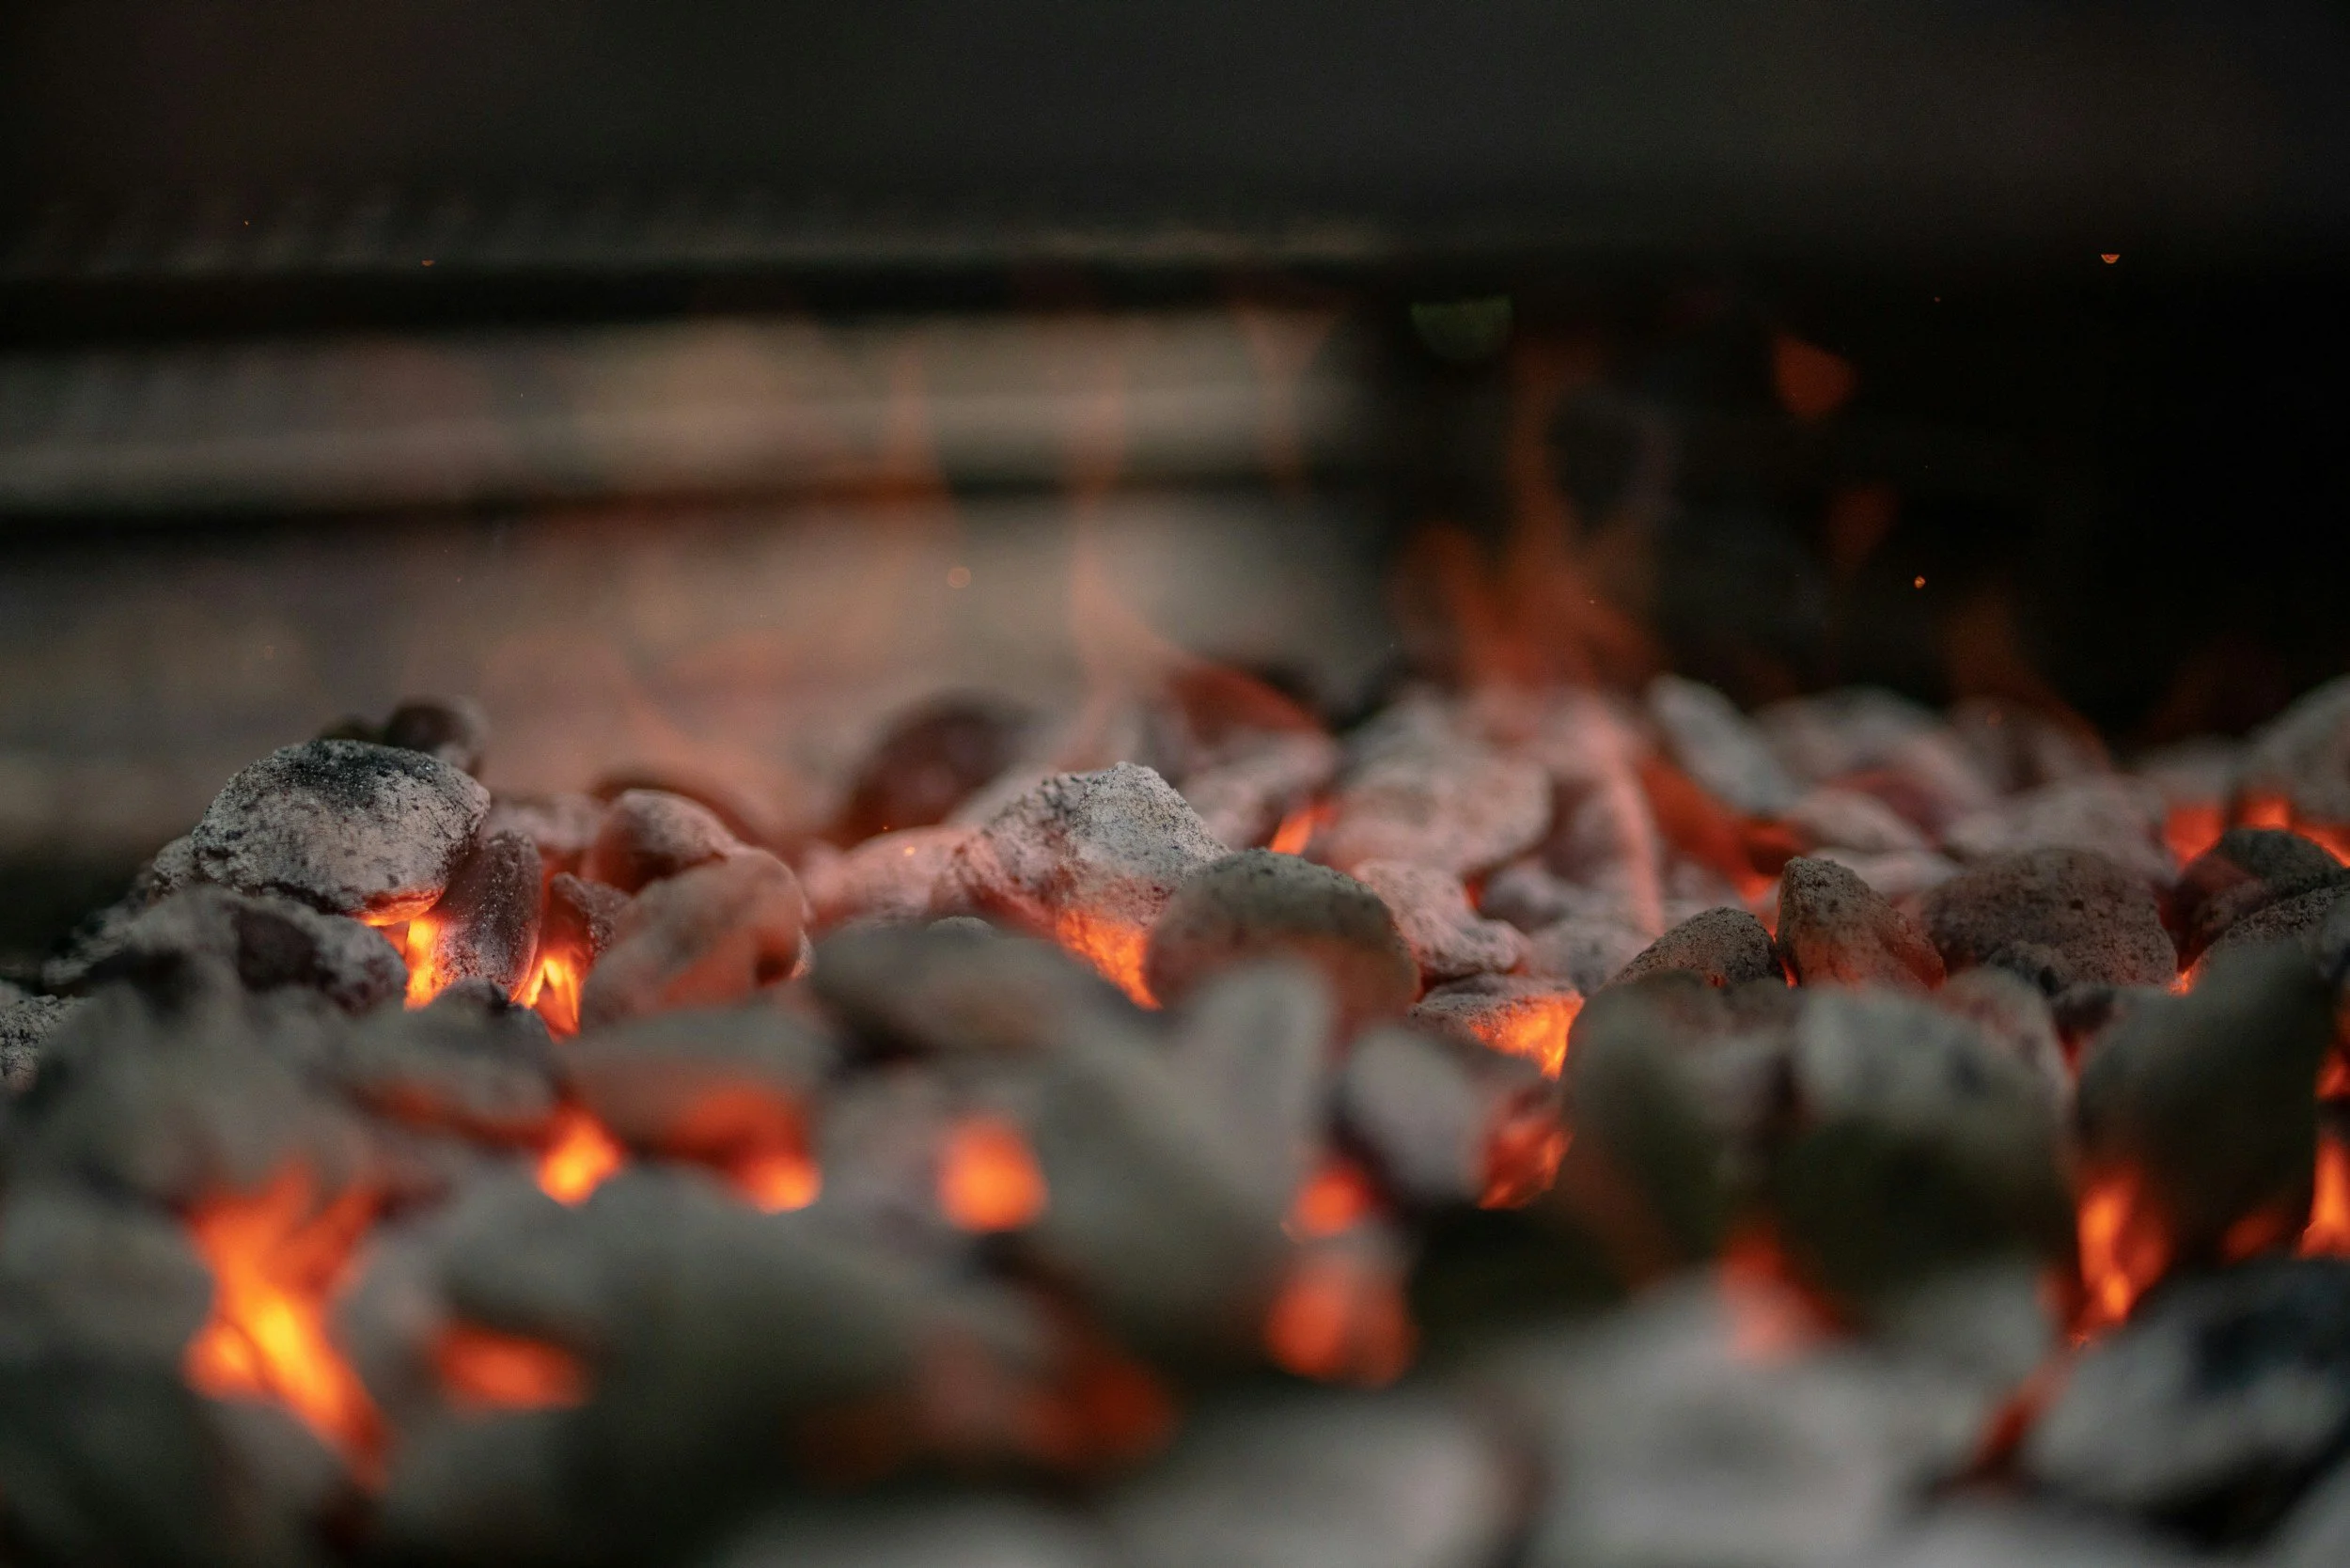
Charcoal grills shine for high-heat searing and smoky flavor. Making zones takes a little more setup, but it is very doable. You arrange the coals to one side to create a hot area and an indirect area.
Charcoal takes longer to change temperature than gas, so it rewards patience. Once you learn vent control and coal placement, you can cook with great precision.
Hybrid Options
Some grills mix gas and charcoal features, and some people use add-ons like charcoal baskets or diffuser plates. The key is not the label on the box. The key is whether you can create at least two distinct heat areas and control airflow and lid position.
Setup Basics Before Lighting
The best cooks start before the fire starts. A little prep makes everything smoother.
Cleaning The Grates
Old bits of food can stick and burn, and they can also make your new food stick. Clean grates help you get better grill marks, easier flipping, and cleaner flavor. A grill brush or scraper used on warm grates can help remove stuck-on residue. If you prefer, you can also use a tightly folded ball of aluminum foil held with tongs, but be careful and keep your hands away from heat.
Preheating Matters
Preheating is not just tradition. A hot grill helps food release more easily and helps you get better browning. It also helps kill off leftover bacteria on the cooking surface. Preheat with the lid closed so the grill heats evenly.
Oiling The Grates
A light oil on the grates can reduce sticking. The safest way is to oil the grates with a paper towel held with tongs, using a small amount of cooking oil with a decent smoke point. Avoid pouring oil directly onto flames or coals.
Airflow Basics
Airflow controls fire. On gas grills, airflow is mostly built in, but keeping the lid closed when you want steady heat is still important. On charcoal grills, airflow is a main control tool. More air usually means a hotter fire because the coals burn faster with more oxygen. (This is extremely important when working with a rocket stove.)
Building 2-Zone Grilling On A Gas Grill
Gas grills are friendly for zones because you can control burners.
Burner Layouts
If your grill has two burners, the setup is easy: one burner on, one burner off. If it has three burners, you often run one side hot and leave the other side off, or you run two burners on low and one off. With four burners, you can create an even bigger indirect area.
The goal is simple: one side is the heat source, the other side is the cooking area that is not directly above flame.
Turning Burners On And Off
A common two-zone setup is to preheat all burners, then turn off the burner or burners on one side. Keep the other side on to maintain heat. Adjust the lit burners to get the overall grill temperature you want.
Using The Lid
With gas, the lid is like the door of an oven. Lid closed holds heat and helps indirect cooking work. Lid open can help when you are searing fast and want to reduce smoky flare-ups, but it also dumps heat. For indirect cooking, lid closed is usually the move.
Building 2-Zone Grilling On A Charcoal Grill
Charcoal zones come from coal placement.
The Coal Bank Method
After your coals are lit, pile them on one side of the grill. That side becomes direct heat. The empty side becomes indirect heat. This is the classic two-zone charcoal setup.
Two-Level Fires
You can also create two levels by stacking coals more deeply on one side and using fewer coals on the other. This makes a very hot zone and a medium zone, plus an indirect area if you leave space. It is useful when you want more control without adding fancy tools.
Charcoal Baskets
Some grills use charcoal baskets to hold coals in a neat pile. These make it easy to keep a clean hot zone and a clear indirect zone. They also help when you need to add more coals, because you can add to the basket instead of chasing loose pieces around.
Going Beyond Two Zones
Two zones are enough for most cooks, but extra zones can be helpful.
A medium zone can be great for foods that need more heat than indirect but less than full blast. A warming zone is useful for holding finished food while other items cook. On many grills, the upper rack acts like a gentle warming area.
Do not make zones just to make them. Make them because you have a job for each one.
Temperature Control Fundamentals
Temperature control is not magic. It is a few simple levers you learn to use.
Lid On Or Off?
Lid on keeps heat in and makes the grill act like an oven. It also helps cook thicker foods and reduces the chance of one side burning while the other stays raw.
Lid off is useful for quick searing and for watching food closely, but it loses heat fast. If you keep the lid off too long, the grill can struggle to stay at a steady temperature, especially with charcoal.
Vent Control On Charcoal
Charcoal grills usually have bottom vents and top vents. The bottom vent controls how much air feeds the fire. The top vent helps pull air through the grill and controls how smoke and heat exit.
A common approach is to use the bottom vent as your main heat control and keep the top vent at least partly open so smoke can escape and airflow stays clean. If you shut vents too much, the fire can cool down and smoke can get stale.
Fuel Adjustments
On gas, fuel adjustments are knob changes. On charcoal, fuel adjustments often mean adding more charcoal or rearranging coals. Charcoal does not respond instantly, so make changes, then wait and watch.
Recovery Time
Every time you open the lid, heat escapes. The grill needs time to recover. Plan your flips and checks so you are not opening the lid every minute. When you work with zones, you can often avoid constant checking because you can move food to the safer indirect side and let it cook steadily.
Indirect Temps For Low And Slow
Low and slow cooking uses indirect heat at lower temperatures for longer times. It is common for larger cuts and ribs.
Many people aim for a grill temperature around 225 to 275 degrees F for low and slow cooking. That range is widely used in barbecue because it cooks gently and gives time for smoke flavor to build without burning the outside.
To maintain steady heat, focus on small adjustments. On charcoal, add a few coals at a time instead of dumping a whole pile in. On gas, use the lowest stable burner setting that holds your target temperature with the lid closed.
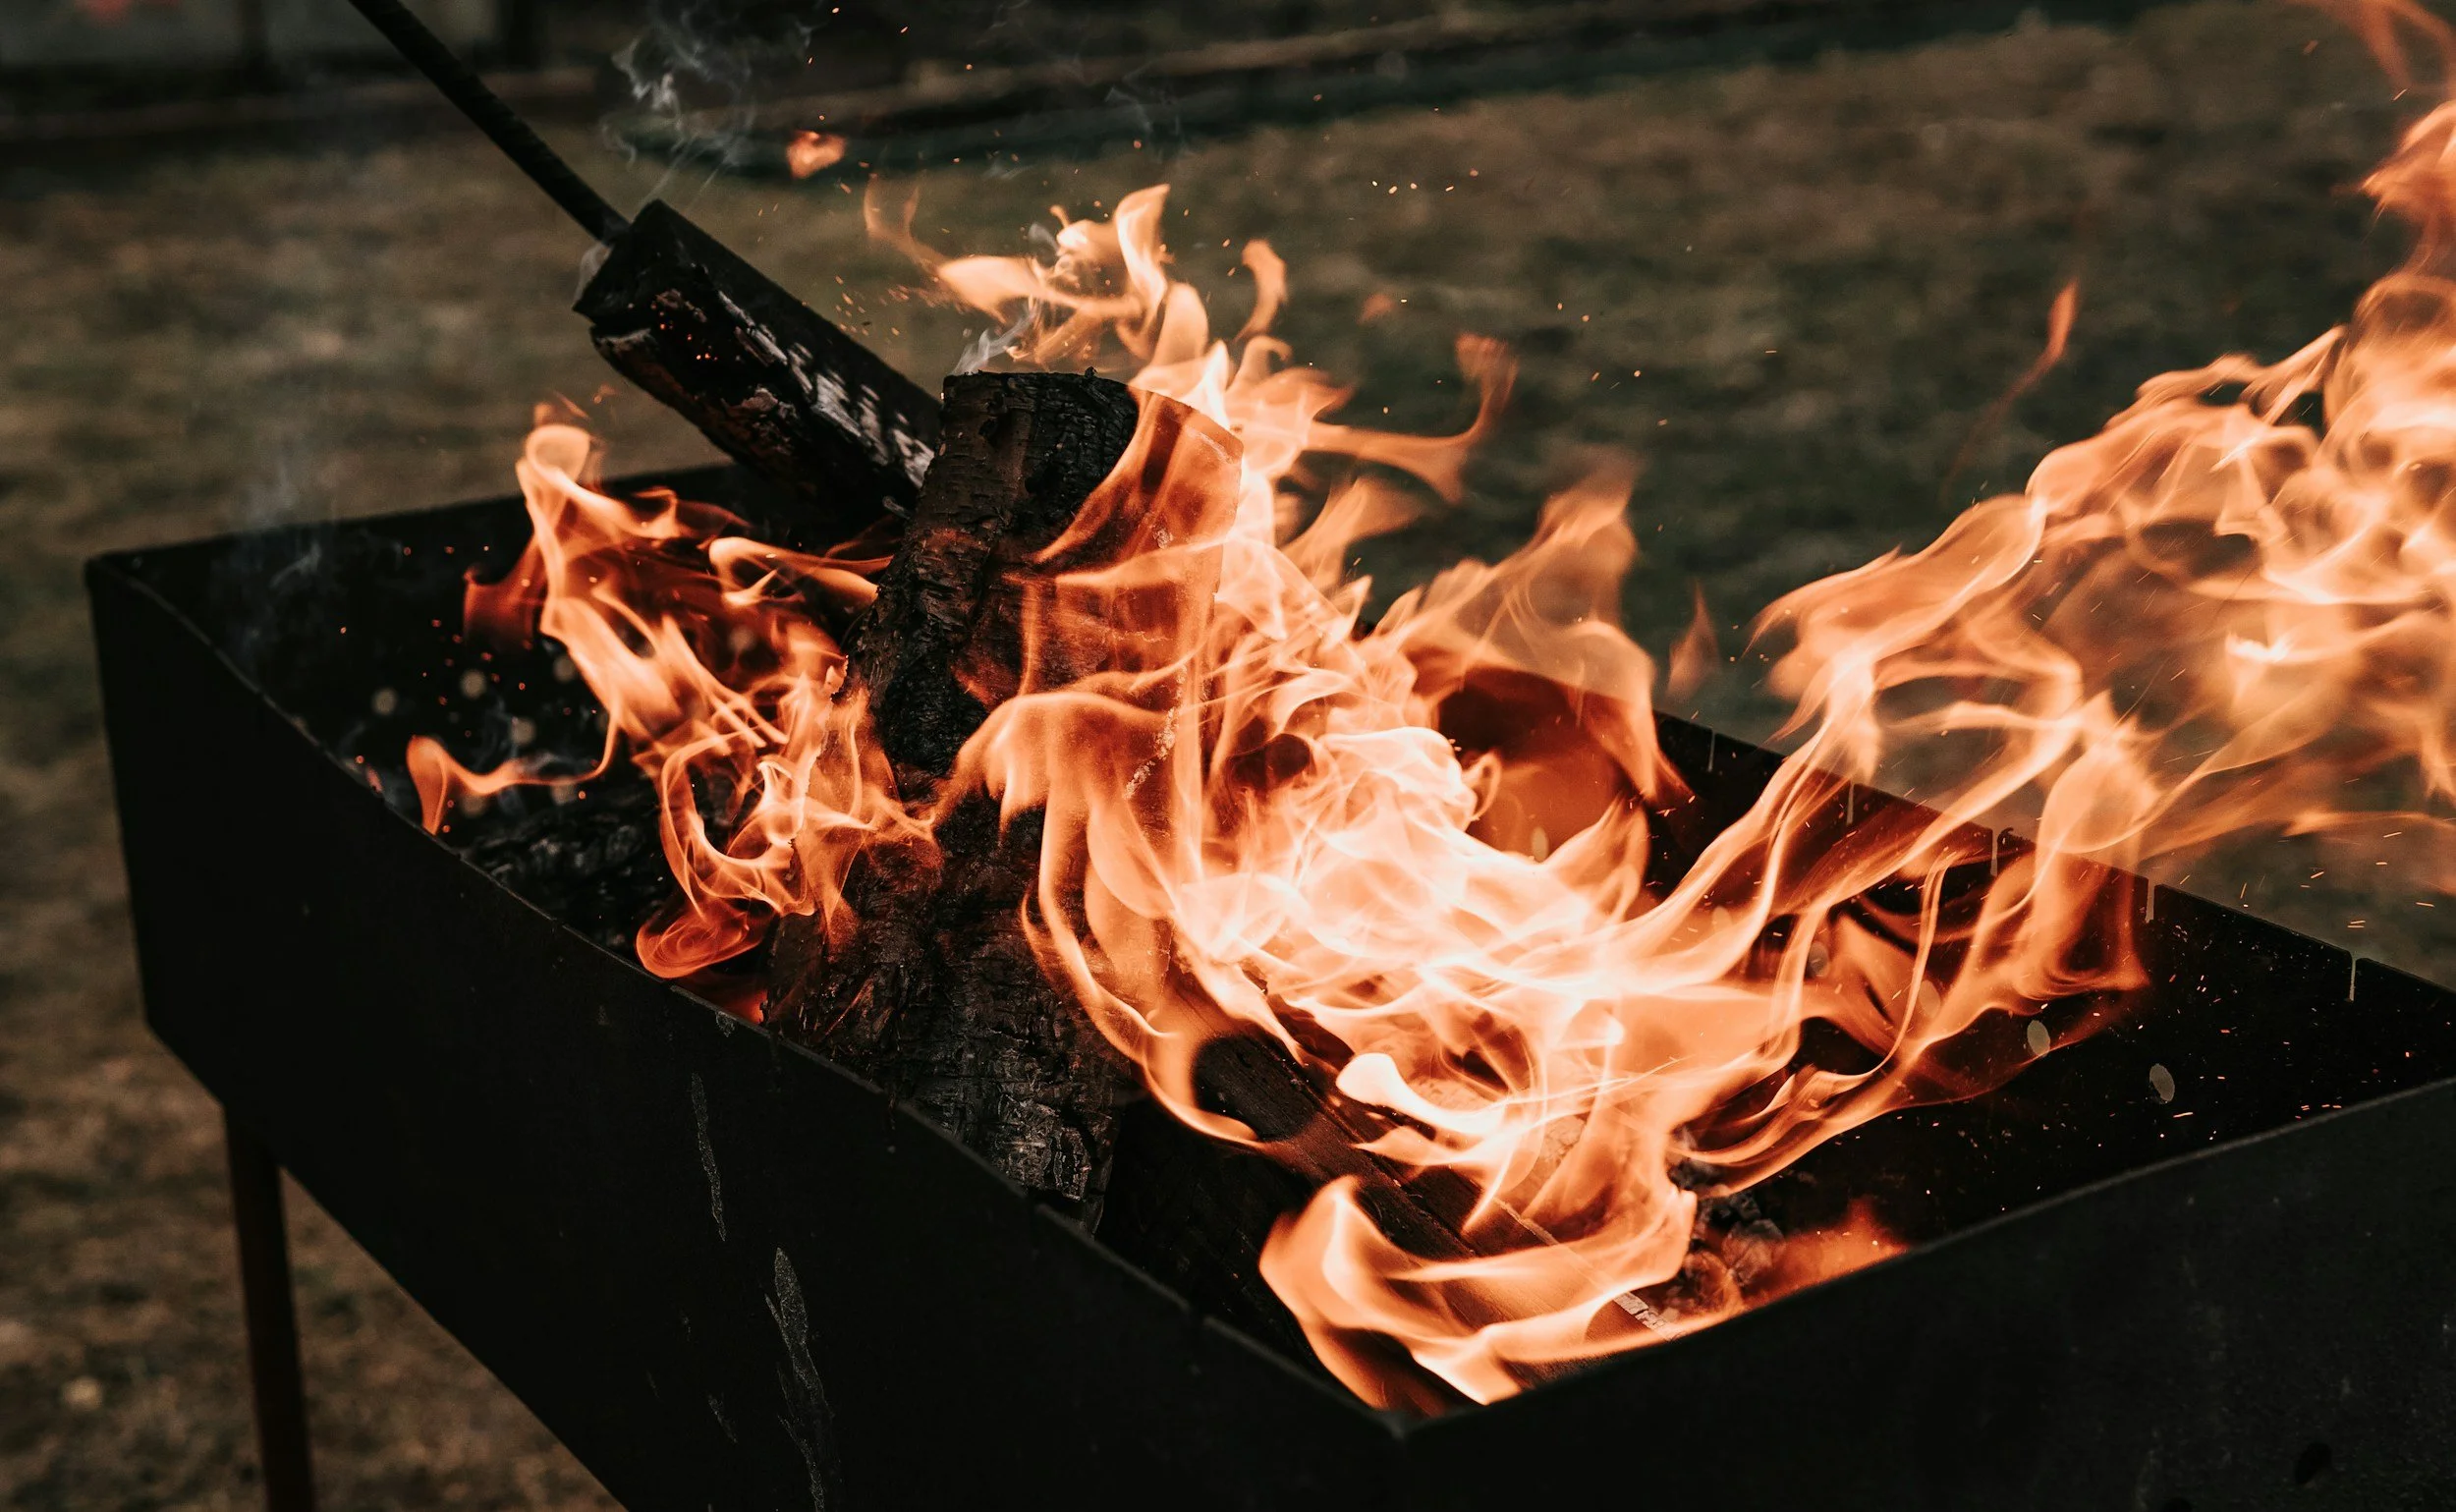
Adding Smoke
Smoke flavor comes from burning wood or charcoal cleanly and letting that smoke move across the food. On charcoal grills, wood chunks added to the coals are common. On gas grills, people often use a smoker box or a foil packet with wood chips, placed over a lit burner.
The goal is thin, steady smoke, not thick, harsh clouds. Too much smoke can make food taste bitter.
Charcoal Troubleshooting
Charcoal is amazing, but it can be moody. Here are common issues and what to do.
Vent Tuning
If the grill is too hot, close the bottom vent a little and wait. If it is too cool, open the bottom vent more. Small moves matter. Give it time to respond before changing again.
Adding Coals Safely
If you need more fuel, add lit coals when possible so you do not crash the temperature. You can light coals in a chimney starter, then add them to the hot zone. If you add unlit coals, expect more time before they fully catch, and plan for some extra smoke while they heat up.
Flare-Ups And Ash
Flare-ups happen when fat drips onto coals and flames jump up. The first fix is simple: move food to the indirect side and close the lid to reduce oxygen if needed. Do not spray water into the grill, because it can kick up ash and make a mess, and it can cool the grill in an uneven way.
Ash can block airflow, especially in smaller charcoal grills. If temperatures keep dropping, too much ash may be choking the fire. Safely clear ash only when the grill is cool, or use a grill designed with an ash catcher that can be managed safely.
Cooking With 2-Zone Grilling Step By Step
A simple process helps you repeat great results.
First, preheat the grill and build your zones. Make sure the direct side is hot enough to sear and the indirect side is ready to cook gently.
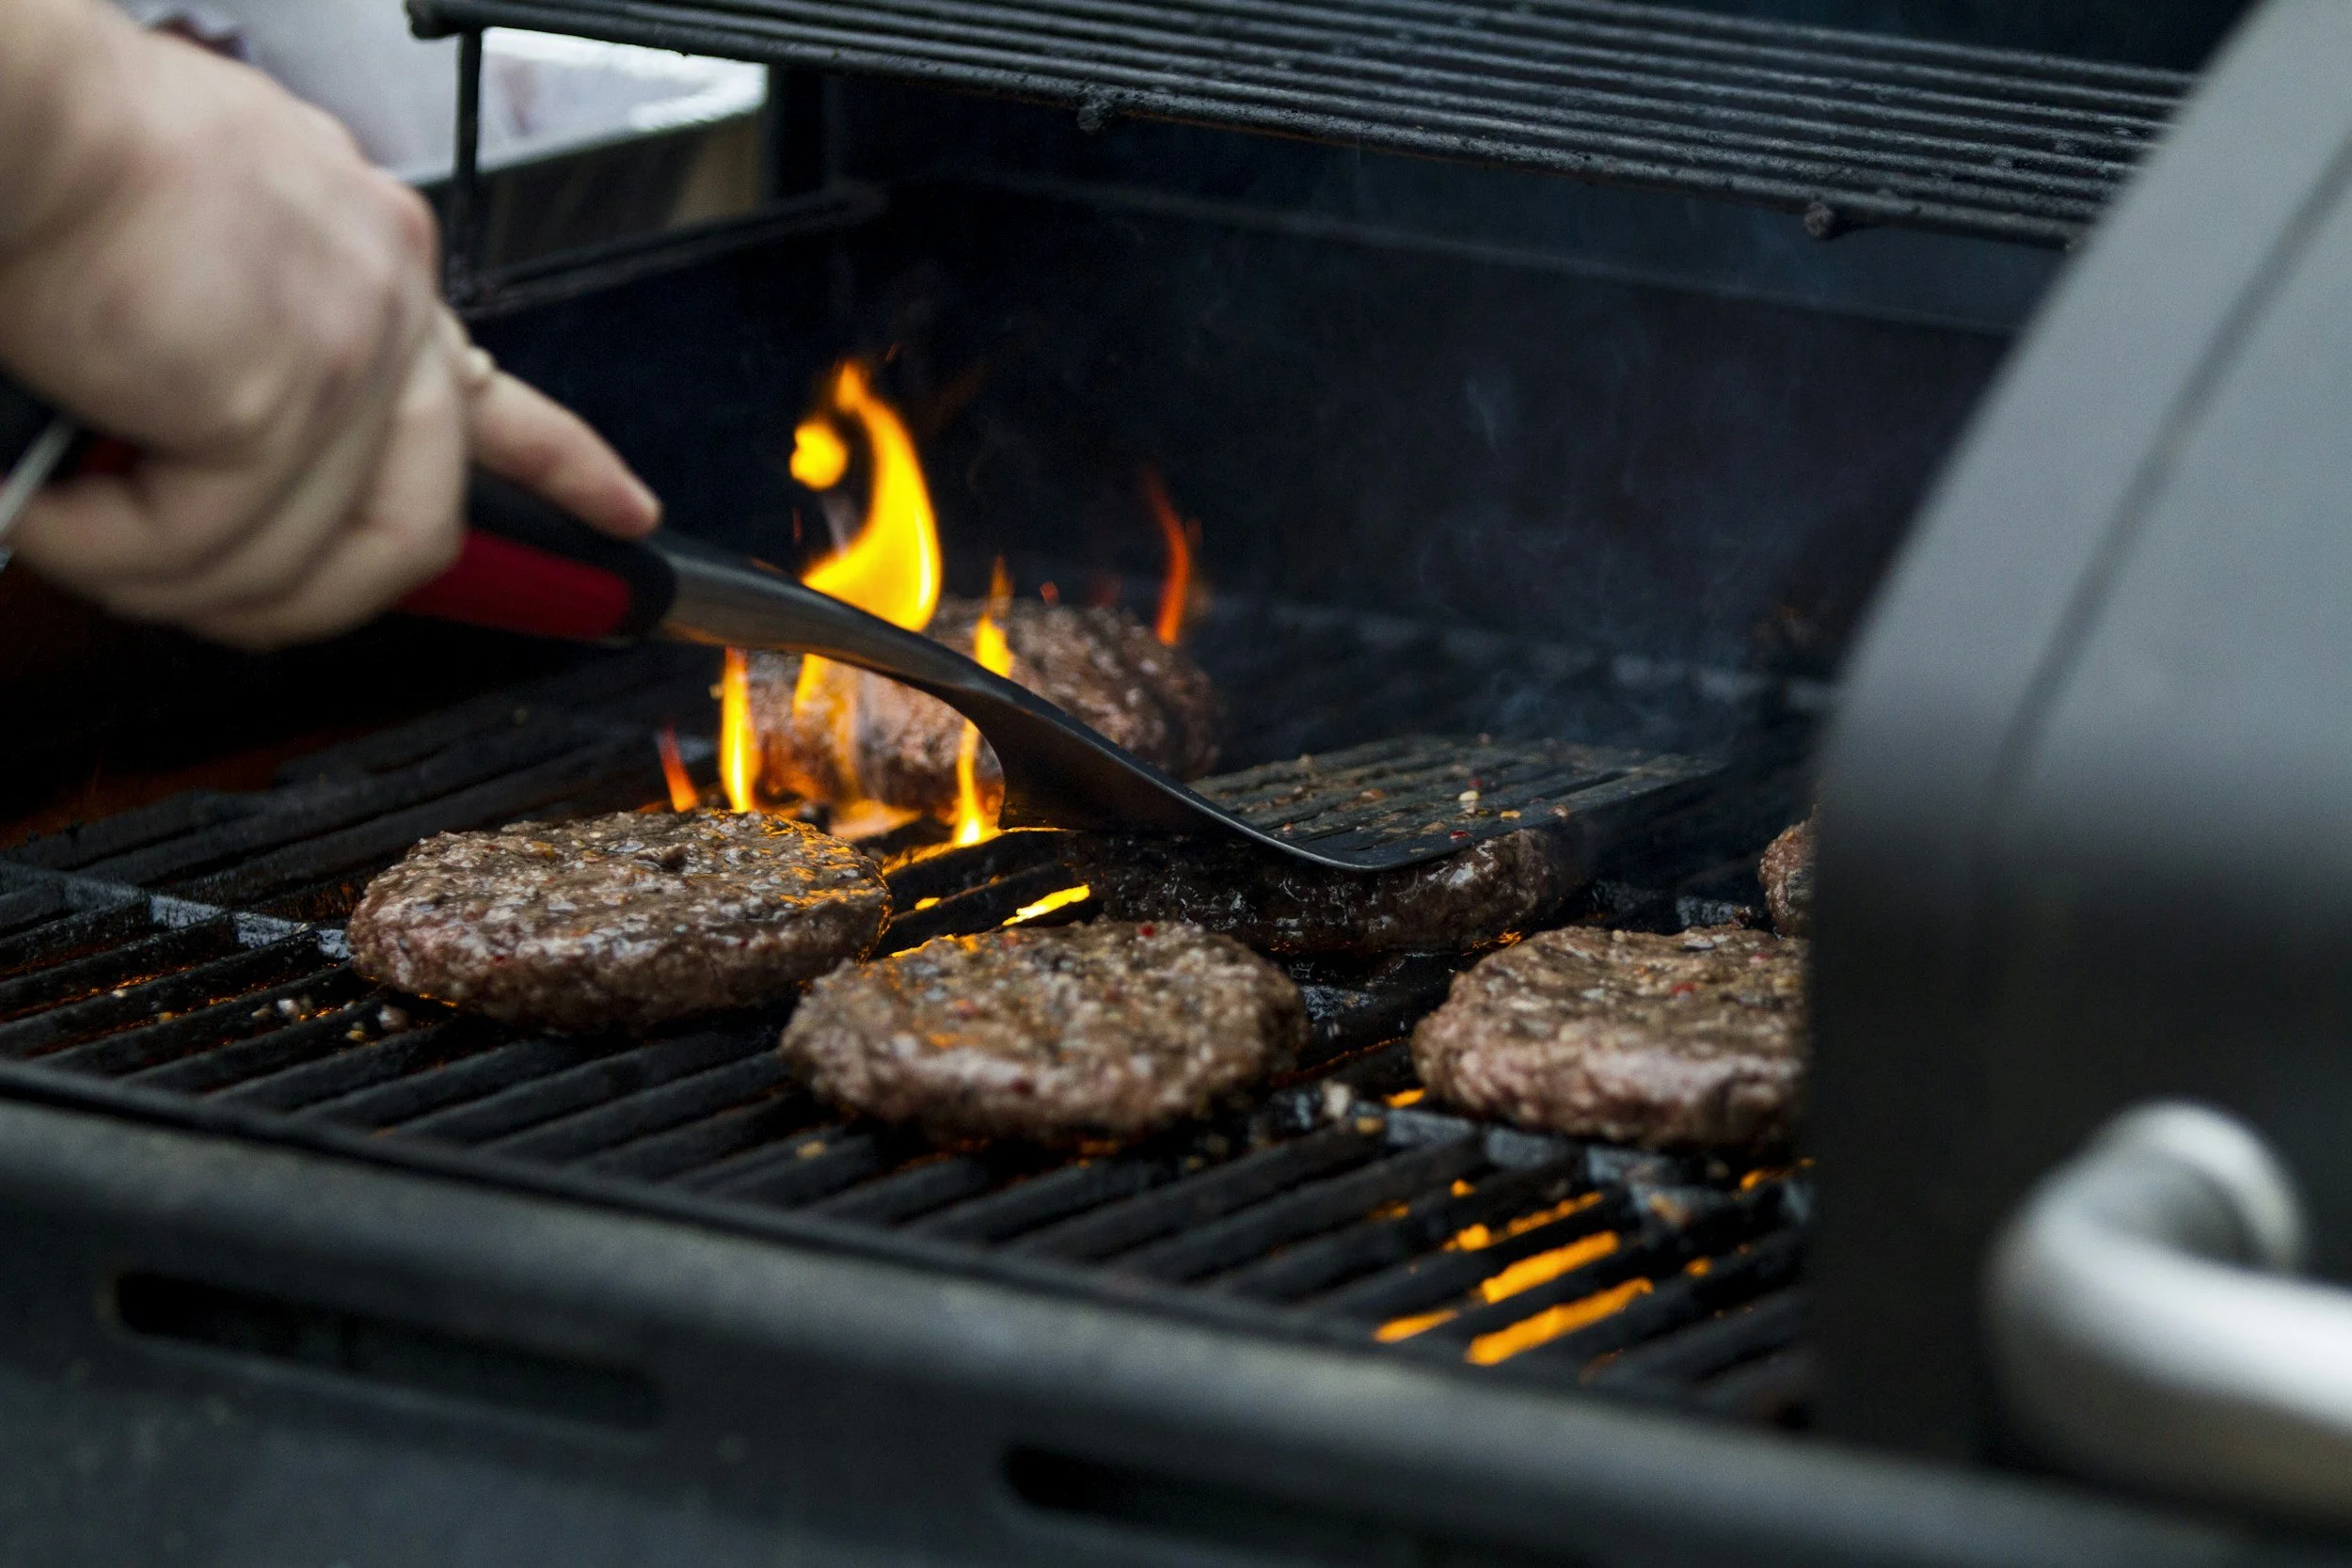
Next, sear over direct heat if your food needs browning. Sear with attention, not fear. Watch for color changes and listen for steady sizzling.
Then, move the food to the indirect side to finish cooking through. Close the lid to keep heat circulating like an oven.
When the food is done, rest it. Resting means letting it sit off the grill for a few minutes so juices can settle and carryover cooking can finish the last bit of heat work.
Finally, serve while it is hot and at its best.
Food Prep And Seasoning

Great grilling starts with great prep. You do not need fancy ingredients, but you do need a few smart habits.
Salt Timing
Salt helps flavor meat and can help it hold onto moisture during cooking. For thin foods, salting right before grilling works well. For thicker cuts, salting earlier can give salt time to move into the meat. If you salt ahead, keep the food chilled and covered.
Marinades, Rubs, And Sauces
Marinades can add flavor, especially to chicken and pork. Rubs build a tasty crust. Sauces add shine and sweetness, but be careful with sugar.
Sugar Burns Fast
Sugar can burn quickly over high direct heat. If a sauce is sweet, it is often best to apply it near the end of cooking or while the food is on the indirect side. That way you get caramelized flavor without a black, bitter coating.
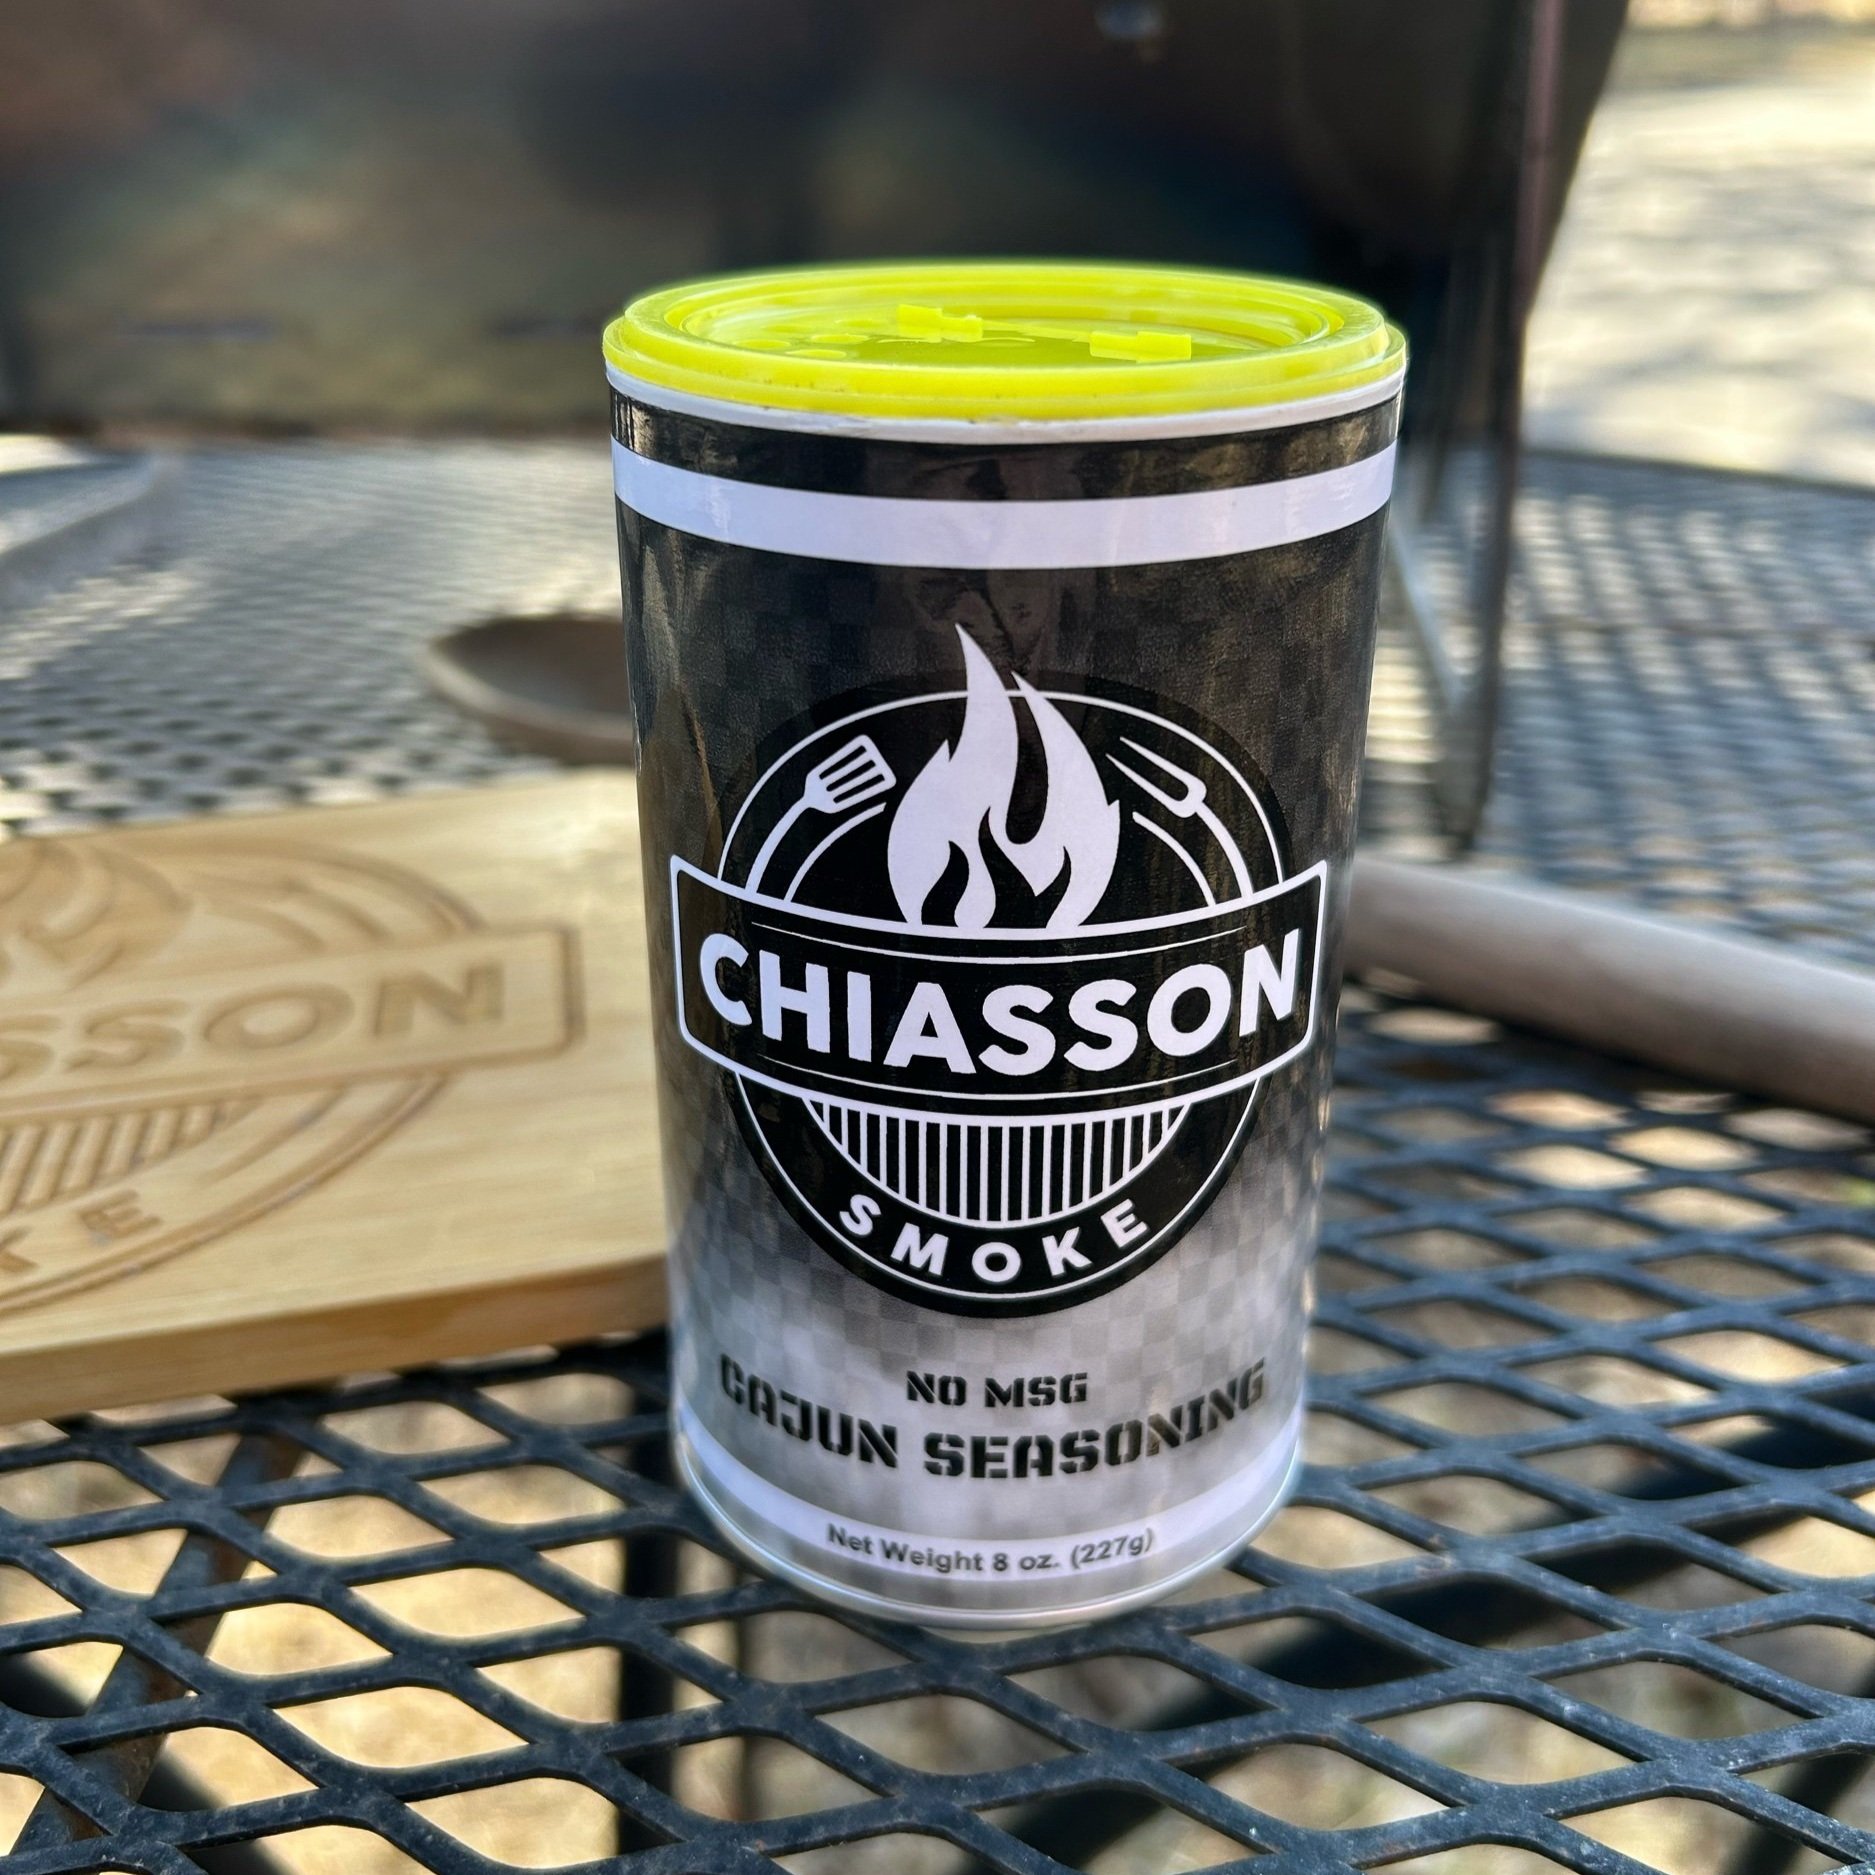
Bring the bold and savory taste of Cajun country straight to your kitchen with Chiasson Smoke Cajun Seasoning. This handcrafted blend is inspired by Jasons Louisiana roots and Mirandas love for Jasons high-quality, home-cooking. Whether you're grilling, smoking, or simply spicing up your favorite dishes, this seasoning delivers the perfect balance of heat, depth, and rich Cajun flavor.
Handling Fat And Flare-Ups
Fat is flavor, but dripping fat is also fuel for flames. Flare-ups are normal, especially with burgers, chicken thighs, and anything with skin.
The best flare-up plan is not panic. It is zones.
If flames jump up, move the food to the indirect side. Let the flames die down. Then decide if you need to trim extra fat next time, lower the heat, or cook with the lid closed more often. You can also reposition foods so dripping fat does not fall right onto the hottest part of the fire.
Think of the indirect side as your safety zone. It protects food and gives you a place to regain control.
Doneness And Safety
Guessing doneness can work sometimes, but a thermometer works almost every time. A simple instant-read thermometer can remove a lot of stress.
Carryover Cooking
Food can keep cooking after you pull it off the grill. That is called carryover cooking. Thicker cuts hold heat longer, so they can rise a few degrees while resting. Plan for that by pulling the food slightly before the final target temperature.
Safe Internal Temperatures
For safety, use trusted temperature guidance. In the United States, common food safety guidance includes cooking poultry to 165 degrees F. Ground meats are often recommended at 160 degrees F. Whole cuts of beef, pork, lamb, and fish have different targets depending on preference and safety guidance, and many people choose higher or lower final temperatures based on doneness goals.
Because recommendations can vary by country and can change over time, check your local food safety agency for the most current advice. The key point is this: grill zones help you reach safe temperatures without burning the outside.

Pro Tips That Feel Like Magic
These are not secrets. They are habits.
Track Grate Temperature
The built-in lid thermometer measures air near the lid, not the exact heat at the grate. Your food sits on the grate, so that is what matters most. You can learn your grill by practice, or you can use a grate-level thermometer if you want to be more exact.
Use The Lid Like An Oven
When cooking on the indirect side, keep the lid closed as much as possible. This helps the heat wrap around the food. It also helps render fat and cook evenly.
Rotate And Reposition
Most grills have hotter and cooler spots, even within one zone. Rotate food positions if one piece is cooking faster. Move items a few inches if you notice uneven browning. Zones give you the big structure, and small moves give you fine control.
Avoid The Hot Spot Trap
If one area always burns food, do not fight it every time. Make that spot your dedicated sear area and do the rest of the cooking on the indirect side.
Common Mistakes And Quick Fixes
A few common mistakes can make grilling harder than it needs to be.
Overcrowding is a big one. When the grill is packed, air and heat cannot move well. Food steams instead of browns, and it becomes harder to manage flare-ups. Leave a little space so heat can flow and you can move items between zones.
Wrong zone placement is another issue. If you put thick chicken breasts directly over high heat and leave them there, the outside can overcook before the inside is safe. The fix is to sear briefly, then finish on indirect.
Constant flipping can also cause trouble. Flipping is not bad, but flipping every few seconds can slow browning and make you lose track of progress. Let the grill do its job, then flip with a reason.
Chasing temperatures is a common charcoal problem. If you adjust vents over and over, the grill never settles. Make one small change, then wait. Stable heat is better than perfect heat.

Example Cook Flows
Seeing zones in action makes them easier to understand. Here are simple cook flows you can use as templates.
Steaks
For thicker steaks, start on the indirect side with the lid closed until the inside is close to your doneness goal. Then move to direct heat for a fast sear on each side to build a crust. Rest, slice, and serve.
For thin steaks, you can stay mostly on direct heat, but keep the indirect side ready in case the outside darkens too fast.
Chicken Pieces
Chicken pieces are perfect for two-zone grilling. Start with a brief sear on direct heat to build color, then move to indirect heat with the lid closed to cook through. If you want crispier skin, finish with a short return to direct heat, watching carefully.
Thick Pork Chops
Sear first over direct heat to get browning, then finish on indirect heat until the inside reaches your target. Resting matters here because thick chops can lose juices if you cut too soon.
Burgers
Burgers do well with a hot direct zone for searing. If flare-ups start, slide them to indirect for a moment. If you add cheese, the indirect side with the lid closed can melt it nicely without burning the bottom.
Ribs
Ribs are usually an indirect heat project. Keep them on the indirect side with the lid closed and maintain a steady grill temperature in a low and slow range. Add wood for smoke if you like. If you sauce them, do it near the end and avoid scorching by using indirect heat.
Closing Checklist
Grill zones are not complicated, but they do reward a quick mental check before you start.
Make sure you have a clear hot side and a clear cool side. Preheat so food does not stick. Keep tools ready so you are not searching while flames rise. Use direct heat for fast browning and indirect heat for gentle finishing. Move food with purpose. Use a thermometer to confirm doneness, and remember carryover cooking while resting.
If you do those things, grilling stops feeling like a guessing game. It starts feeling like you are driving the cook instead of chasing it. And that is what grill zone basics are really about: building control, one delicious meal at a time.