
Reverse Searing
The Secret to a Perfect Steak?

The Steak Struggle Is Real
Let’s be honest. Cooking steak can feel like trying to do magic. One second too long in the pan, and suddenly your juicy ribeye turns into a hockey puck. You want that perfect pink center, that crispy edge, that melt-in-your-mouth flavor. But too often, you end up with meat that’s raw in the middle or dry as a desert.
If you've ever asked yourself, “Why can’t I cook steak like the fancy restaurants do?” — good news. You can. And the secret is something called reverse searing.
Don’t let the name scare you. Reverse searing sounds like a secret code used by chefs, but it’s actually a simple way to cook steak that makes everything easier — and tastier.
What Is Reverse Searing?
Reverse searing is the opposite of how most people cook steak. Normally, people sear it first — which means cooking it quickly in a super-hot pan to get a crust — and then stick it in the oven or let it finish slowly.
Reverse searing flips that around. First, you slowly cook the steak until it's just about done. Then, you sear it quickly at the end to get that delicious, golden-brown crust.
It’s like baking your steak gently, then giving it a high-five with heat.
Why does this matter? Because it helps your steak cook more evenly. No more overcooked edges and undercooked middles. Just juicy, tender steak from top to bottom.
The Magic of Low and Slow
Cooking steak slowly at a low temperature might sound weird. Isn’t steak supposed to be hot and fast?
Not always.
When you cook steak low and slow — usually in the oven or even on a grill with indirect heat — something amazing happens. The heat spreads gently through the meat. That means the inside cooks without rushing, giving you more control.
Instead of burning the outside while hoping the inside catches up, you get an even cook. Like putting a blanket in the dryer and knowing the whole thing will come out warm, not just the edges.
And when the steak reaches the perfect internal temperature (usually around 120–125°F for medium-rare), that’s when you hit it with the sear.
See also: 7 Best Things to Smoke on a Smoker
Let’s Talk Crust
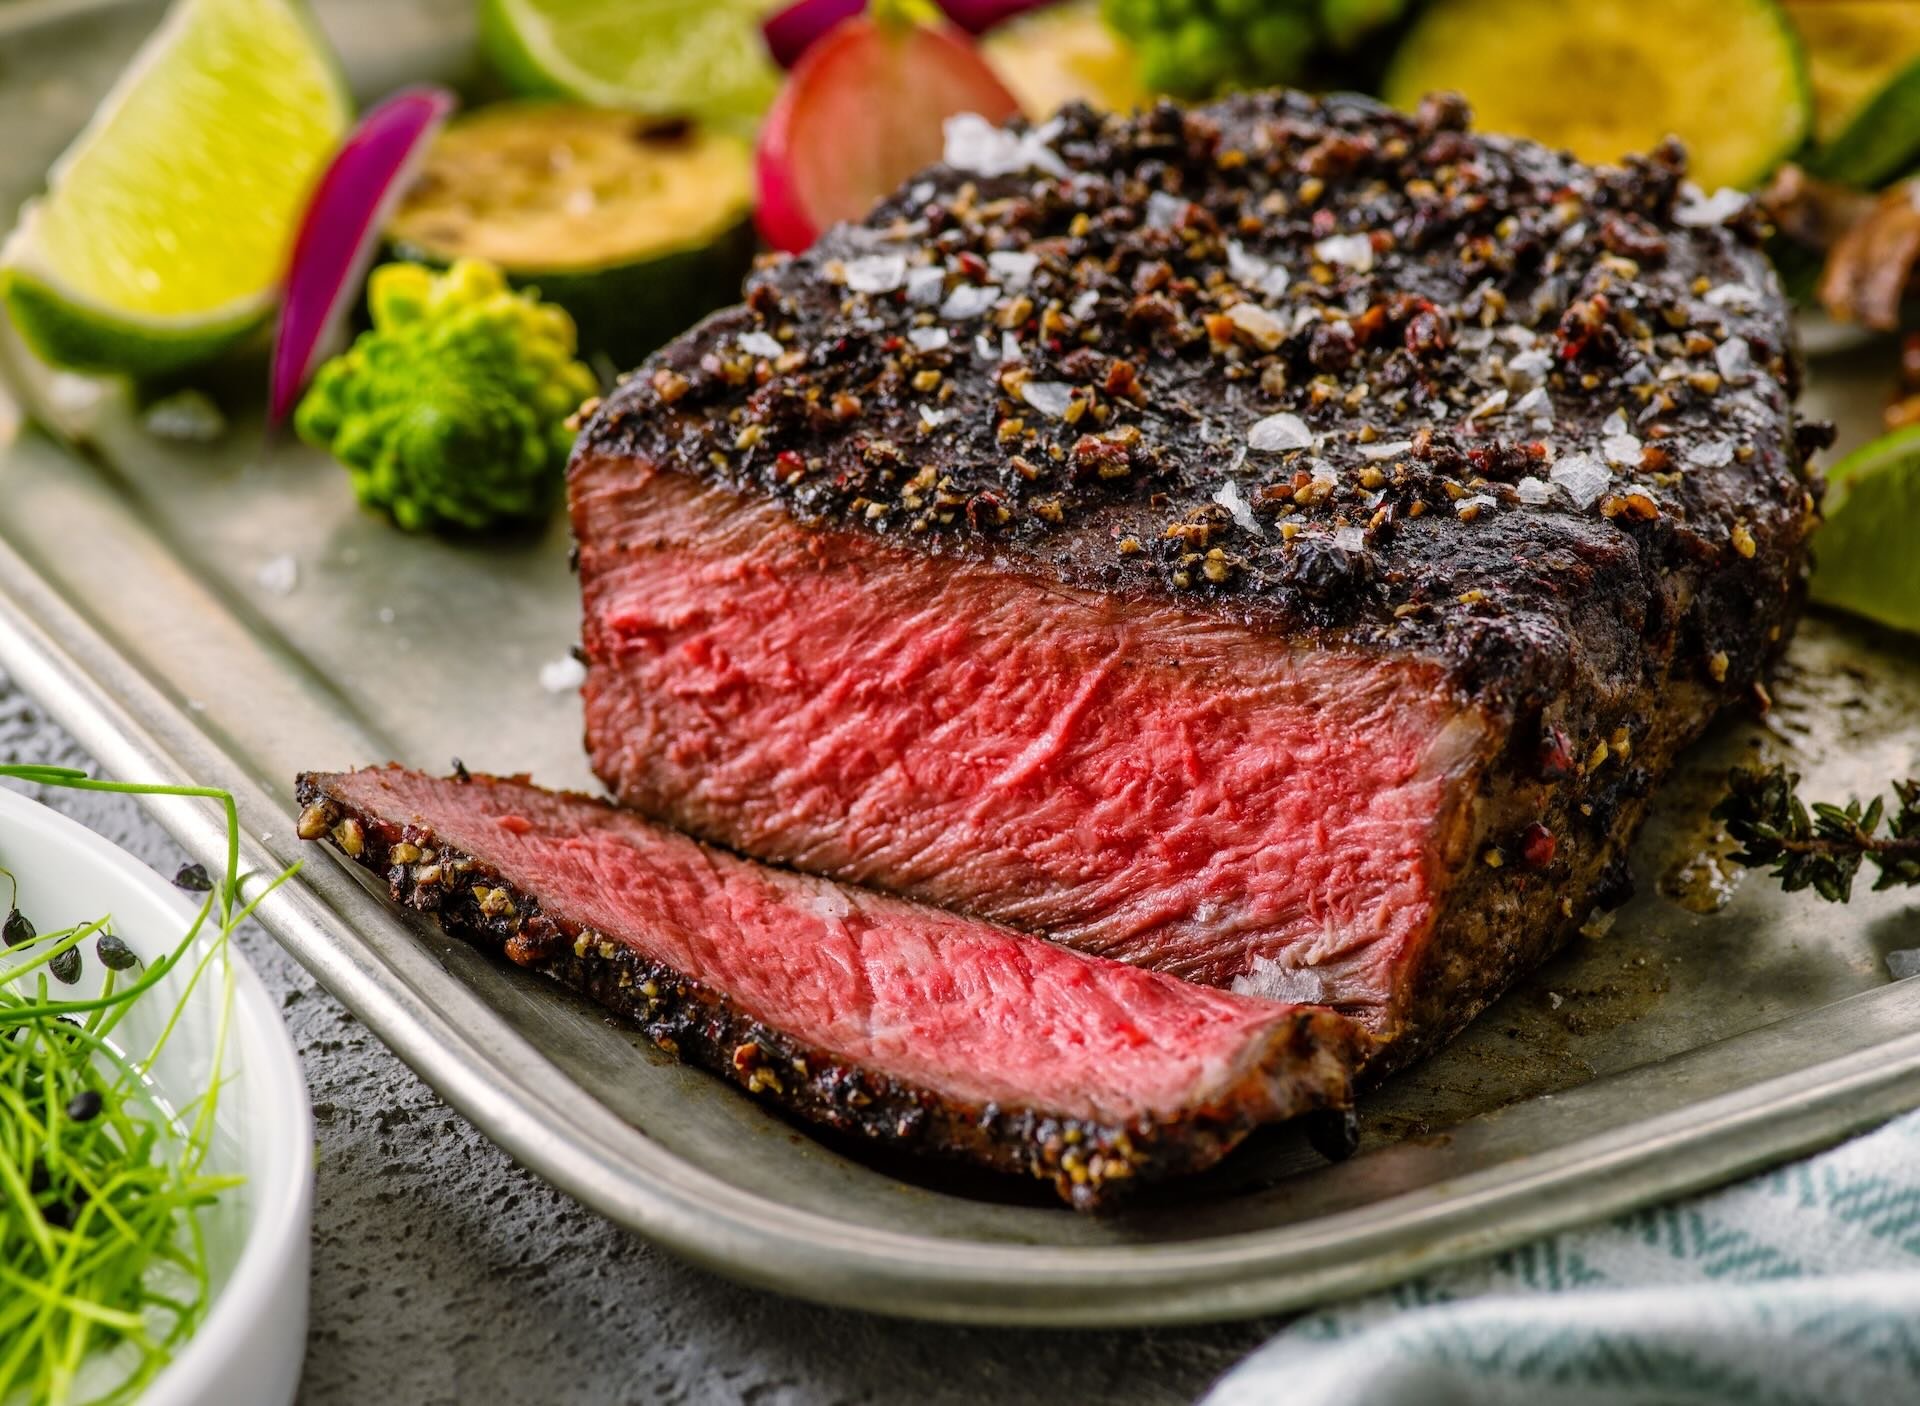
The crust is what gives steak its wow factor.
That deep, brown, crackly layer on the outside? That’s where flavor lives. And here’s the cool part: when you sear at the end, the crust gets even better.
Since the steak is already warm, it doesn’t need to sit in the hot pan long. You’re not trying to cook it anymore — just finish it off. That means less risk of overcooking and more chance for a perfect golden crust.
It also means the inside stays juicy, because all that flavorful juice hasn’t had a chance to run away from too much heat.
Step-by-Step: How to Reverse Sear a Steak
Here’s a simple outline of what reverse searing looks like:
Choose a thick steak (at least 1 inch).
Season it well with salt and pepper.
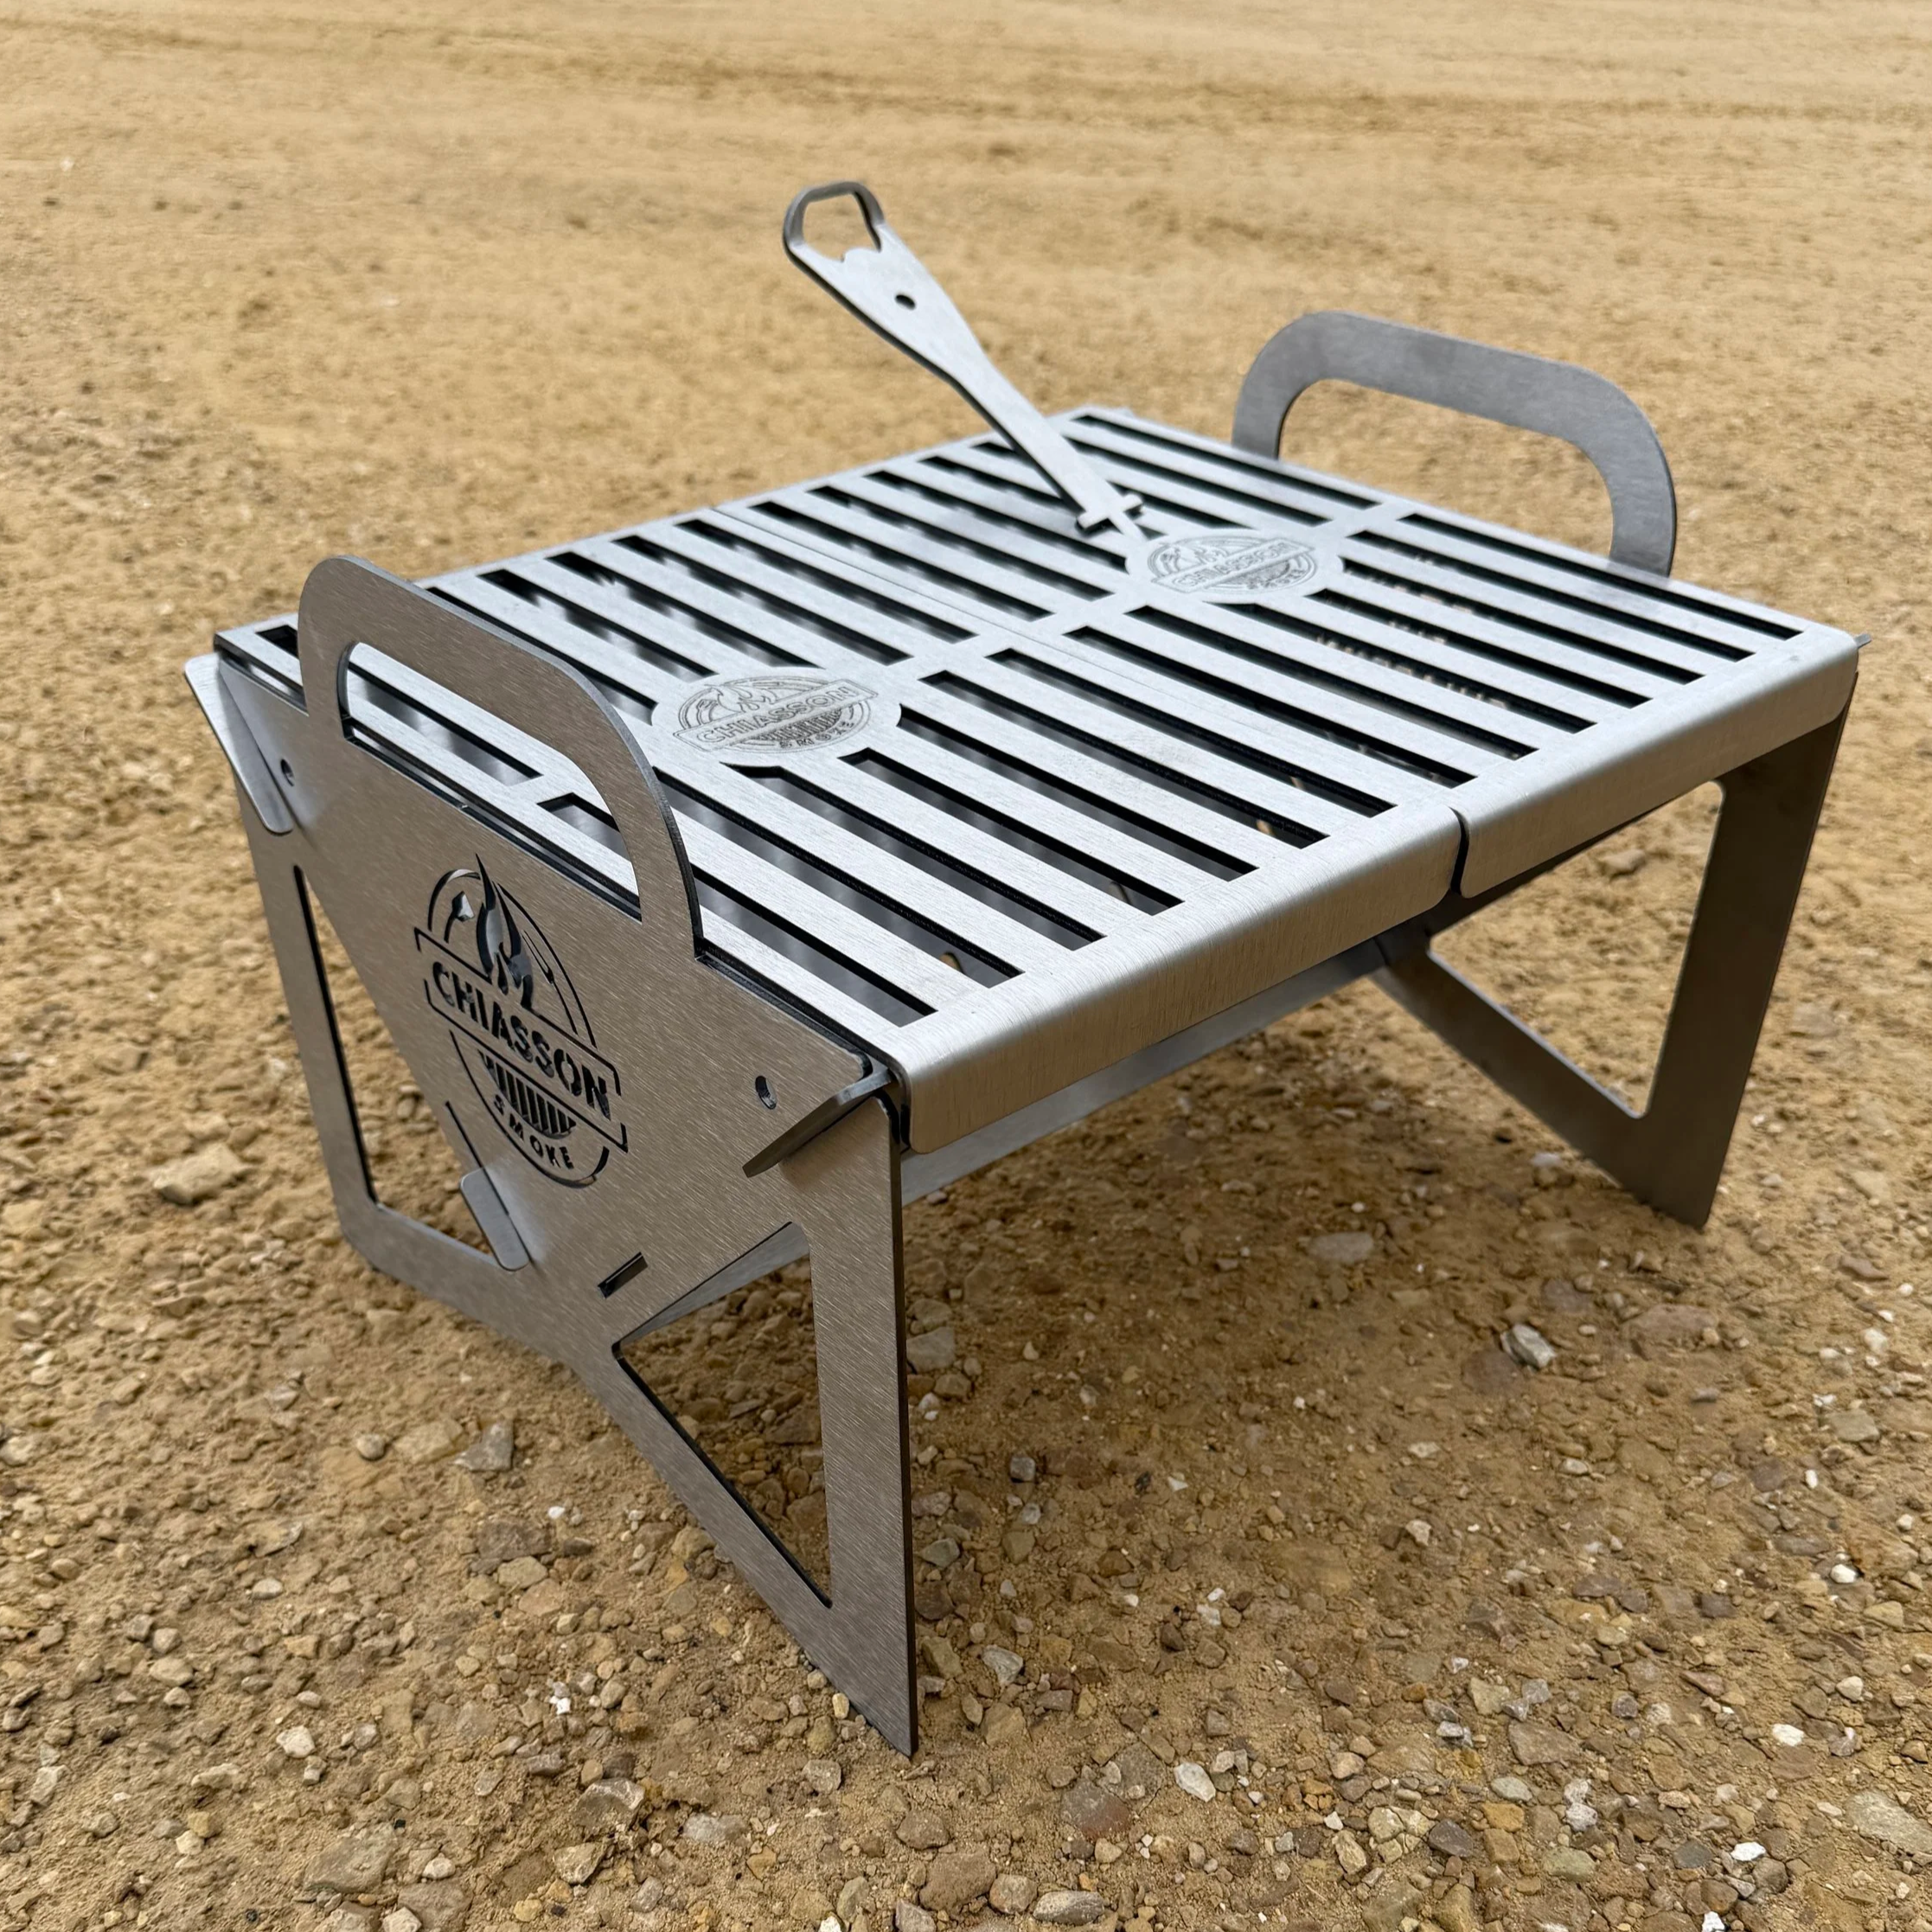
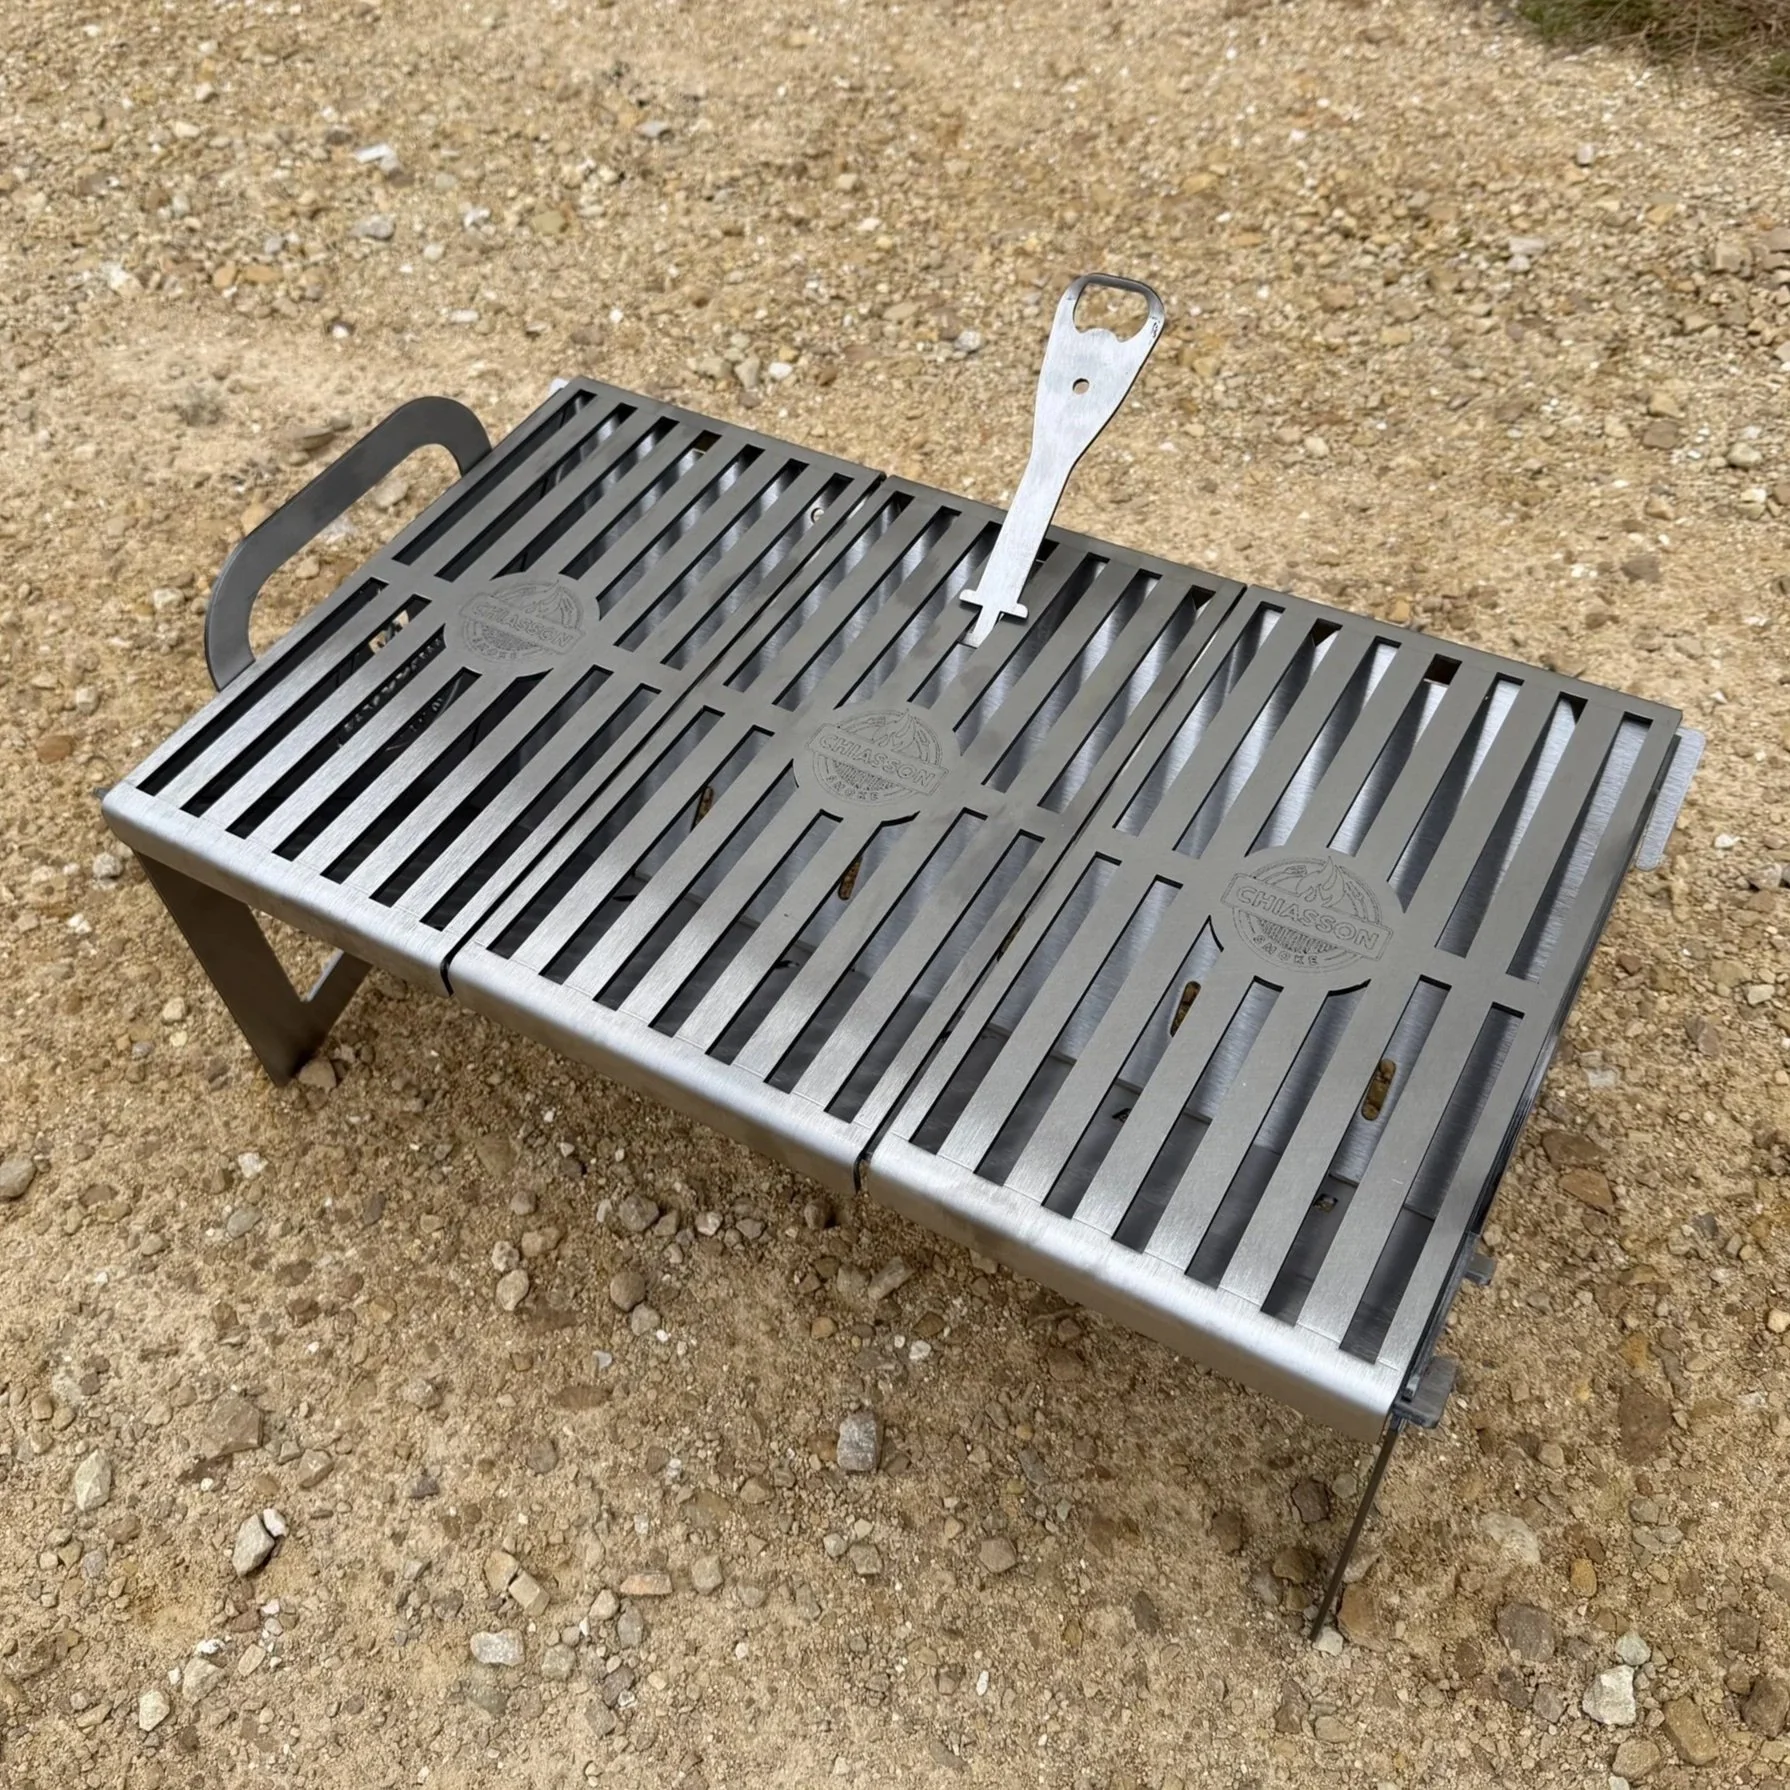
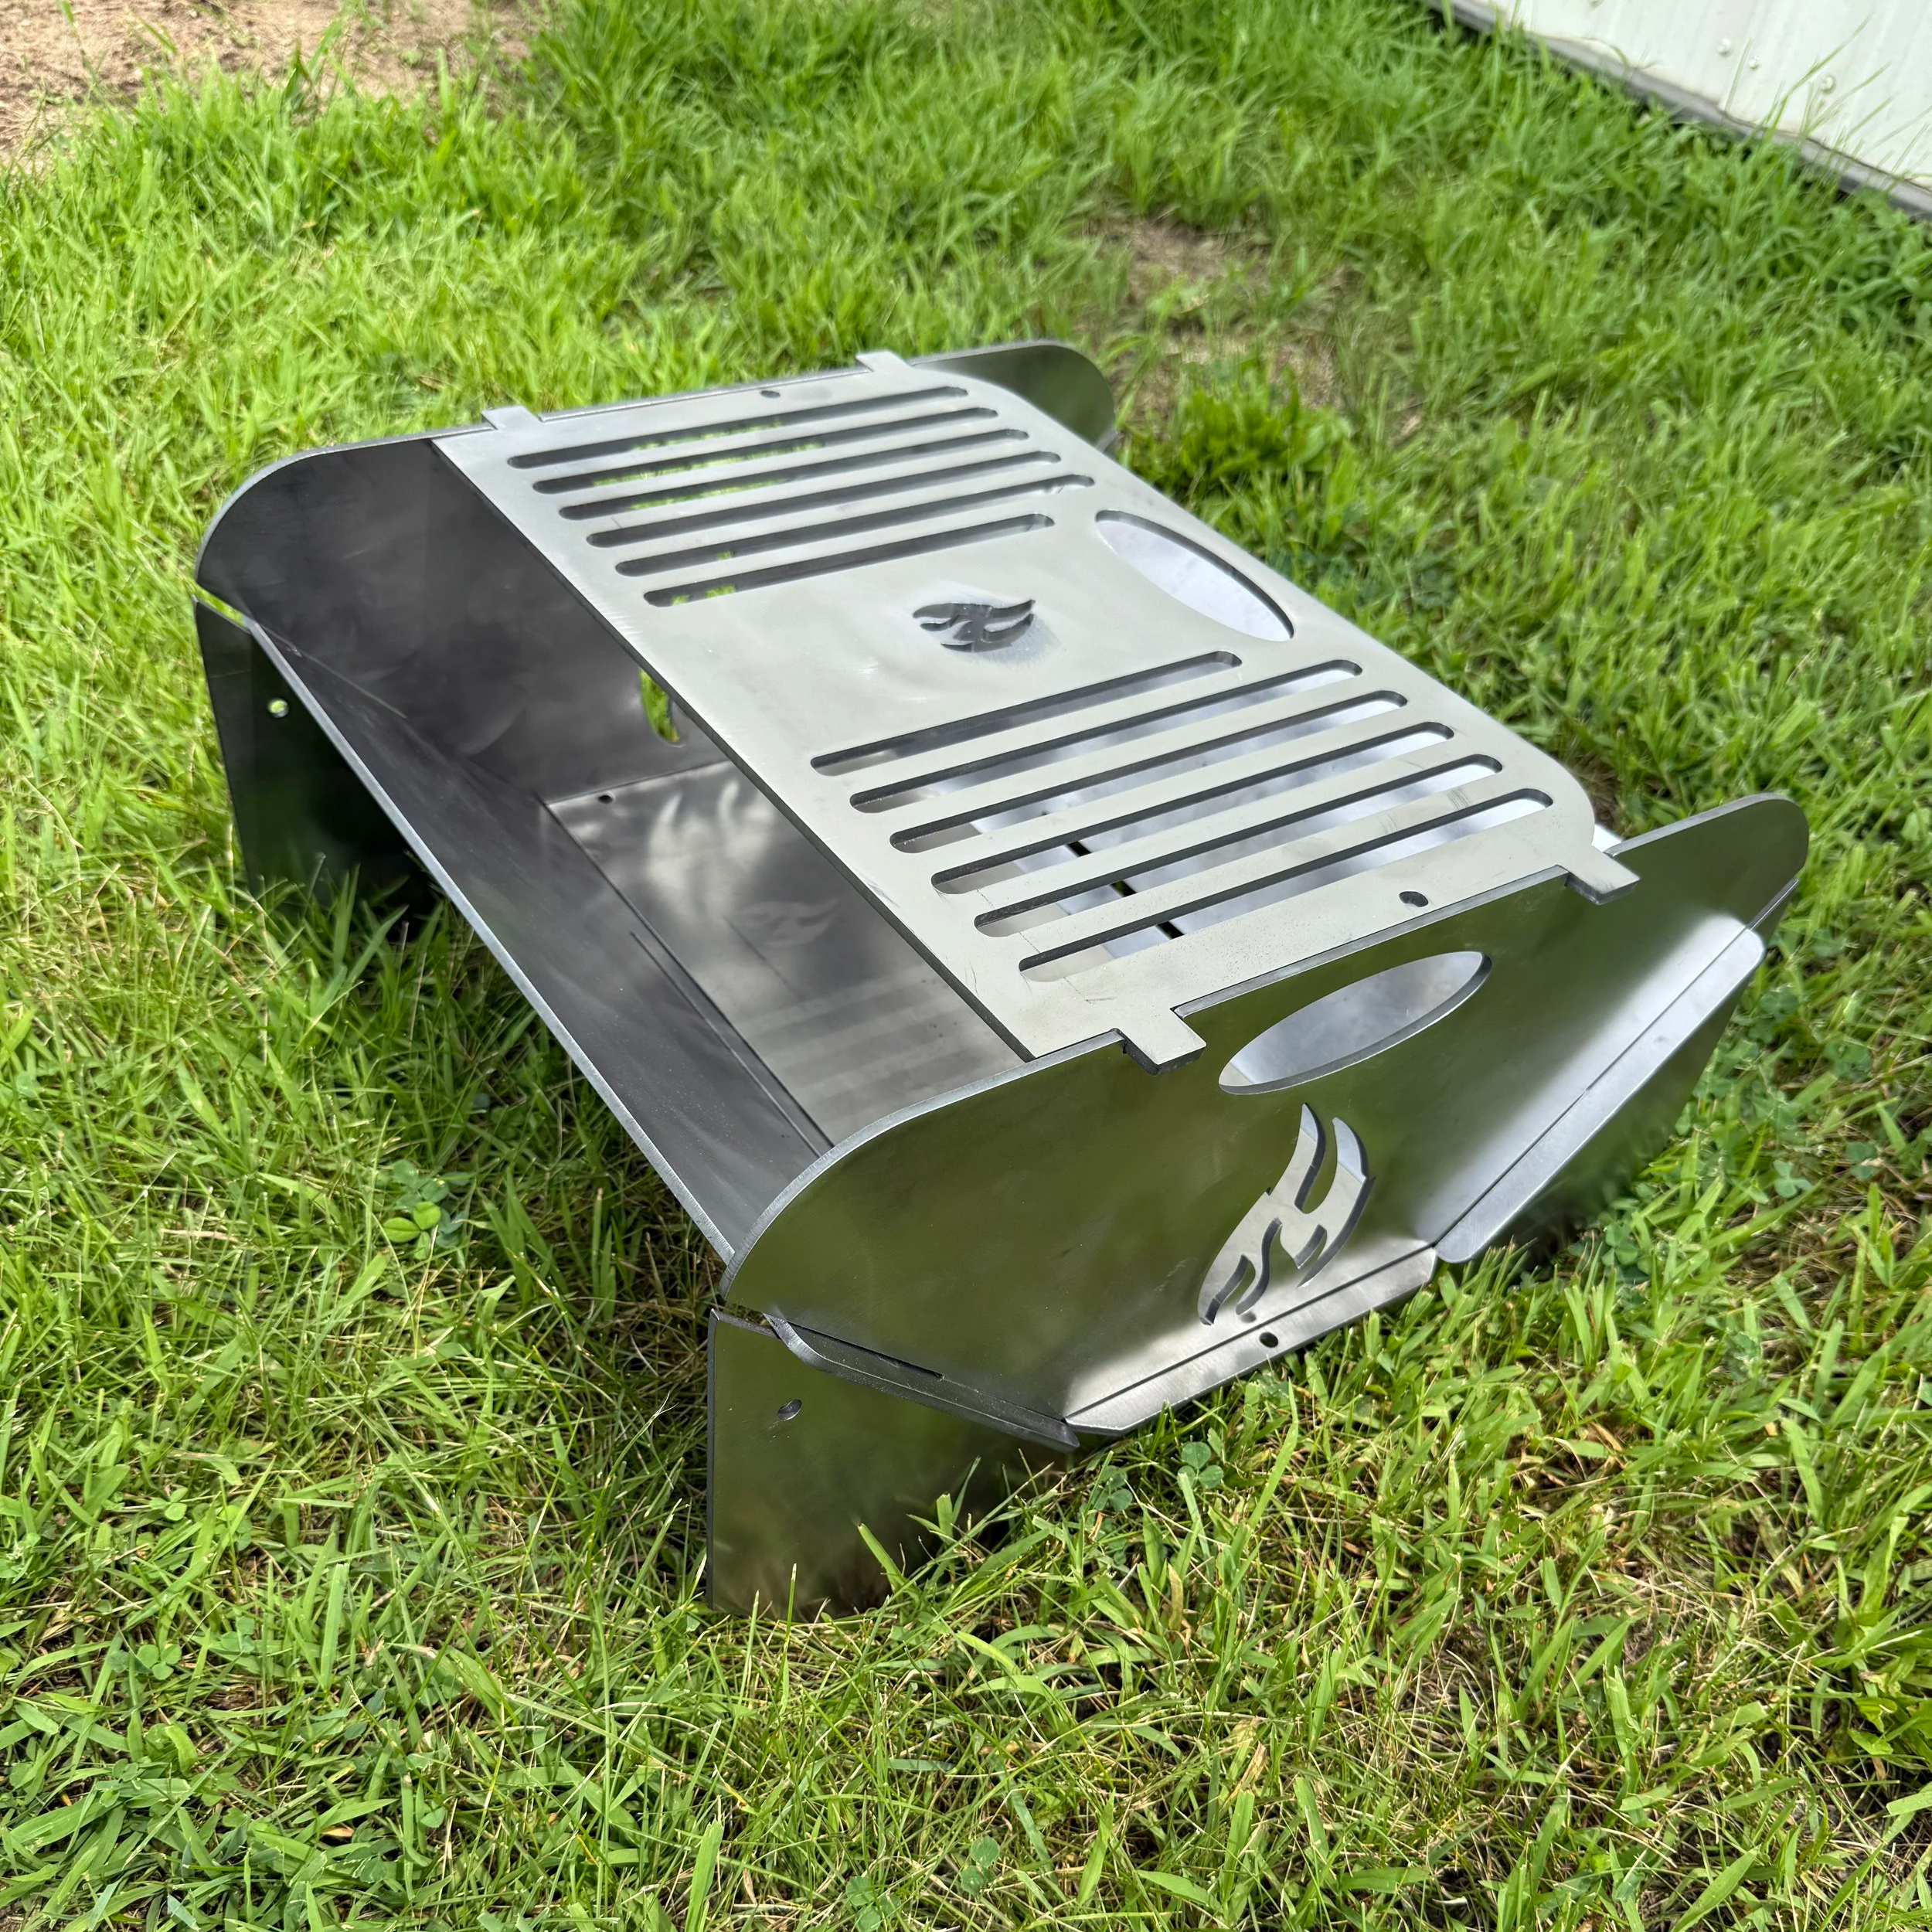
Cook it low and slow (in the oven or on a grill or rocket stove) until it’s almost done.
Rest it for a few minutes.
Sear it quickly in a blazing-hot pan or on the grill (if it’s a grill, make sure it’s seasoned correctly).
Slice and enjoy!
Now let’s break that down.
Choosing the Right Steak
This method works best with thick cuts — think ribeye, strip steak, filet mignon, or porterhouse. Anything less than an inch thick cooks too fast to benefit from reverse searing.
Why thick? Because you want time for the heat to move through the steak slowly. If it’s too thin, it’ll be fully cooked before you can reverse anything.
Also, bone-in steaks? Totally fine. In fact, many people say bone-in steaks have more flavor. (It’s a debate, but you do you.)


Season Early
Salt is your steak’s best friend. It doesn’t just make things taste better — it actually helps tenderize the meat.
If you can, salt your steak at least an hour before cooking. Or better yet, the night before. Just keep it in the fridge uncovered. This helps dry out the surface so the crust gets even crispier later.
Pepper is great too, but some people wait to add it until after searing because it can burn in the pan. That’s up to you. Want to get fancy? Add garlic powder, paprika, or even a little brown sugar.
Oven or Grill? Your Choice.
You can reverse sear in your oven or on your grill (or rocket stove). Both work great.
Oven method:
Put your steak on a wire rack over a baking sheet. Set the oven to around 225°F and cook until the inside hits your target temperature (120°F for medium-rare).
Grill method:
Set up two heat zones — one cool and one hot. Put the steak on the cool side with the lid closed. Check the temperature by using a meat thermometer.
Either way, the slow part takes 20–40 minutes depending on the steak’s thickness.
Rest Before You Sear
Once your steak hits that magic number, pull it off the heat and let it rest for 5–10 minutes.
Why? Because it lets the juices settle and the steak cools slightly, so the final sear doesn’t overcook it.
This is also your chance to pat it dry with a paper towel. A dry surface means a better crust.
Time to Sear
Now for the fun part.
Heat a cast iron pan until it’s so hot you can see little wisps of smoke. Or crank your grill to high.
Add some oil — ideally, one with a high smoke point like canola oil or avocado oil.
Place the steak in the pan and sear each side for 45–60 seconds. Don’t move it around too much. Just let that crust form.
You can even sear the sides for a few seconds if you’re feeling fancy.
Slice and Smile
After searing, let your steak rest for a few minutes. This helps keep the juices inside where they belong.
Then slice against the grain, admire that even pink center, and get ready to blow your own mind.


Why It Works (Without Getting Nerdy)
Reverse searing works because it gives you control.
When you start hot, you have to guess. Is it too raw in the middle? Did I cook it too long? Should I flip it again?
When you start low and slow, you know what’s happening inside the steak. You’re not rushing. You’re not guessing. You’re in charge.
And that final sear? It’s just the victory lap.
Myths, Busted
“Won’t the steak be dry?”
Nope. In fact, reverse searing helps keep moisture in because the meat cooks gently and evenly.
“Isn’t this more work?”
Not really. It takes a little more time, but most of it is hands-off. And the results are worth it.
“Do I need special tools?”
A thermometer helps, but that’s it. No fancy gadgets needed.
Next-Level Tips
Want to really take your steak game to the next level? Here are a few tricks:
Butter Basting: During the final sear, toss in a spoonful of butter, some garlic, and fresh herbs. Spoon it over the steak as it sears.
Rest on a wire rack: Keeps the bottom from getting soggy.
Use a thermometer: This is the easiest way to nail your perfect doneness every time.
Final Thoughts
Reverse searing isn’t just a cool trick — it’s a game changer. It’s the way to cook steak that turns out exactly how you want it, every single time.
No more guessing. No more dry edges. Just steak that’s juicy, tender, and full of flavor from crust to core.
If you’ve never tried it, now’s the time. Grab that ribeye, fire up your oven or grill, and take control of your steak destiny.
See also: What to Bring to a BBQ