
Where To Put Charcoal In A Grill
If you have ever looked at a pile of charcoal and thought, “Okay, but where does this go?”, you are not alone. Charcoal grilling is not just about lighting coals. It is about putting them in the right place, using the right amount, and guiding the heat so your food cooks the way you want.
This article is about mastering three big things: how much charcoal to use, how hot your grill really is, and how to arrange the coals for different cooking styles. Once those three pieces click, grilling feels less like guessing and more like steering a bike. You still work, but you are in control.
Key Terms You Should Know
Charcoal grilling has a few simple ideas that show up again and again.
Fuel is your charcoal. More fuel usually means more heat and longer burn time.
Airflow is the oxygen that keeps charcoal burning. Your vents are not decorations. They are the gas pedal and brake.
Zones are areas of different heat on the same grill. Zones let you sear on one side and cook gently on the other.
Direct heat means the food sits right over the coals. This is best for quick cooking and crisp browning.
Indirect heat means the food sits away from the coals, with the lid on. Heat moves around the food like an oven.
Hot spots are places that get hotter than others. They can be useful, but they can also burn food if you ignore them.
Keep these in your pocket. Every charcoal layout is really just a way to control airflow, zones, and hot spots.
So Where Does It Go?
If you are new to charcoal grilling, this part can feel confusing at first.
The charcoal goes on the lower grate inside the grill. The food goes on the upper grate above it.
Most charcoal grills have two levels inside:
A bottom grate that holds the charcoal
A top grate where the food cooks
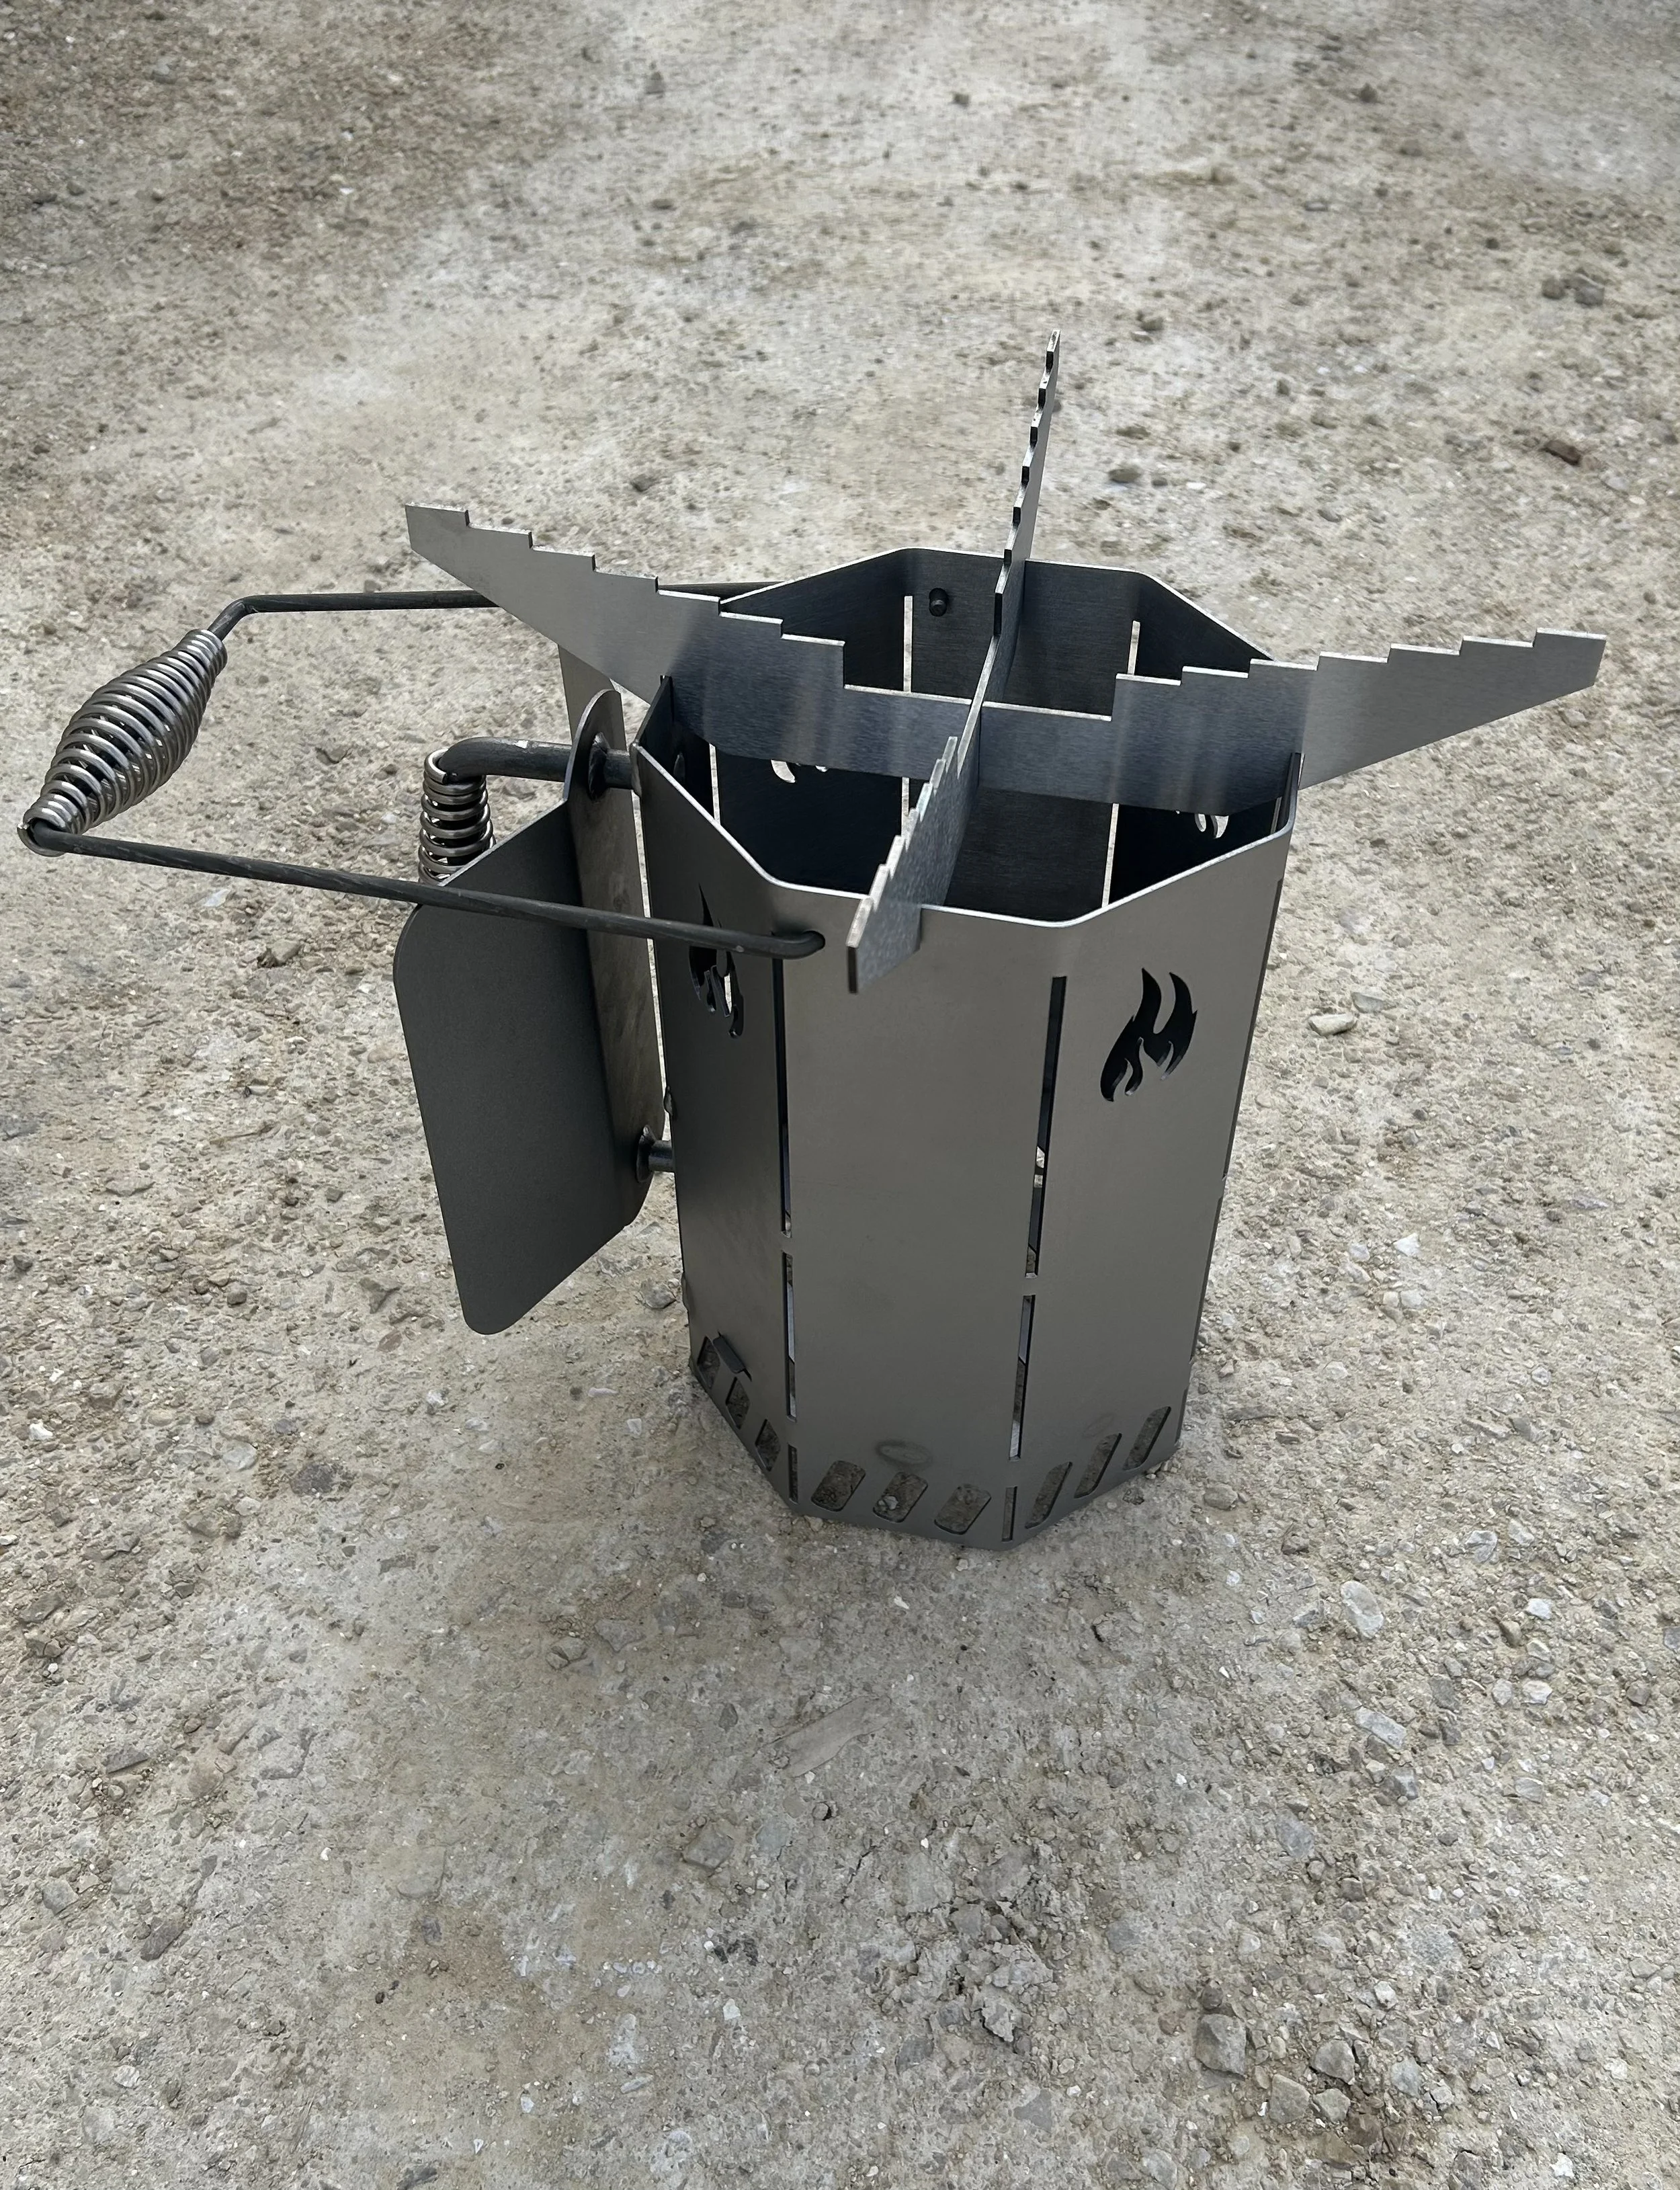
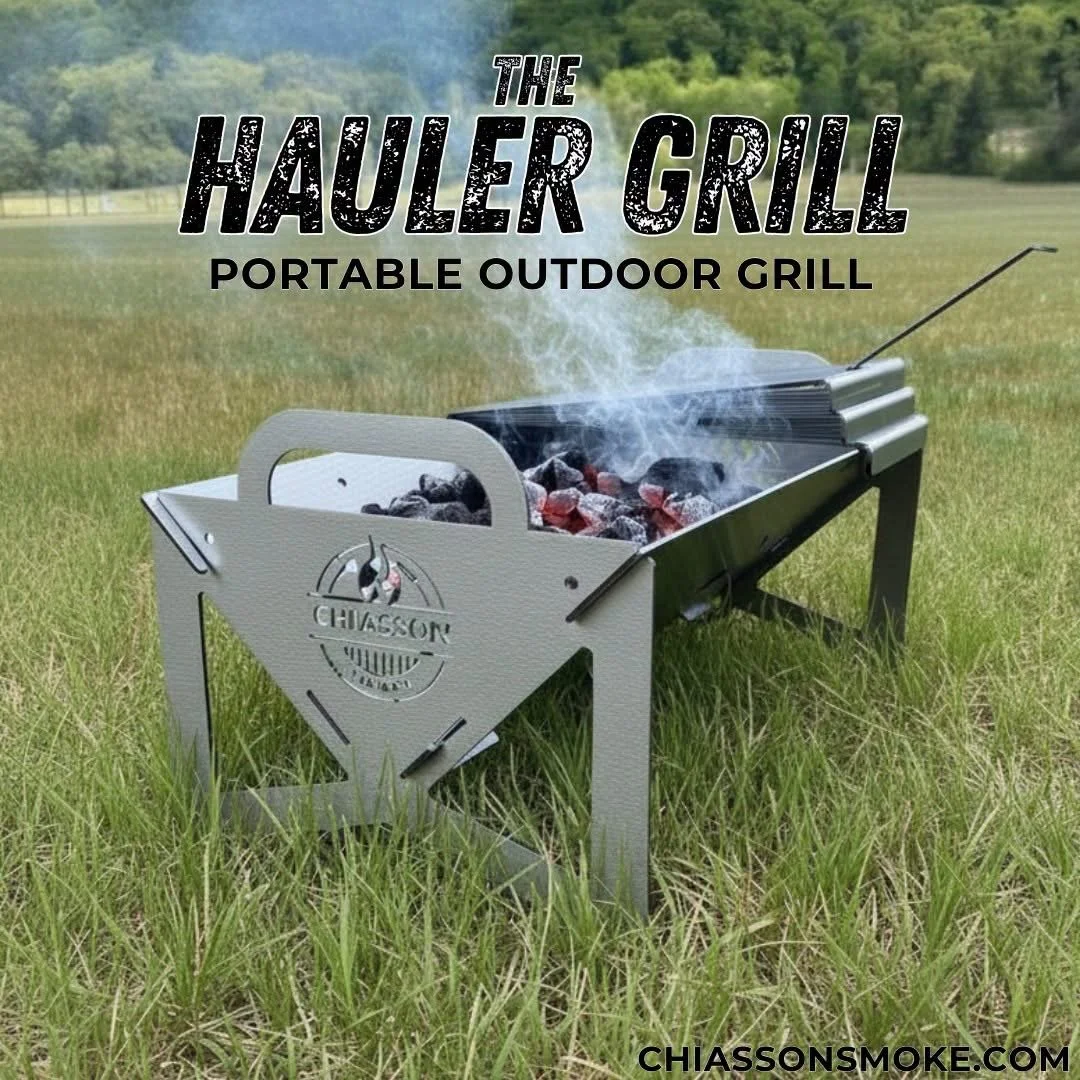
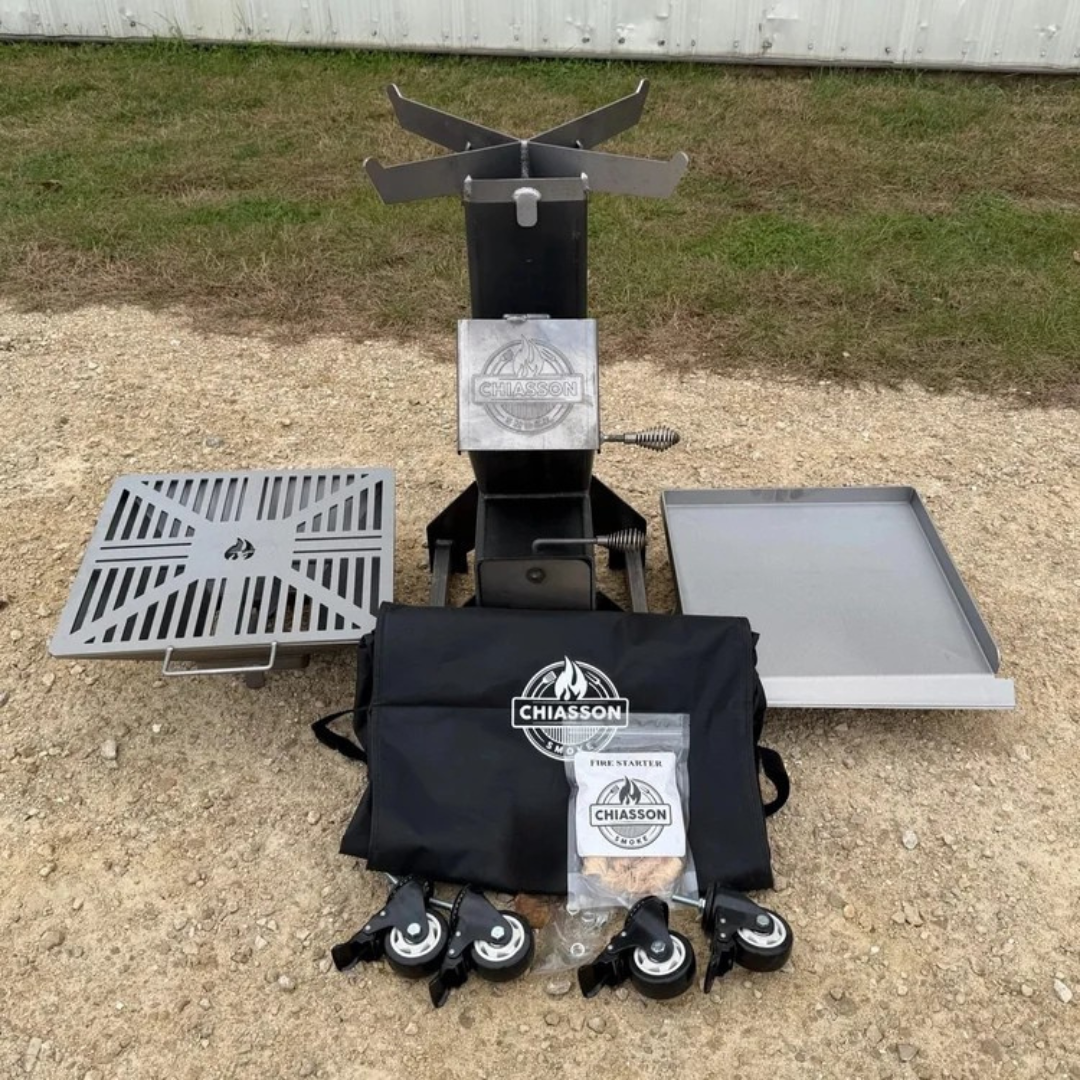
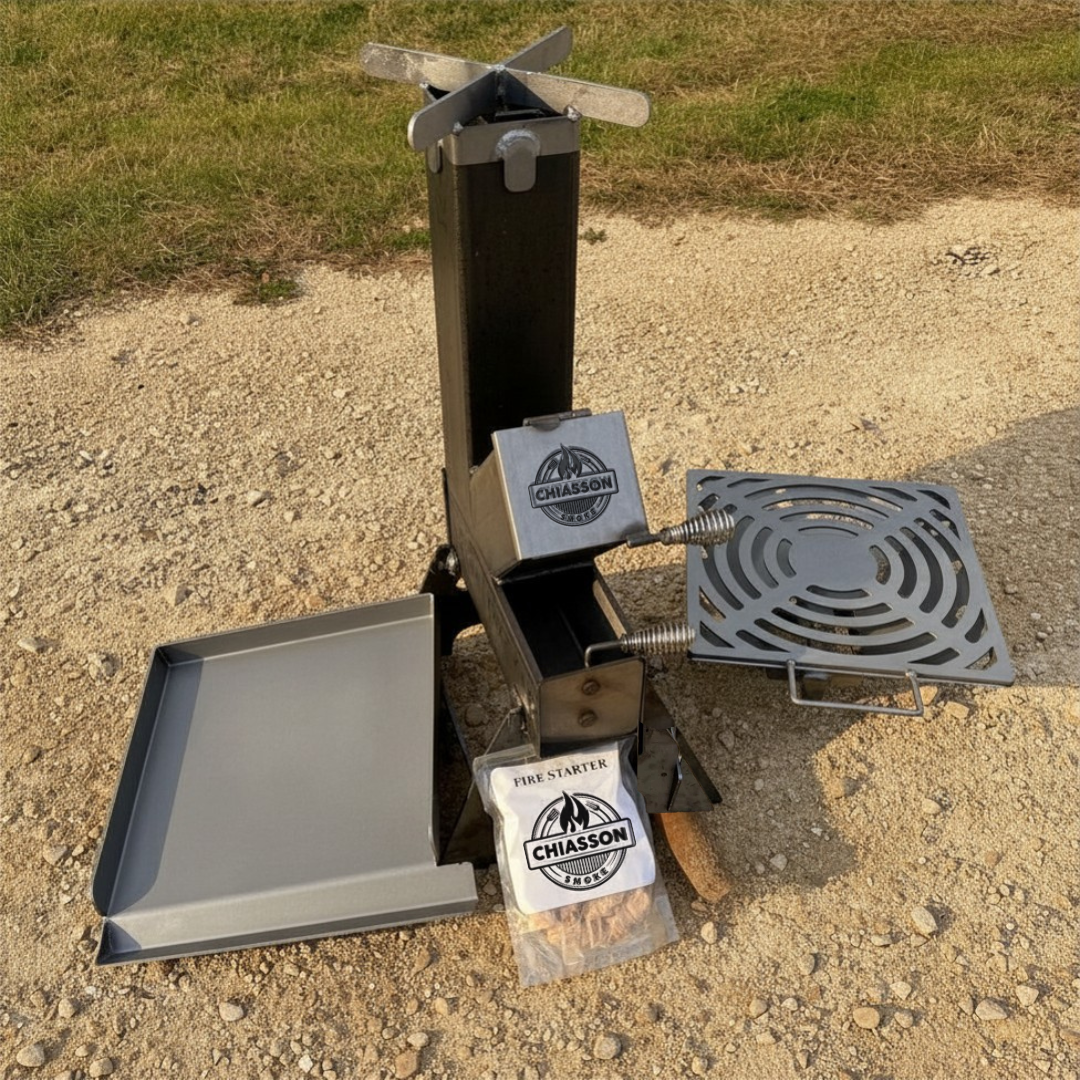
If you’re using a Hauler grill, then the charcoal should go right at the bottom of the grill, not on top of the grate.
The charcoal should always stay underneath the food because heat rises upward as the coals burn.
For direct heat cooking, place the charcoal directly below the food. This works well for burgers, hot dogs, and thinner cuts of meat that cook quickly.
For indirect heat cooking, place the charcoal on one side of the grill and the food on the other side. This creates a cooler cooking area that works better for foods that need more time, like chicken or ribs.
You should never place charcoal on the top cooking grate itself. That grate is only for food.
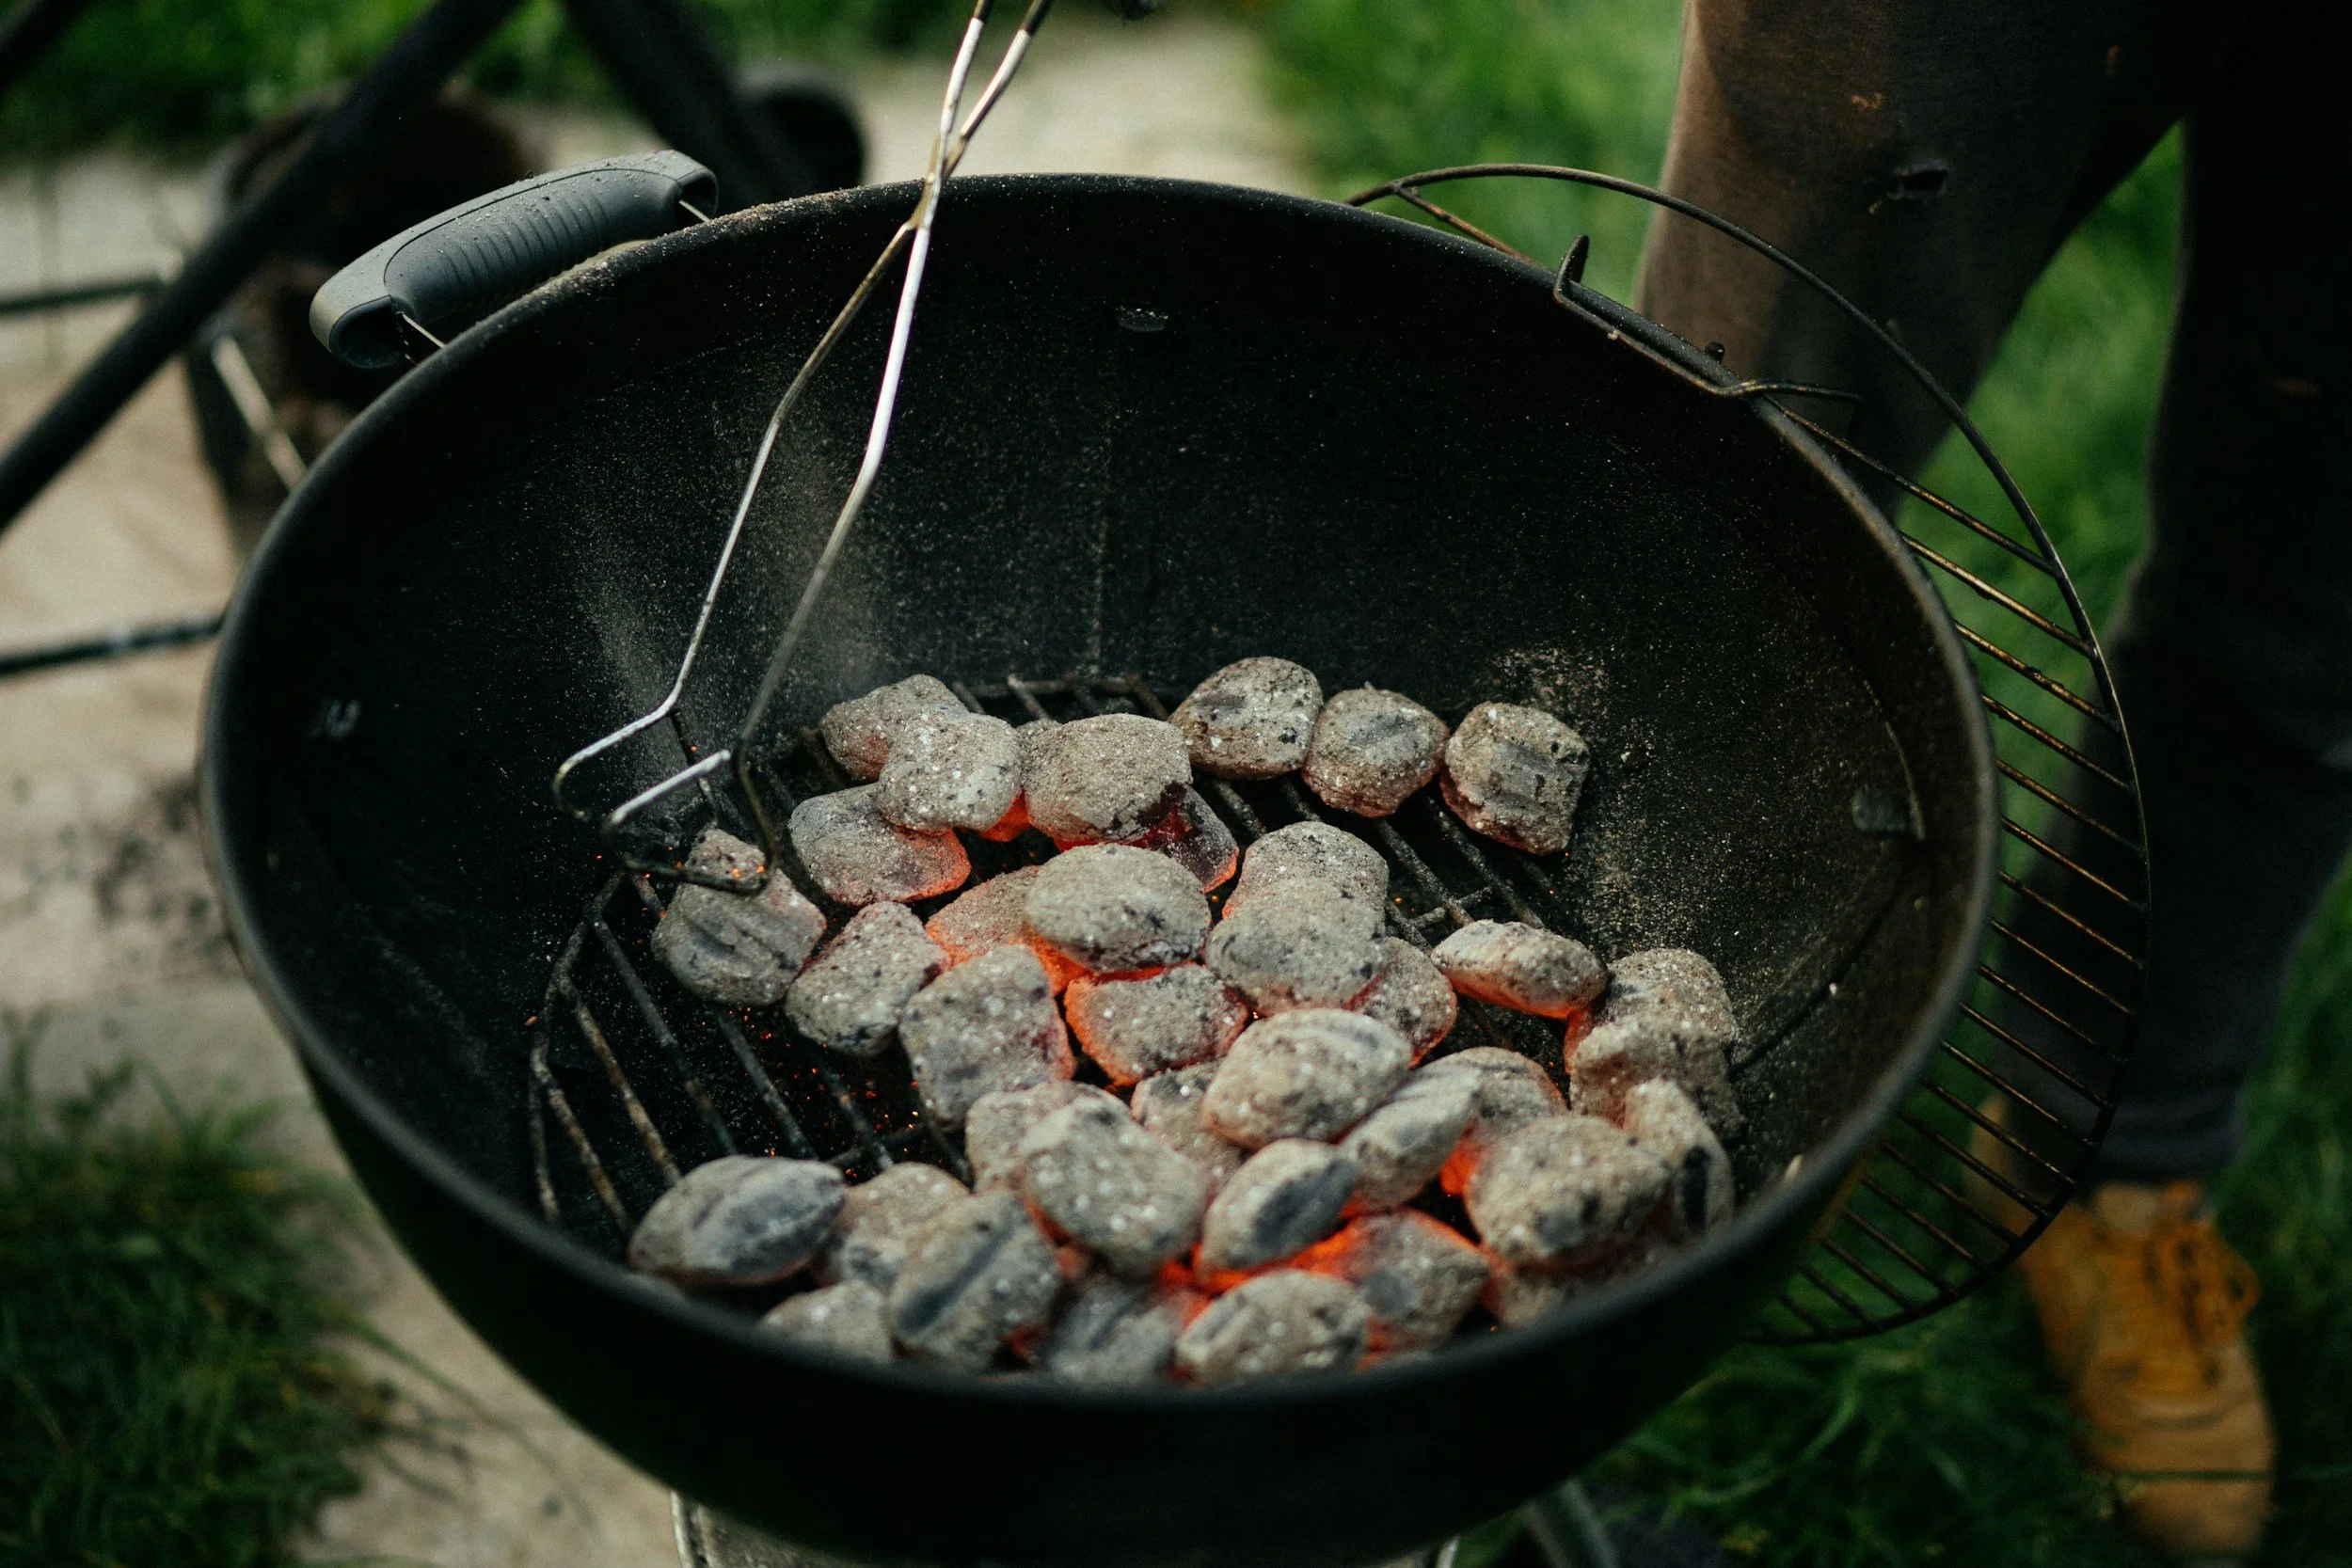
Once the charcoal is lit and covered with a light layer of gray ash, place the cooking grate above it and start grilling.
Choosing Your Charcoal
Before you decide where to put charcoal, decide what kind you are using. Different charcoal behaves differently, and that affects where it works best.
Briquettes Or Lump?
Briquettes are charcoal pieces made to be similar in size and shape. Because they are consistent, they tend to burn in a steadier way. That is helpful for longer cooks, and for beginners who want predictable heat.
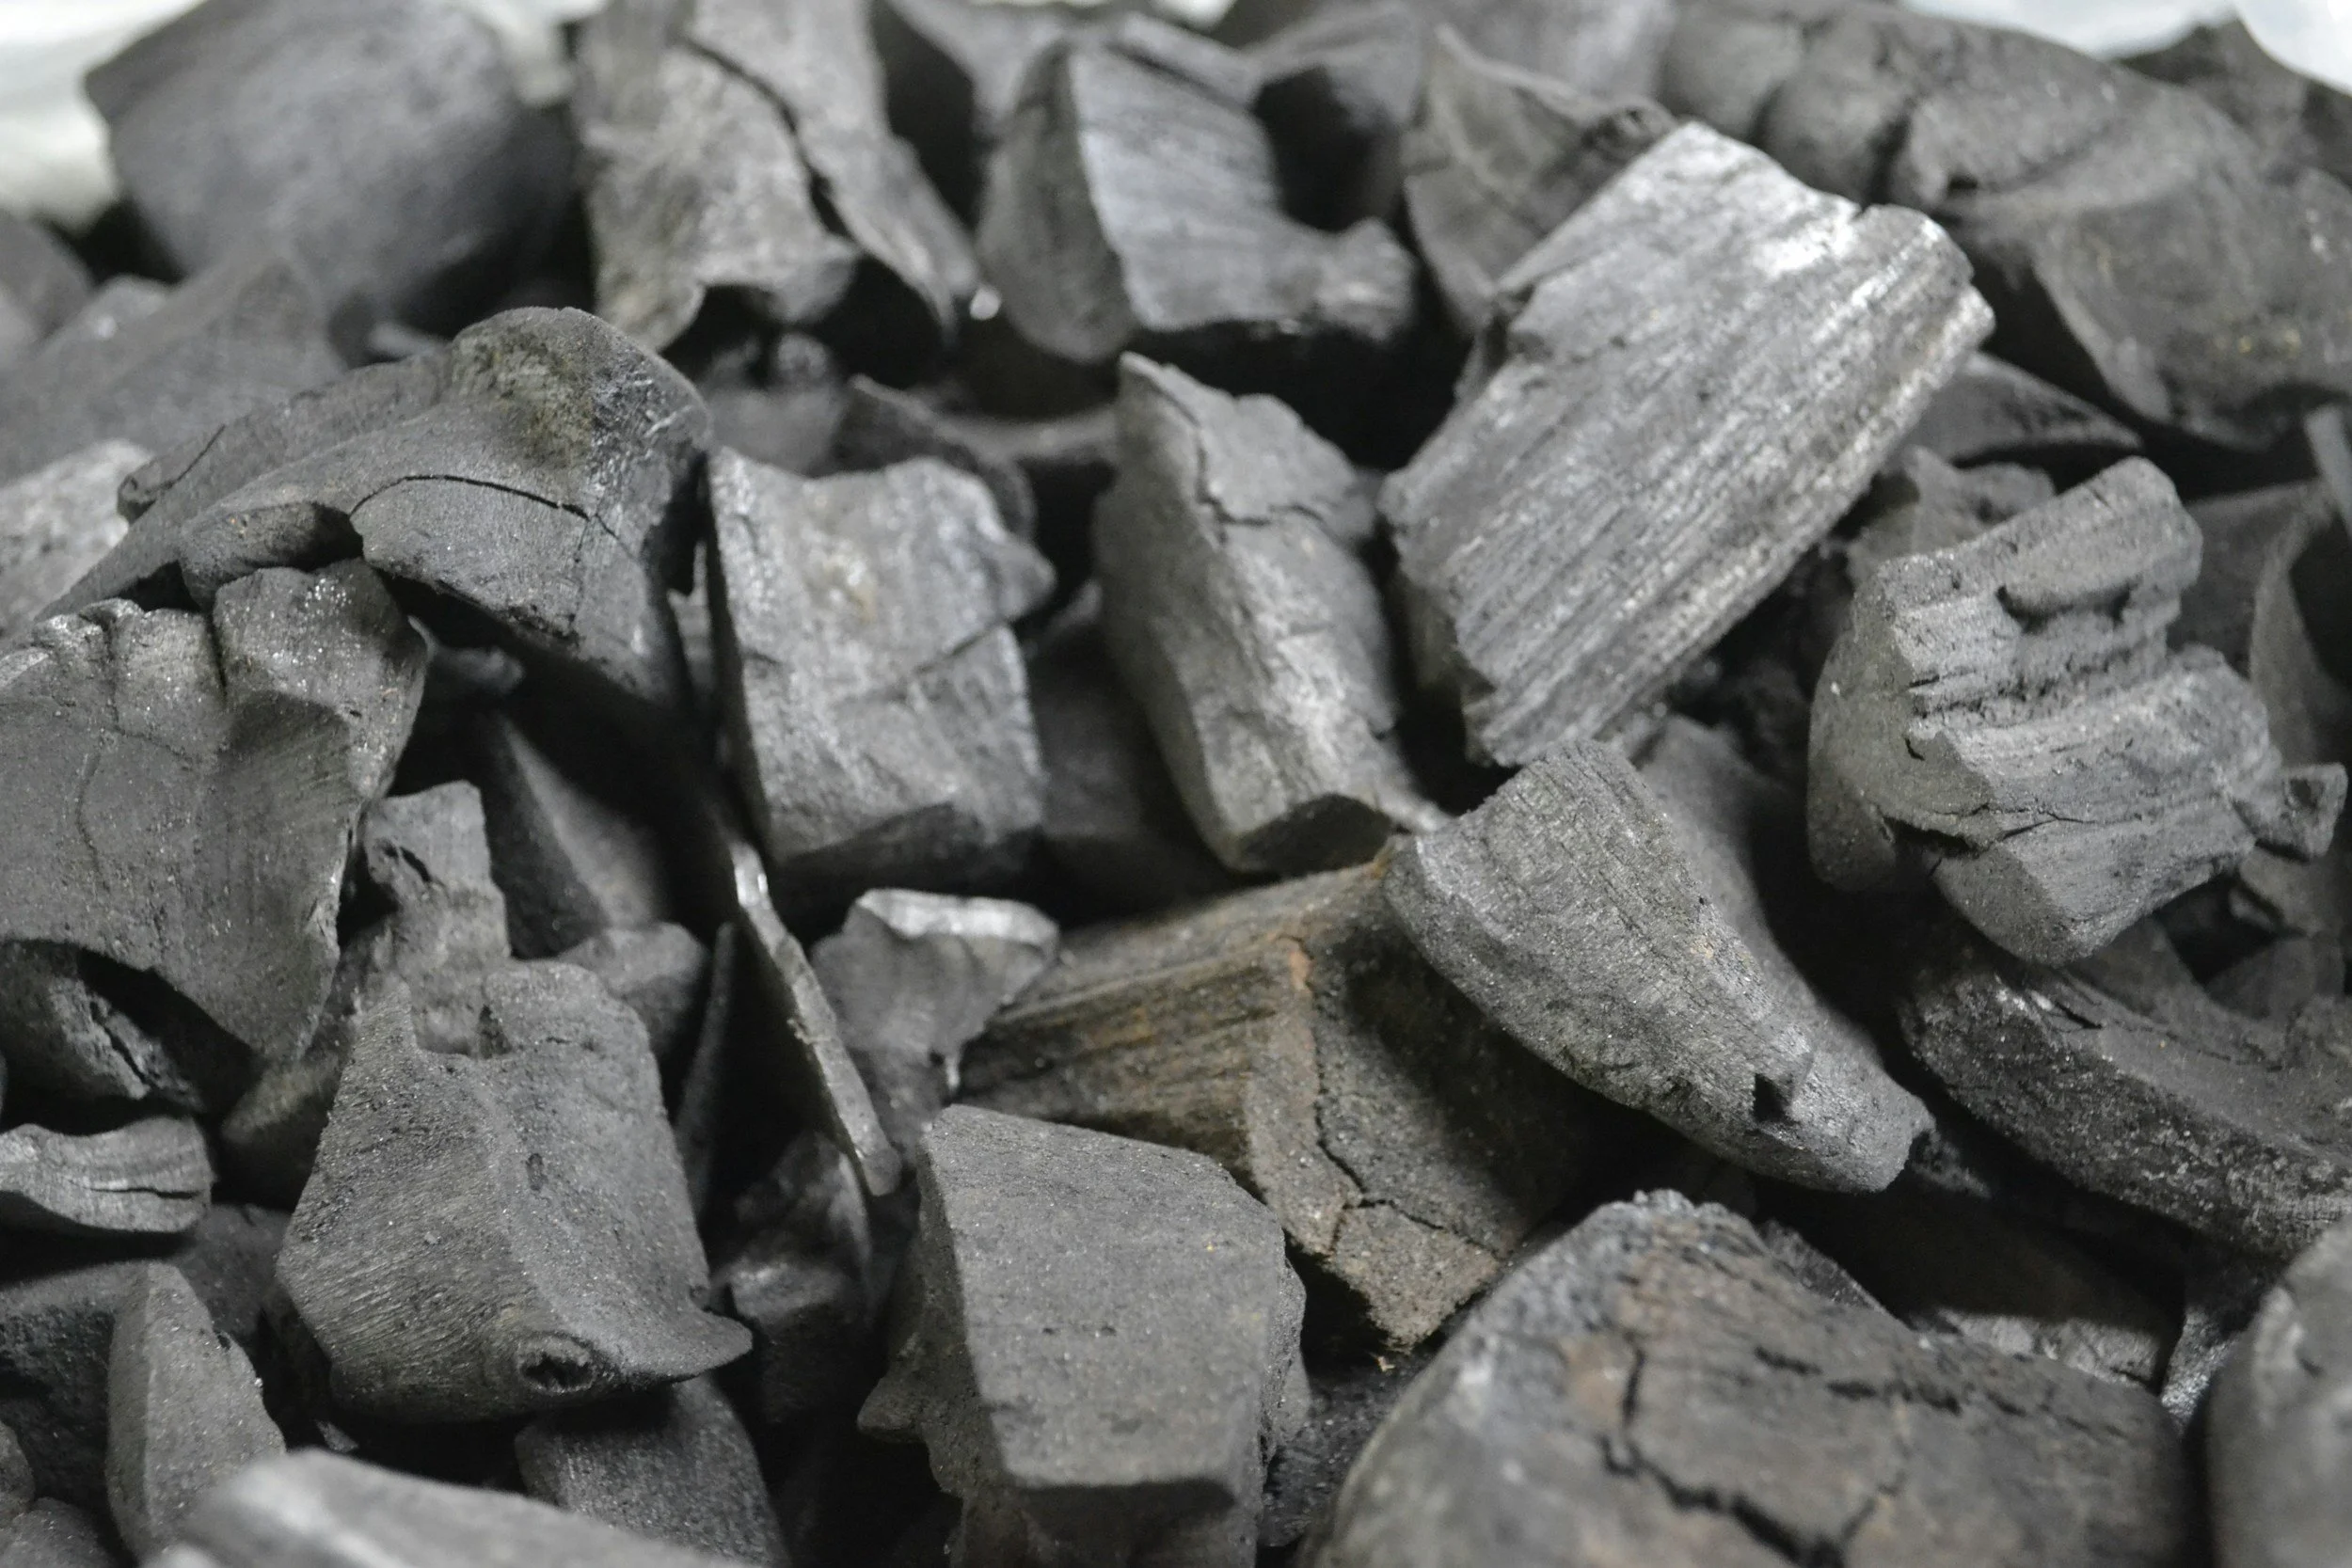
Lump charcoal is made from real pieces of wood that were heated without much oxygen until they turned into charcoal. Lump often lights faster and can get very hot. The pieces vary in size, so the heat can be less even if you do not arrange it carefully.
Neither one is “better” for everything. Briquettes often make it easier to hold a steady temperature. Lump can be great when you want high heat fast, like for a hard sear on a steak. Many people use both depending on the job.
Size Matters
With lump charcoal, large chunks usually burn longer than small bits. Tiny pieces can clog airflow because they pack tightly and make extra ash. If your bag is full of crumbs, you can still grill, but you may need to shake out the dust and watch the vents more closely.
With briquettes, size is more uniform, but you can still think about how you stack them. A deep pile burns differently than a thin layer.
How Much Charcoal Should You Use?
Most grilling problems are not about seasoning or flipping. They are about fuel. Too much charcoal and you fight a fire you did not mean to start. Too little charcoal and dinner turns into a slow, sad wait.
A helpful way to think is this: you are buying minutes of heat with charcoal. Quick cooks need a strong burst. Long cooks need a steady supply.
For thin burgers and hot dogs, you usually do not need the grill packed with coals. For thick chicken parts or a whole bird, you need enough charcoal to hold heat with the lid on for a longer time. For ribs or a roast, you need a plan that keeps heat going for hours.

What Changes Fuel Needs?
The same pile of coals can act very different depending on your situation. These factors matter a lot.
Grill size matters because bigger grills have more air space and more metal to heat. They often need more charcoal to reach the same temperature.
Weather matters. Cold air pulls heat away. Wind feeds the fire and can also steal heat by rushing past the grill. Rain and snow add extra challenges, and you should be careful with safety and stability.
Cook time matters. A 10 minute sear is not the same as a 2 hour roast.
Lid on versus lid off matters. With the lid off, heat escapes and you usually need more charcoal to keep temperatures high. With the lid on, you trap heat and cook more evenly, but you also rely more on good airflow through the vents.
Food load matters. A crowded grate full of cold food absorbs heat. The grill temperature can drop, sometimes a lot, right when you need it to stay steady.
Easy Ways To Measure Charcoal
You do not need a lab scale, but you do need a repeatable method. If you measure in some simple way, you can learn what works for your grill and your favorite foods.
One method is by weight. This is accurate, but most people do not want to weigh charcoal every time. If you do, a simple kitchen scale can help you repeat results.
Another method is by volume. You can use a small bucket or scoop and learn that “two scoops” works for burgers, while “four scoops” works for chicken.
A popular method is chimney fractions. A charcoal chimney is a metal tube that helps you light charcoal evenly. People often talk about a full chimney, half chimney, or a quarter chimney. This is practical because it matches how you light coals.
You can also think in layer depth. One layer of briquettes spread out is a mild to medium heat. Two layers is hotter. A deep pile is very hot, but it can also be harder to tame.
Choose one method and stick with it for a while. Consistency is how you learn.
Starting Extra Coals For Long Cooks
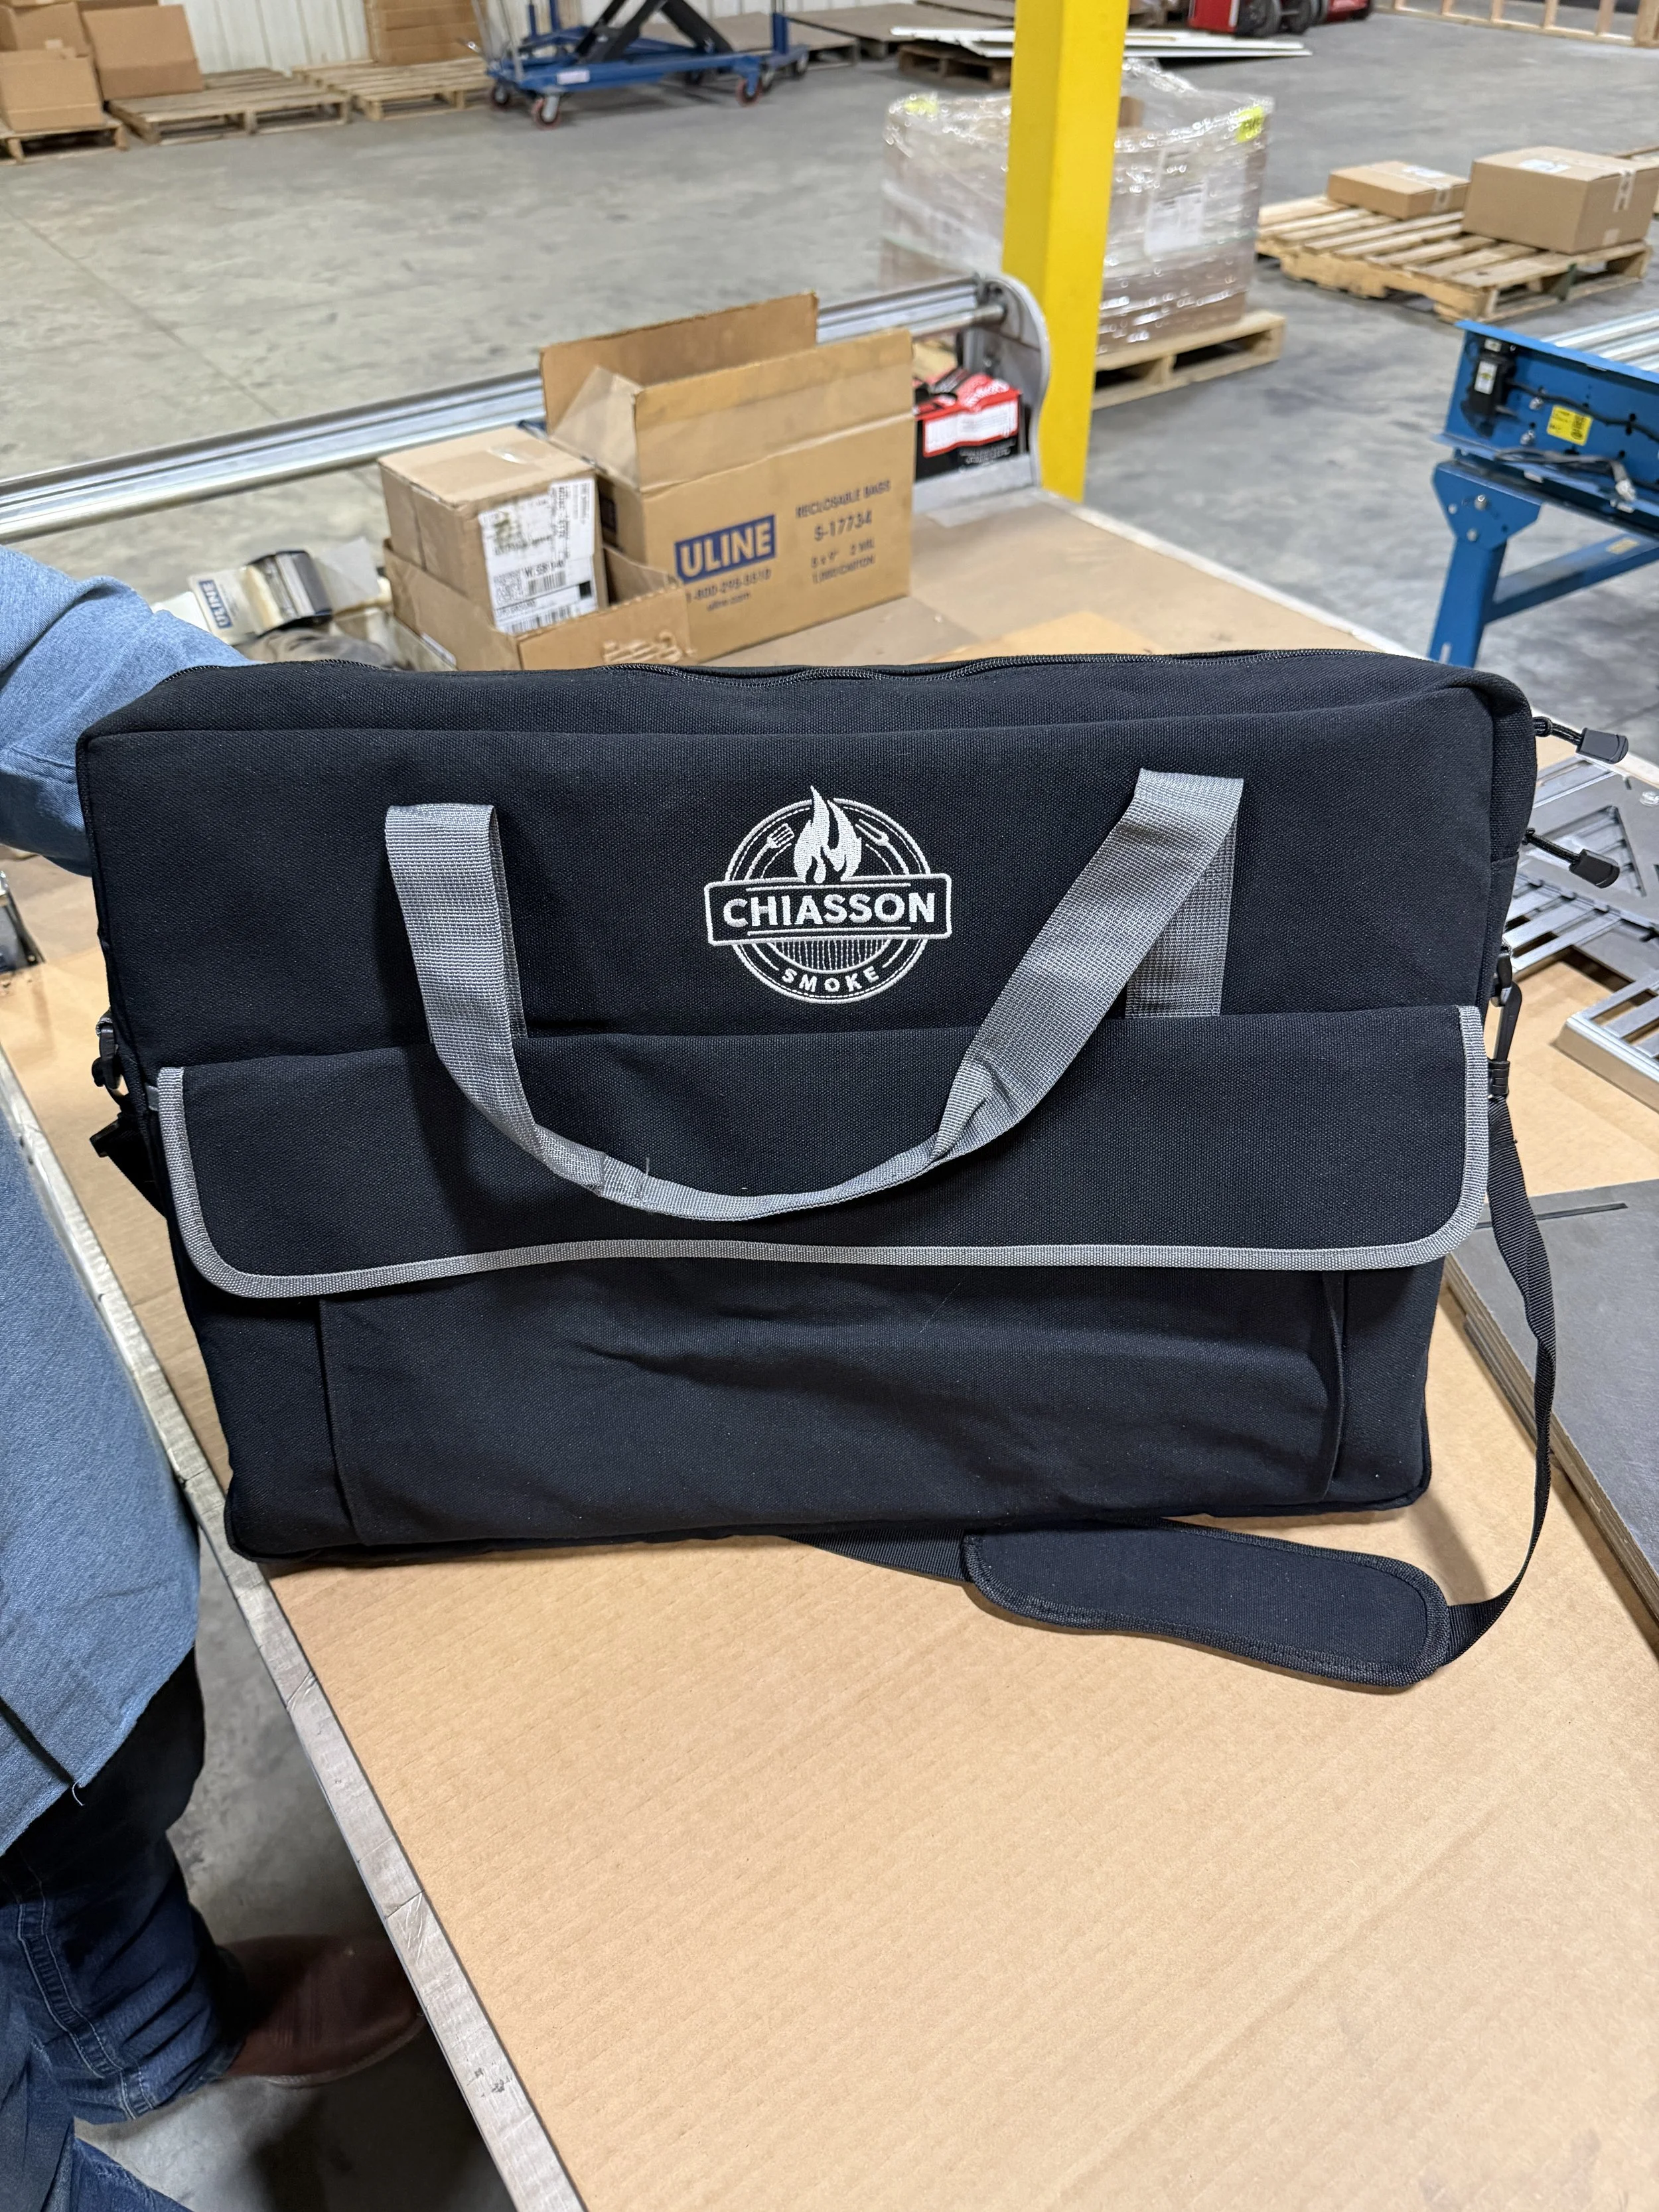
Nice quality, heavy built charcoal chimney! Great gift for your avid charcoal user!
No P.O. Boxes
THE NEW UPGRADED 1/4” rod long cool touch spring bail handle is now standard for easy carrying
Made of 14-gauge steel prepped and ready for your seasoning. (no mill scale) Check out our seasoning here
8” octagon x 12” tall
1/2” rod with 6” stainless steel cool touch spring handle
Heat shield between chimney and handle
Weighs 9 pounds
Holds 503 cubic inches or just over 2 gallons (for comparison)
Attention: Canadian Orders 🇨🇦
Please note that additional fees may apply at the border (duties, taxes, or customs charges). These costs are the responsibility of the buyer.
If you are grilling something quick, you can light what you need and go. But for long cooks, you need a plan for adding fuel.
One smart habit is to start a small batch of extra coals near the end of your cook time, so they are ready if the temperature starts dropping. This helps you avoid a big temperature swing. A charcoal chimney helps with this.
If you wait until the grill is already too cool, adding fresh charcoal can bring smoke and a rough taste for a bit while it catches. Pre lighting helps the grill recover faster.
For very long cooks, some layouts are built to burn slowly without adding much fuel. You will read about those soon.
How Hot Are Your Coals?
Knowing where to put charcoal matters, but you also need to know what the charcoal is doing. “Hot” is not one thing. Coals can be warm enough to cook gently, or hot enough to sear hard.
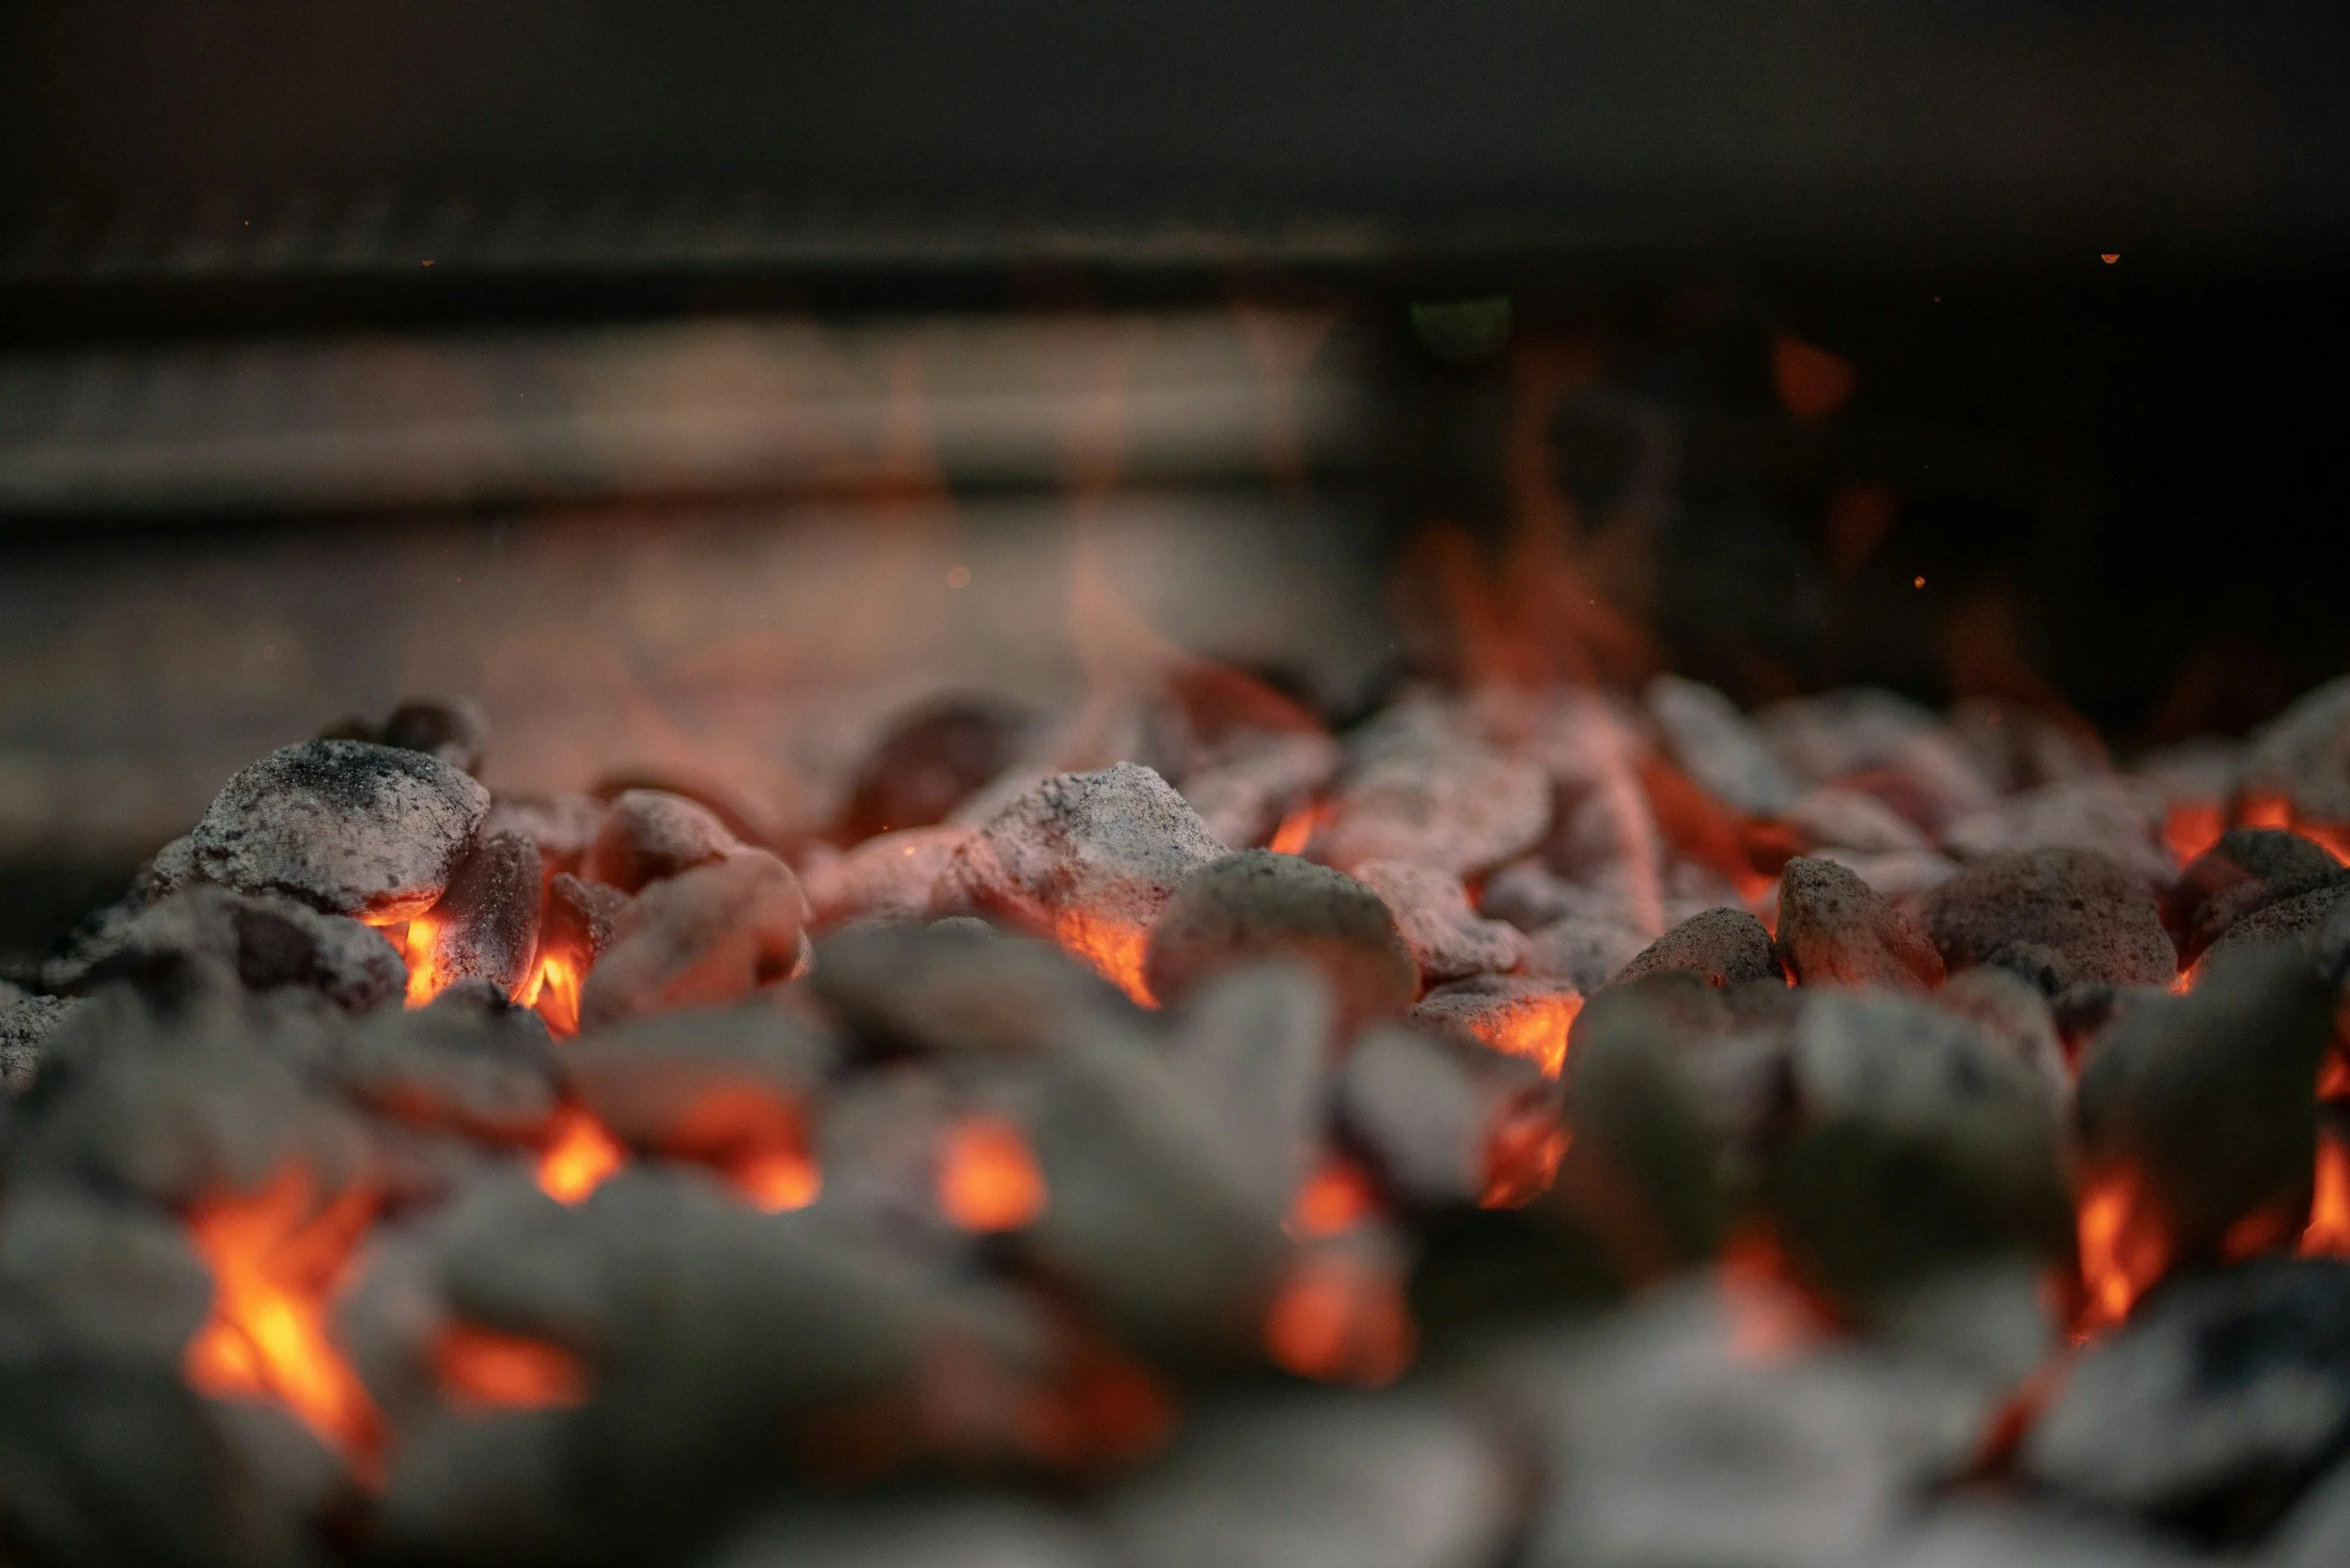
Charcoal changes as it burns. When it first lights, you may see flames and thick smoke from the starting material. After it is burning well, the coals often turn gray on the outside. That ash layer is a sign the charcoal is well lit and giving steadier heat.
Do not rush food onto coals that are still smoking heavily from lighting. Food can pick up harsh flavors when the fire is not burning clean.
Gauging Heat Without Tools
You can learn a lot without any instrument. People have used simple cues for a long time.
One cue is the look of the coals. A strong bed of coals with a light ash coating usually means solid heat. Bright glowing coals mean high heat, but the grill surface temperature depends on distance and airflow too.
Another cue is time and experience. If you know that your burger usually needs about three to five minutes per side over strong direct heat, you can tell quickly if your grill is running cool because the surface is not browning.
Some people use a “hand test” by holding a hand above the grate for a few seconds to judge heat. This can be risky because you can burn yourself, and it is not very exact. If you try it, be careful and do not do it if you are unsure. A thermometer is safer.
Using Thermometers The Right Way
Thermometers are not cheating. They are a way to learn faster.
A grate thermometer measures where the food sits, which is what you care about. A dome thermometer measures the air near the lid. Dome readings can be helpful, but they can differ from grate temperature, especially with charcoal setups that place coals on one side.
If you use a probe thermometer, place it near the food but not touching metal. Metal can give false readings because it conducts heat faster than air.
Calibration matters for some thermometers. If yours can be calibrated, follow the maker’s instructions. Even a good thermometer is not useful if it is off by a lot.
Think of temperature as a map. Where you measure changes what you see.
Heat Control Basics
Putting charcoal in the right place is half the job. The other half is controlling the burn.
Vents are your main control. More open vents usually mean more oxygen, which makes the coals burn hotter. More closed vents reduce oxygen and lower the burn rate. If you close vents too much, you can smother the fire and make dirty smoke.
The lid position matters. Lid on usually gives steadier heat and better indirect cooking. Lid off can be useful for quick direct grilling, but it can also lead to flare ups and uneven cooking.
Coal spacing matters. A tight pile concentrates heat. A spread out layer gives gentler heat. You can move coals with tongs or a fire safe tool to adjust.
Ash management matters because ash can block airflow through the charcoal grate. If ash builds up, the fire can weaken even if you still have charcoal left. Some grills have an ash sweeper or ash catcher that makes this easier. Always handle ash carefully because it can stay hot longer than you think.
Fixing Temperature Swings
When the grill is not behaving, you can usually diagnose it by asking a few questions.
If it is too hot, check if you used too much charcoal or if your vents are too open. You can spread the coals out, move food to a cooler zone, or partially close vents. Do not pour water on coals in most normal cooking situations because it makes ash fly and can cause a mess. It can also crack some ceramics or damage parts depending on the grill.
If it is too cool, check airflow first. Ash might be blocking the bottom vent or the charcoal grate. Gently stirring the coals can knock ash down. Opening vents helps. If the coals are truly running out, add lit coals if possible.
If you get flare ups, that is usually fat dripping onto very hot coals. Move the food to a cooler zone and let the flames die down. You can also trim excess fat on meats that tend to drip a lot.
If you are running out of fuel mid cook, it usually means you under estimated time, used a layout that burns too fast, or left the lid open too long. Add lit coals and plan a better setup next time.
Picking The Best Charcoal Layout
Now we get to the main question: where to put charcoal in a grill. The answer depends on what you are cooking, how thick it is, how long it takes, and how much control you want.
A layout is just a planned shape for your coals. Different shapes create different heat zones. Once you learn a few, you can handle almost anything.
How To Match Layout To Food
Thin foods like burgers, thin chops, shrimp, and many vegetables like high direct heat because they cook quickly and taste great with browning.
Thick foods like bone in chicken, thick steaks, roasts, and whole birds need more gentle heat for longer, often with indirect cooking so the outside does not burn before the inside is done.
If you want a strong sear and then gentle finishing, you want both. That is where two zone cooking shines.

Direct Heat Basics
Direct heat means charcoal goes under the part of the grate where the food will sit. This gives strong heat and fast browning.
Direct grilling is great for searing steaks, cooking burgers, and charring vegetables. The trick is timing and attention. Direct heat is less forgiving because the food is close to the fire.
A common direct setup is an even layer of lit coals spread across the charcoal grate. This makes a wide hot area. It is great for cooking many thin items at once, like a bunch of burgers.
But even with direct heat, you can still create a small cooler area by leaving a corner with fewer coals. That tiny “escape hatch” can save dinner if something starts to burn.
Handling Flare Ups During Direct Grilling
Flare ups happen when fat drips onto hot coals and ignites. Some flare ups are small and quick. Big ones can burn food fast.
The easiest fix is to move the food off the flames and let the fire settle. This is one reason you should not pack every inch under the grate with coals. If you have no cool space, you have nowhere to move food.
Keeping the lid on can sometimes reduce oxygen to flare ups, but it can also trap heat and make the grill hotter overall. Use the lid carefully and watch what happens.
Indirect Cooking Basics
Indirect cooking means charcoal goes to one side or around the edges, and the food sits away from the coals with the lid on. The grill becomes more like an oven.
This is how you roast a chicken, bake a pan of food in a grill safe dish, or cook ribs more gently. Indirect heat helps prevent burning and gives time for thicker foods to cook through.
Indirect setups usually need a drip pan under the food to catch fat. This reduces flare ups and makes cleanup easier. Use a pan that fits your grill and is safe for high heat.
Switching From Direct To Indirect
Many cooks start direct and finish indirect. This is common for thick steaks and chicken pieces.
You can sear over the hot coals to build a browned crust, then move the food to the cool side to finish cooking through without burning. This is not a fancy trick. It is a smart way to use zones.
To switch mid cook, you do not need to rebuild the fire. You just move the food. That is why setting up zones before you start is so useful.
Two Zone Cooking
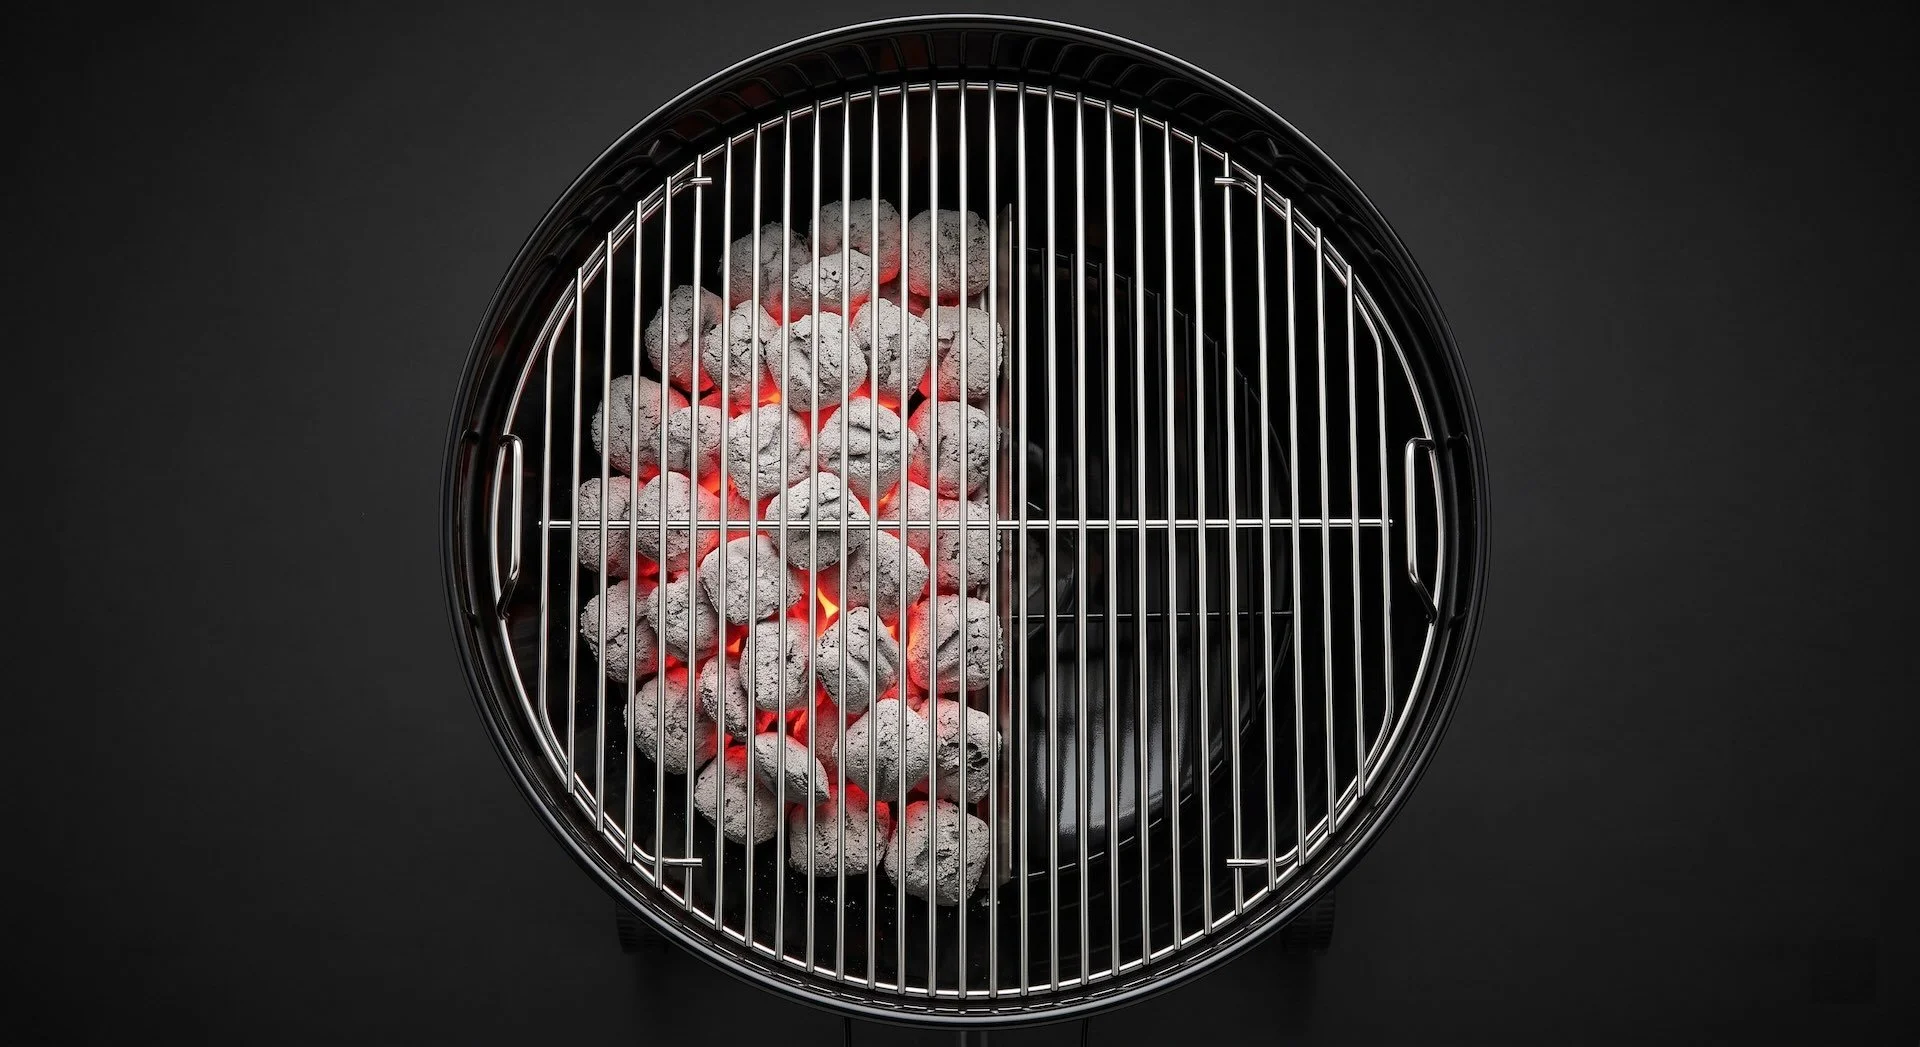
Two zone cooking means one hot area and one cooler area. This is the most versatile setup for a charcoal grill, and many people use it as their default.
To build it, put most or all of your lit charcoal on one side of the charcoal grate. Leave the other side empty or with very few coals.
The hot side is for searing and fast cooking. The cool side is for gentle cooking, holding, and saving food from flare ups.
Two Zones For Direct Cooking
This might sound odd because two zones are often used for indirect cooking. But two zones are also great for direct grilling.
You sear on the hot side. Then if a burger is cooking too fast, you slide it to the cooler side. If chicken skin is browning too quickly, you can move it to safety while the inside catches up.
This setup is like having a stove with two burners, one high and one low.
Two Zones For Indirect Cooking
For indirect cooking, you keep the food on the empty side and keep the coals on the other side. Put the lid on.
A helpful tip is to think about where the air flows. In many kettle style grills, air enters through the bottom vent, feeds the coals, then exits through the top vent. If your top vent is over the food, it can help pull heat and smoke across the food before it leaves. This can improve even cooking.
You do not need to obsess over vent placement, but it is worth understanding that the vent is not just a hole. It is part of the airflow path.
Parallel Coal Strip Versus Pile
Within two zone cooking, you can arrange the coals as a banked pile or a long strip.
A piled bank is a tight mound of coals on one side. It gives a strong hot zone and can burn longer because the coals are stacked.
A parallel strip is a line of coals running along one side, more spread out. This can make a more even indirect heat because the heat source is longer instead of a single hot mountain. It can also reduce one intense hot spot.
If your food is long, like a rack of ribs, a strip can help heat more evenly along the length.
Three Zone Cooking
Three zones add a medium area between hot and cool. This is helpful when you want more control than two zones can give.
You can create three zones by putting a deep pile of coals on one side for high heat, a thinner layer next to it for medium heat, and leaving the last section empty for cool.
This setup is useful when you are cooking different foods at the same time, like searing steaks while also cooking vegetables gently. It is also useful when you want to step food down slowly, like moving chicken from hot to medium to cool as it finishes.
Three Zone Split Setup
In a three zone split, imagine your grill divided into three lanes. Hot, medium, and cool.
Hot is for searing and strong browning. Medium is for cooking through without burning. Cool is for holding, resting, or managing flare ups.
This is also a great setup for learning. It teaches you how different distances from the coals change cooking speed.
Even Indirect Heat
Indirect cooking is supposed to be gentle, but it can still have uneven spots. Here is how to smooth things out.
Coal placement matters. A long strip can be more even than a tight pile for some foods.
A drip pan helps. It catches drips and can also buffer heat, making the temperature swings smaller. If you add water to a drip pan, it can help keep drippings from burning, but it is not required for every cook. The key fact is that the pan reduces direct radiant heat from coals and blocks drips.
Convection matters. With the lid on, hot air moves around. That moving air is a big part of indirect cooking.
Rotating food helps. Even in a well set grill, one side can cook faster. Turning the food or rotating its position can fix that.
Bull’s Eye Setup
The bull’s eye setup puts a pile of coals in the center, with the food around it toward the edges. This can be helpful when you want a strong center heat source and a cooler ring around it.
It shines when you are cooking several items and want to move them closer or farther from the heat without changing the fire. You can place fast cooking foods nearer the center and slower foods farther out.
This setup can also be fun for grilling vegetables because you can control char by distance.
Ring Of Fire Setup
The ring of fire setup puts coals around the perimeter of the charcoal grate, leaving the center open. The food goes in the center for indirect cooking.
This can create a more even indirect heat because the heat source surrounds the food instead of sitting on one side. It can be useful for larger cuts and for cooking in the middle with a drip pan.
Airflow still matters. You want the coals to get oxygen, so do not pack them so tight that air cannot move. Keep the vents adjusted so the fire stays clean and steady.
The Charcoal Snake Method
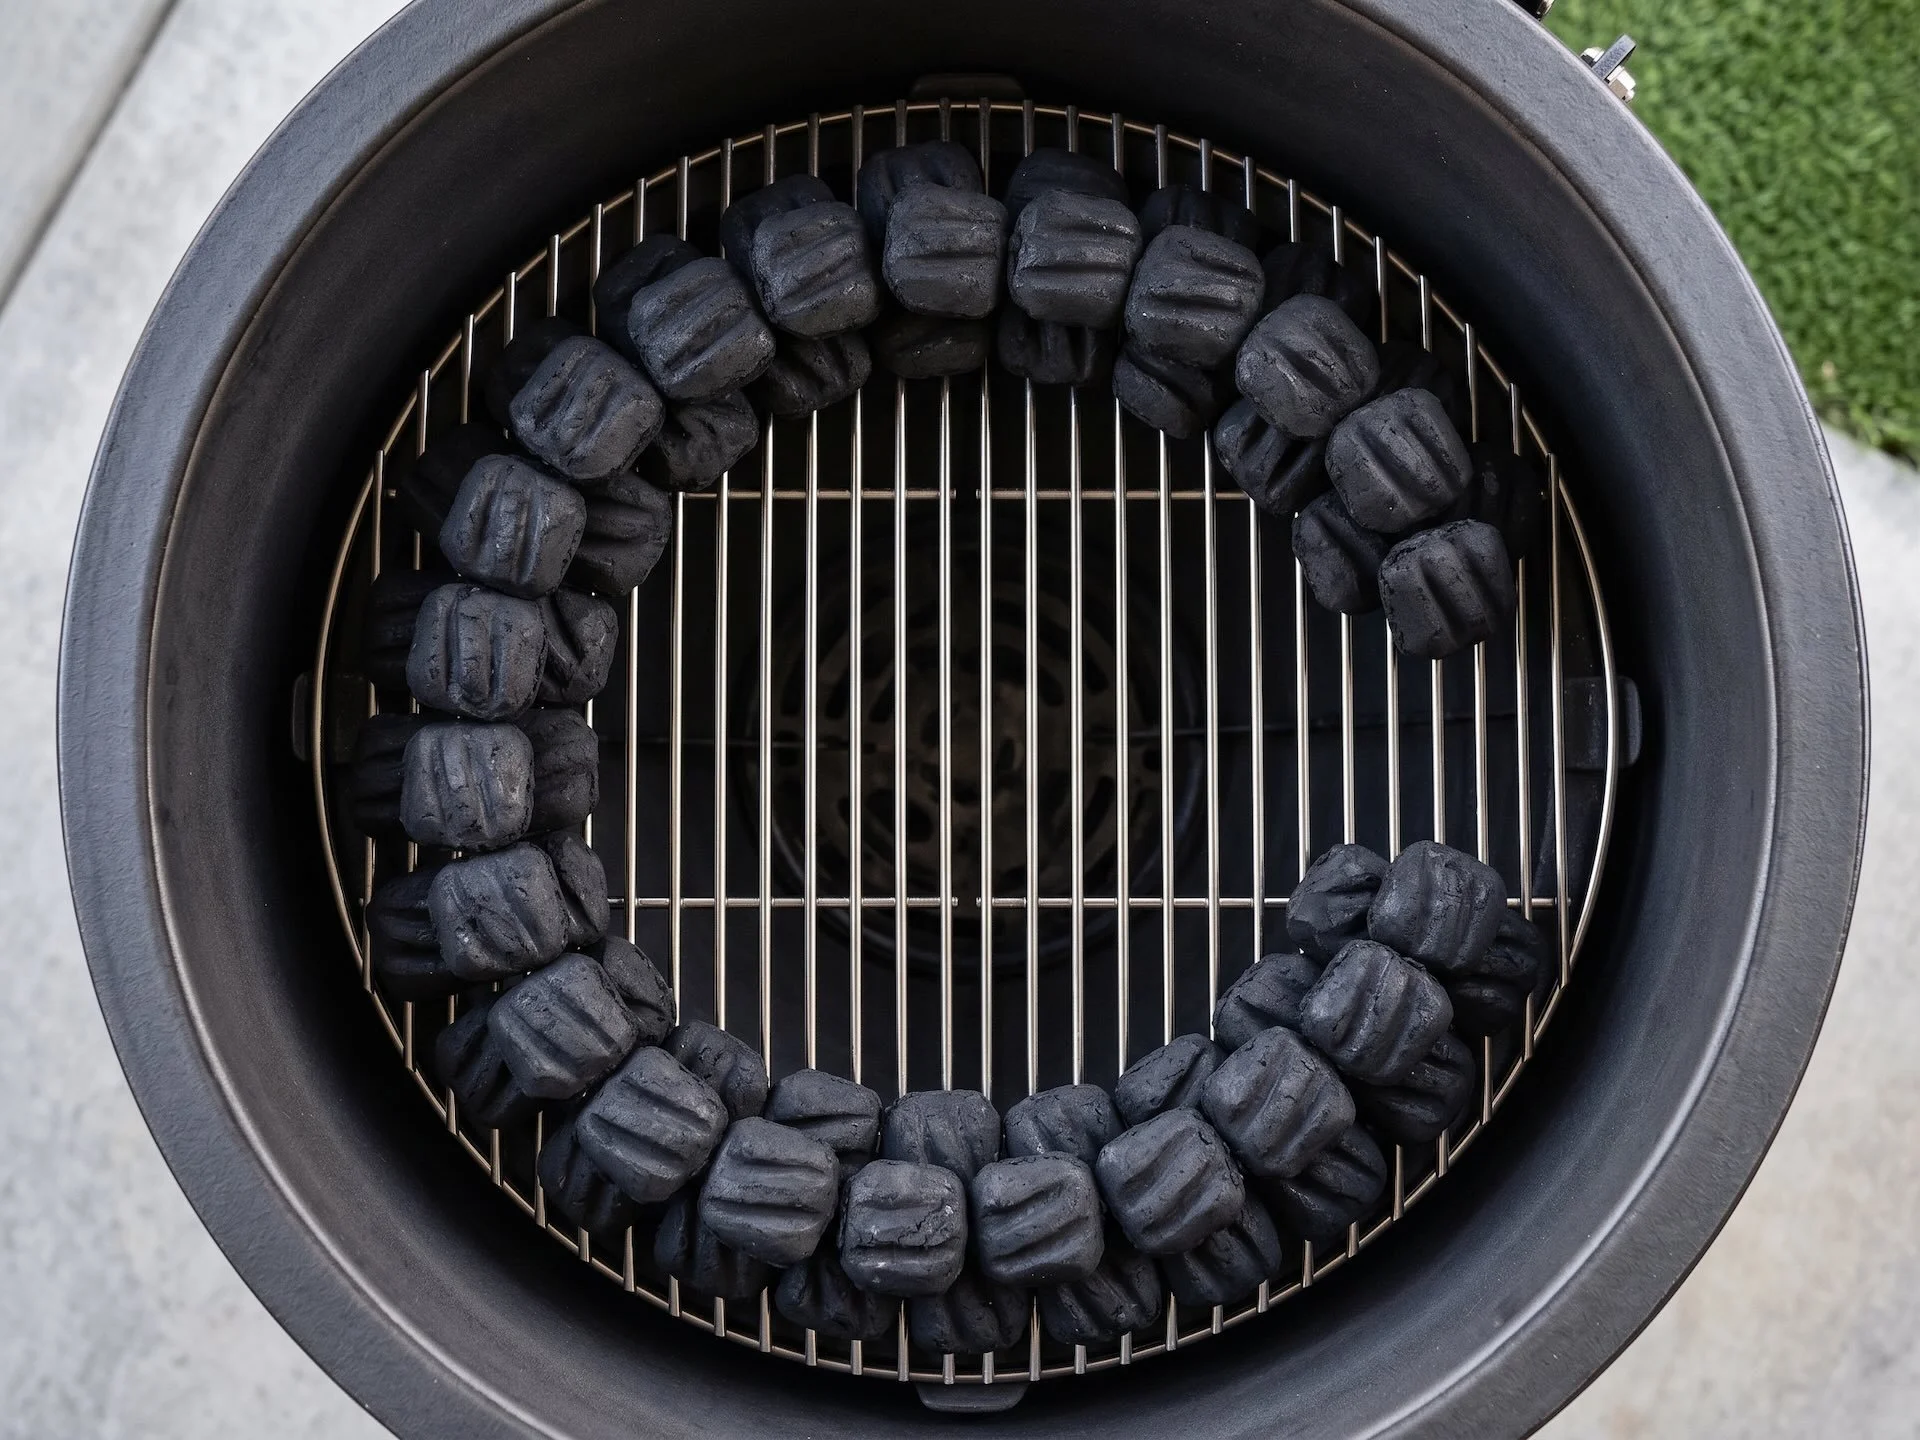
The charcoal snake is a classic way to cook low and slow on a kettle grill. You arrange briquettes in a curved line along the inside edge of the charcoal grate, like a fuse. Then you light only one end. The fire burns slowly along the line over time.
This method works because you are not lighting all the fuel at once. Only a small section burns at any moment, which helps hold a steadier low temperature for a longer time.
To build it, you place briquettes in a chain, often two wide and one or two high depending on the heat you want. You can tuck wood chunks along the snake if you want smoke flavor, but use them carefully so you do not smother airflow.
You light a few briquettes and place them at the start of the snake. The lit coals slowly ignite the next ones. It is like passing a candle flame down a line.
Snake length controls cook time. Longer snake, longer cook. Where you place the food depends on where the heat will be, and you usually cook indirectly with the lid on.
Burn Down Method For Long Burns
Another long cook idea is staged ignition, sometimes called a burn down approach. The basic idea is that a small hot area slowly lights nearby unlit fuel, instead of lighting everything at once.
In many grills, this can look like a pile of unlit charcoal with a small batch of lit coals placed on top or to the side. The lit coals gradually ignite the unlit ones over time.
The key goal for any long cook is steady heat and clean smoke. If you restrict airflow too much, the fire can smolder and make heavy smoke that tastes bitter. A clean burning charcoal fire usually needs enough oxygen to burn well, even when you are cooking low and slow.
Different grills behave differently, so treat this as a general strategy rather than a strict recipe.
Practice Habits That Make You Better
Charcoal grilling rewards small experiments.
Do a practice run on a day you are not cooking for guests. Light a known amount of charcoal, set up two zones, and see what temperatures you get with different vent settings.
Take notes. Write down how many coals you used, what the weather was like, and what the grate temperature was. Charcoal brands can burn differently, and your grill model matters too. Notes help you repeat success.
Also pay attention to how long it takes your grill to respond. When you change vents, the temperature does not change instantly. Give it time before making another big adjustment.
Common Mistakes To Avoid
One big mistake is overlighting. If you light too much charcoal, you can end up with a grill that is too hot to control, especially for chicken and thick foods.
Another mistake is choking airflow. People sometimes close vents too much when the grill gets hot. That can lead to a weak, dirty fire instead of a steady one. Adjust slowly and aim for a clean burn.
Overcrowding the grate is also common. When food is packed tight, it blocks airflow and makes flipping and moving harder. It also makes it tough to manage flare ups.
Ignoring wind can ruin your control. Wind can push extra oxygen into vents and make temperatures spike. If you can, position the grill in a sheltered place, but always keep safety and ventilation in mind.
Food Cues That Help You Choose A Setup
Steaks often do well with a two zone setup. Sear hard over the coals, then finish on the cooler side until the inside reaches your target temperature.
Burgers are usually direct heat, but two zones help with flare ups and different thicknesses. Toast buns on the cooler side so they do not burn.
Chicken pieces are tricky because the outside can burn before the inside is safe to eat. Two zones are a great choice. Start with indirect to cook through, then finish direct to crisp the skin, or do it the other way depending on your recipe.
Whole birds often work best with indirect heat, like the coal bank on one side or a ring of fire around the edges. You want steady heat and time.
Ribs usually need indirect heat and a longer cook. A snake method can help hold steady temperature without constant refueling.
Roasts are similar. Indirect heat with a drip pan helps control drips and keeps the grill cleaner.
Vegetables can be cooked direct for char and quick browning, or indirect for softer results. Zucchini and peppers love direct heat. Potatoes often benefit from indirect time to soften, then a short direct finish for crisp edges.
Safety And Cleanup
Charcoal grills are fun, but they are also real fire.
Use heat safe gloves and long tools. Keep a safe place to set hot lids and tools.
When you are done, you can extinguish coals by closing the vents and putting the lid on. Cutting off oxygen helps the coals go out. Coals can stay hot for a long time, so do not assume they are cool just because you do not see glow.
Dispose of ash only when it is fully cool. Ash can hide hot embers. Use a metal container if you need to store ash before disposal.
You can often reuse partially burned charcoal. If you close the vents and save unburned pieces, you can use them next time. Just knock off excess ash so airflow stays good on your next cook.
Bringing It All Together
Where you put charcoal in a grill is really about what you want the heat to do. If you want fast and fierce, place coals under the food for direct heat. If you want gentle and even, move coals to the side or around the edges and cook indirectly with the lid on. If you want control, build zones so you can move food instead of panicking.
Start simple. Learn two zone cooking first. It gives you a sear zone and a safety zone, and that alone can fix a lot of common grilling problems. Then try three zones, a ring of fire, or a snake when you want longer cooks and steadier heat.
Charcoal grilling is part cooking and part campfire. Put the coals in the right place, feed them the right amount of air, and you will be the one telling the grill what to do, not the other way around.