
How to Season Your Hauler Grill
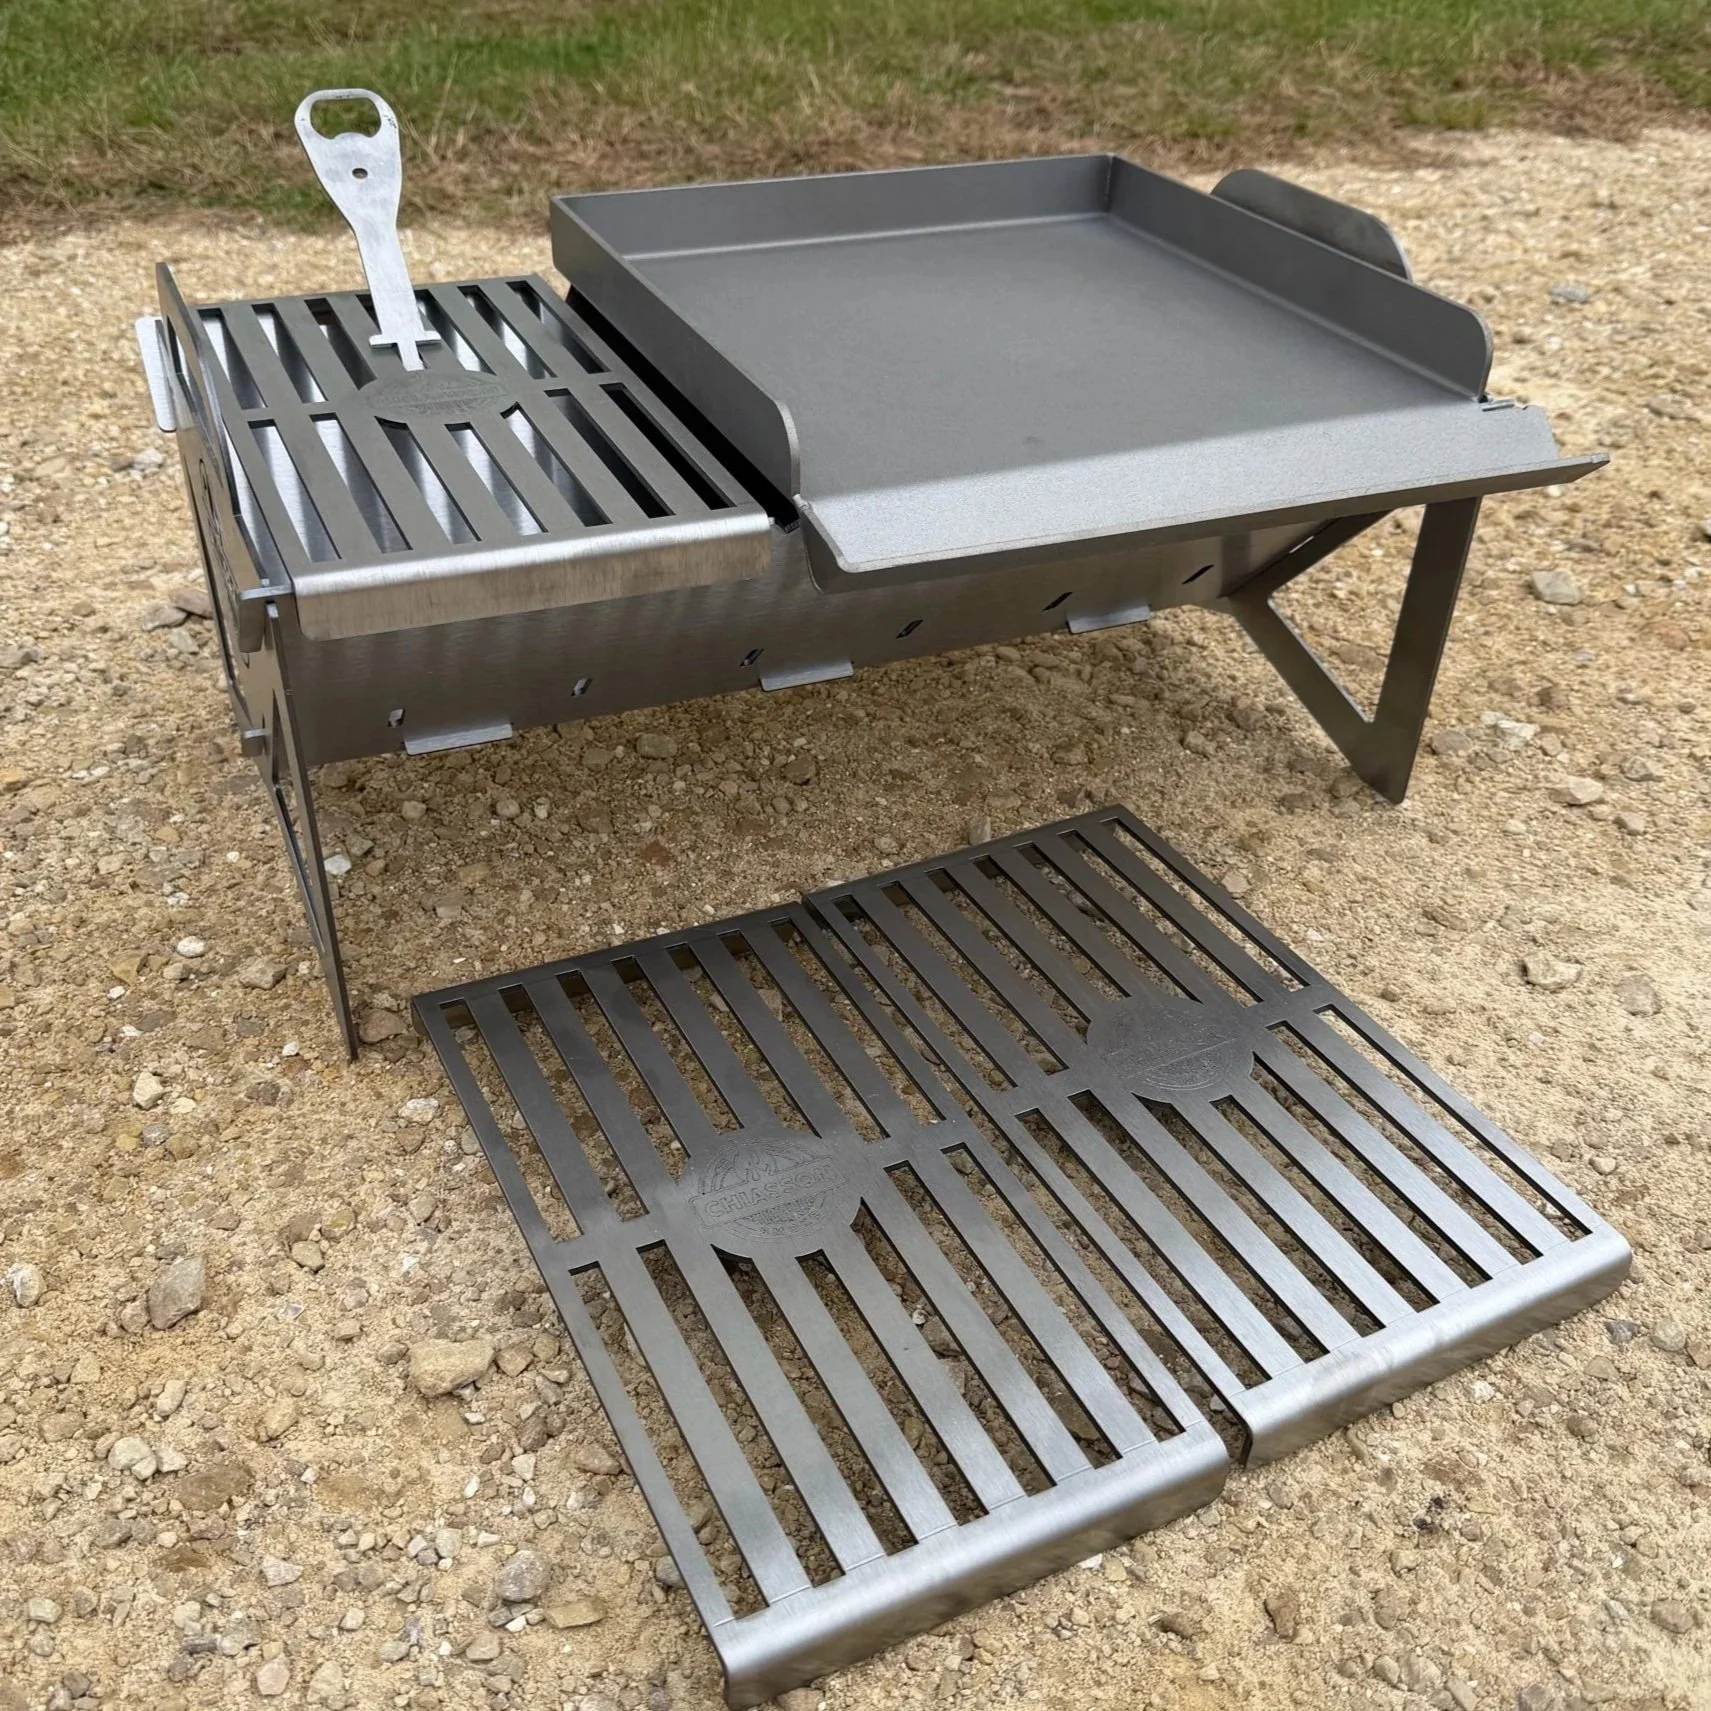
Getting a new Hauler grill feels a little like bringing home a shiny new bike. It looks great, smells new, and you can’t wait to use it.
But before you fire it up for the first time, there’s one important step you shouldn’t skip: seasoning. Seasoning protects your grill from rust, helps it cook more evenly, and gives it that dark, slick finish that makes food release easily. The process is simple, but doing it right makes all the difference.
Give It a Fresh Start
Your grill may look ready to go straight from the box, but it’s been through a lot before reaching your doorstep. Metal is cut, shaped, and handled with machinery that leaves behind oils and tiny bits of residue. Think of this first step as giving your grill a fresh bath before sending it off to work.
Warm water and Dawn dish soap work great for this. You don’t need anything fancy—just enough suds to lift off the oils from manufacturing. Wash every surface you can reach. Don’t rush this part. A clean start means a stronger seasoning later. When you're done, dry everything completely. Moisture is the enemy here, and even a tiny damp spot can keep your seasoning from sticking the way it should.
Add the First Layer of Love
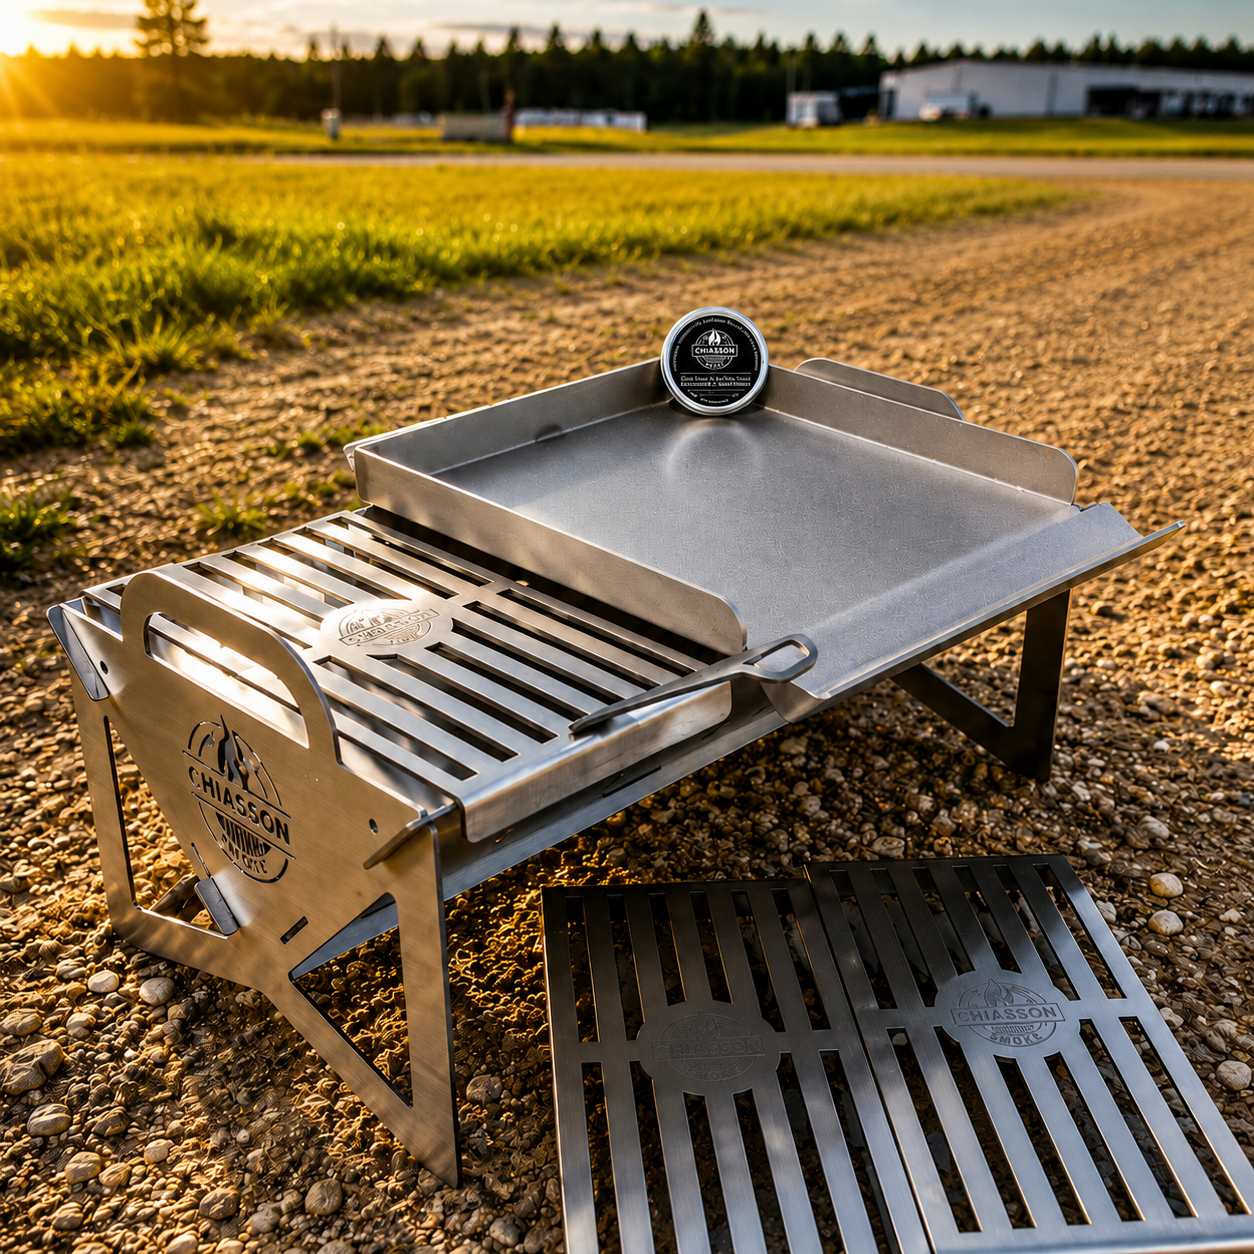
Once the grill is squeaky clean and bone-dry, it’s ready for its first coat of oil. You can use your favorite seasoning oil, but a cast iron conditioning oil works especially well. We have our own conditioner you can use if you’d like.
The trick is to apply a very thin layer. Think “barely shiny,” not “slippery and dripping.” Too much oil will make the surface sticky instead of smooth, and it may even cause uneven patches.
Use a rag or paper towel and wipe the oil across the metal until it has a soft sheen. Make sure every corner gets covered, even the spots you don’t think you’ll use much. The more even the coat, the better the finish.

This is made of 100% pure beeswax from either our personal hives or our local beekeepers hives. We make this in house with a nice mix of Grapeseed Oil and Sunflower oil. Together with the beeswax, this makes the PERFECT seasoner for your cast or carbon steel pans or grill grates. Sold in 2 oz. tins, ships free.
Heat: The Magic Behind Seasoning
Now comes the fun part—turning that thin coat of oil into a tough, protective layer. Heat helps the oil bond to the metal in a process called polymerization. It sounds like a big science word, but really it just means the oil turns into a hard, slick coating that sticks to your grill like armor.
If you're seasoning pieces inside your oven, set it to 450°F. Give the grill parts one full hour of heating time. Expect some smell—that’s normal. It’s the oil reacting with the metal. If you’d rather keep those smells outside, you can season the grill on an outdoor burner if you’re careful.
When the hour is up, let everything cool down naturally. Don’t try to rush it. Hot metal needs time to relax before you handle it again.
Build Up the Perfect Finish
One round of seasoning is good, but two or three rounds make your grill nearly unstoppable. Each layer adds strength, shine, and nonstick power. After each session, repeat the same steps: wipe on a thin coat of oil, heat it at 450°F for an hour, and let it cool.
With every layer, the surface gets smoother and darker. That’s how you know your seasoning is working. Soon, your Hauler will have a tough, glossy finish ready to handle anything from burgers to brisket.
Keep It Going
Seasoning isn’t just a one-and-done job. A little care after each cook keeps your grill at its best. Light touch-ups with oil, quick cleanings, and proper storage go a long way. Think of seasoning as part of the grill’s life, not just its beginning.
A well-seasoned Hauler grill isn’t just better to cook on. It lasts longer, performs better, and becomes a trusted tool that gets better every time you use it. With just a bit of effort, you’ll have a grill that’s ready for years of good food and great memories.