
How to Season a Cast Iron Skillet
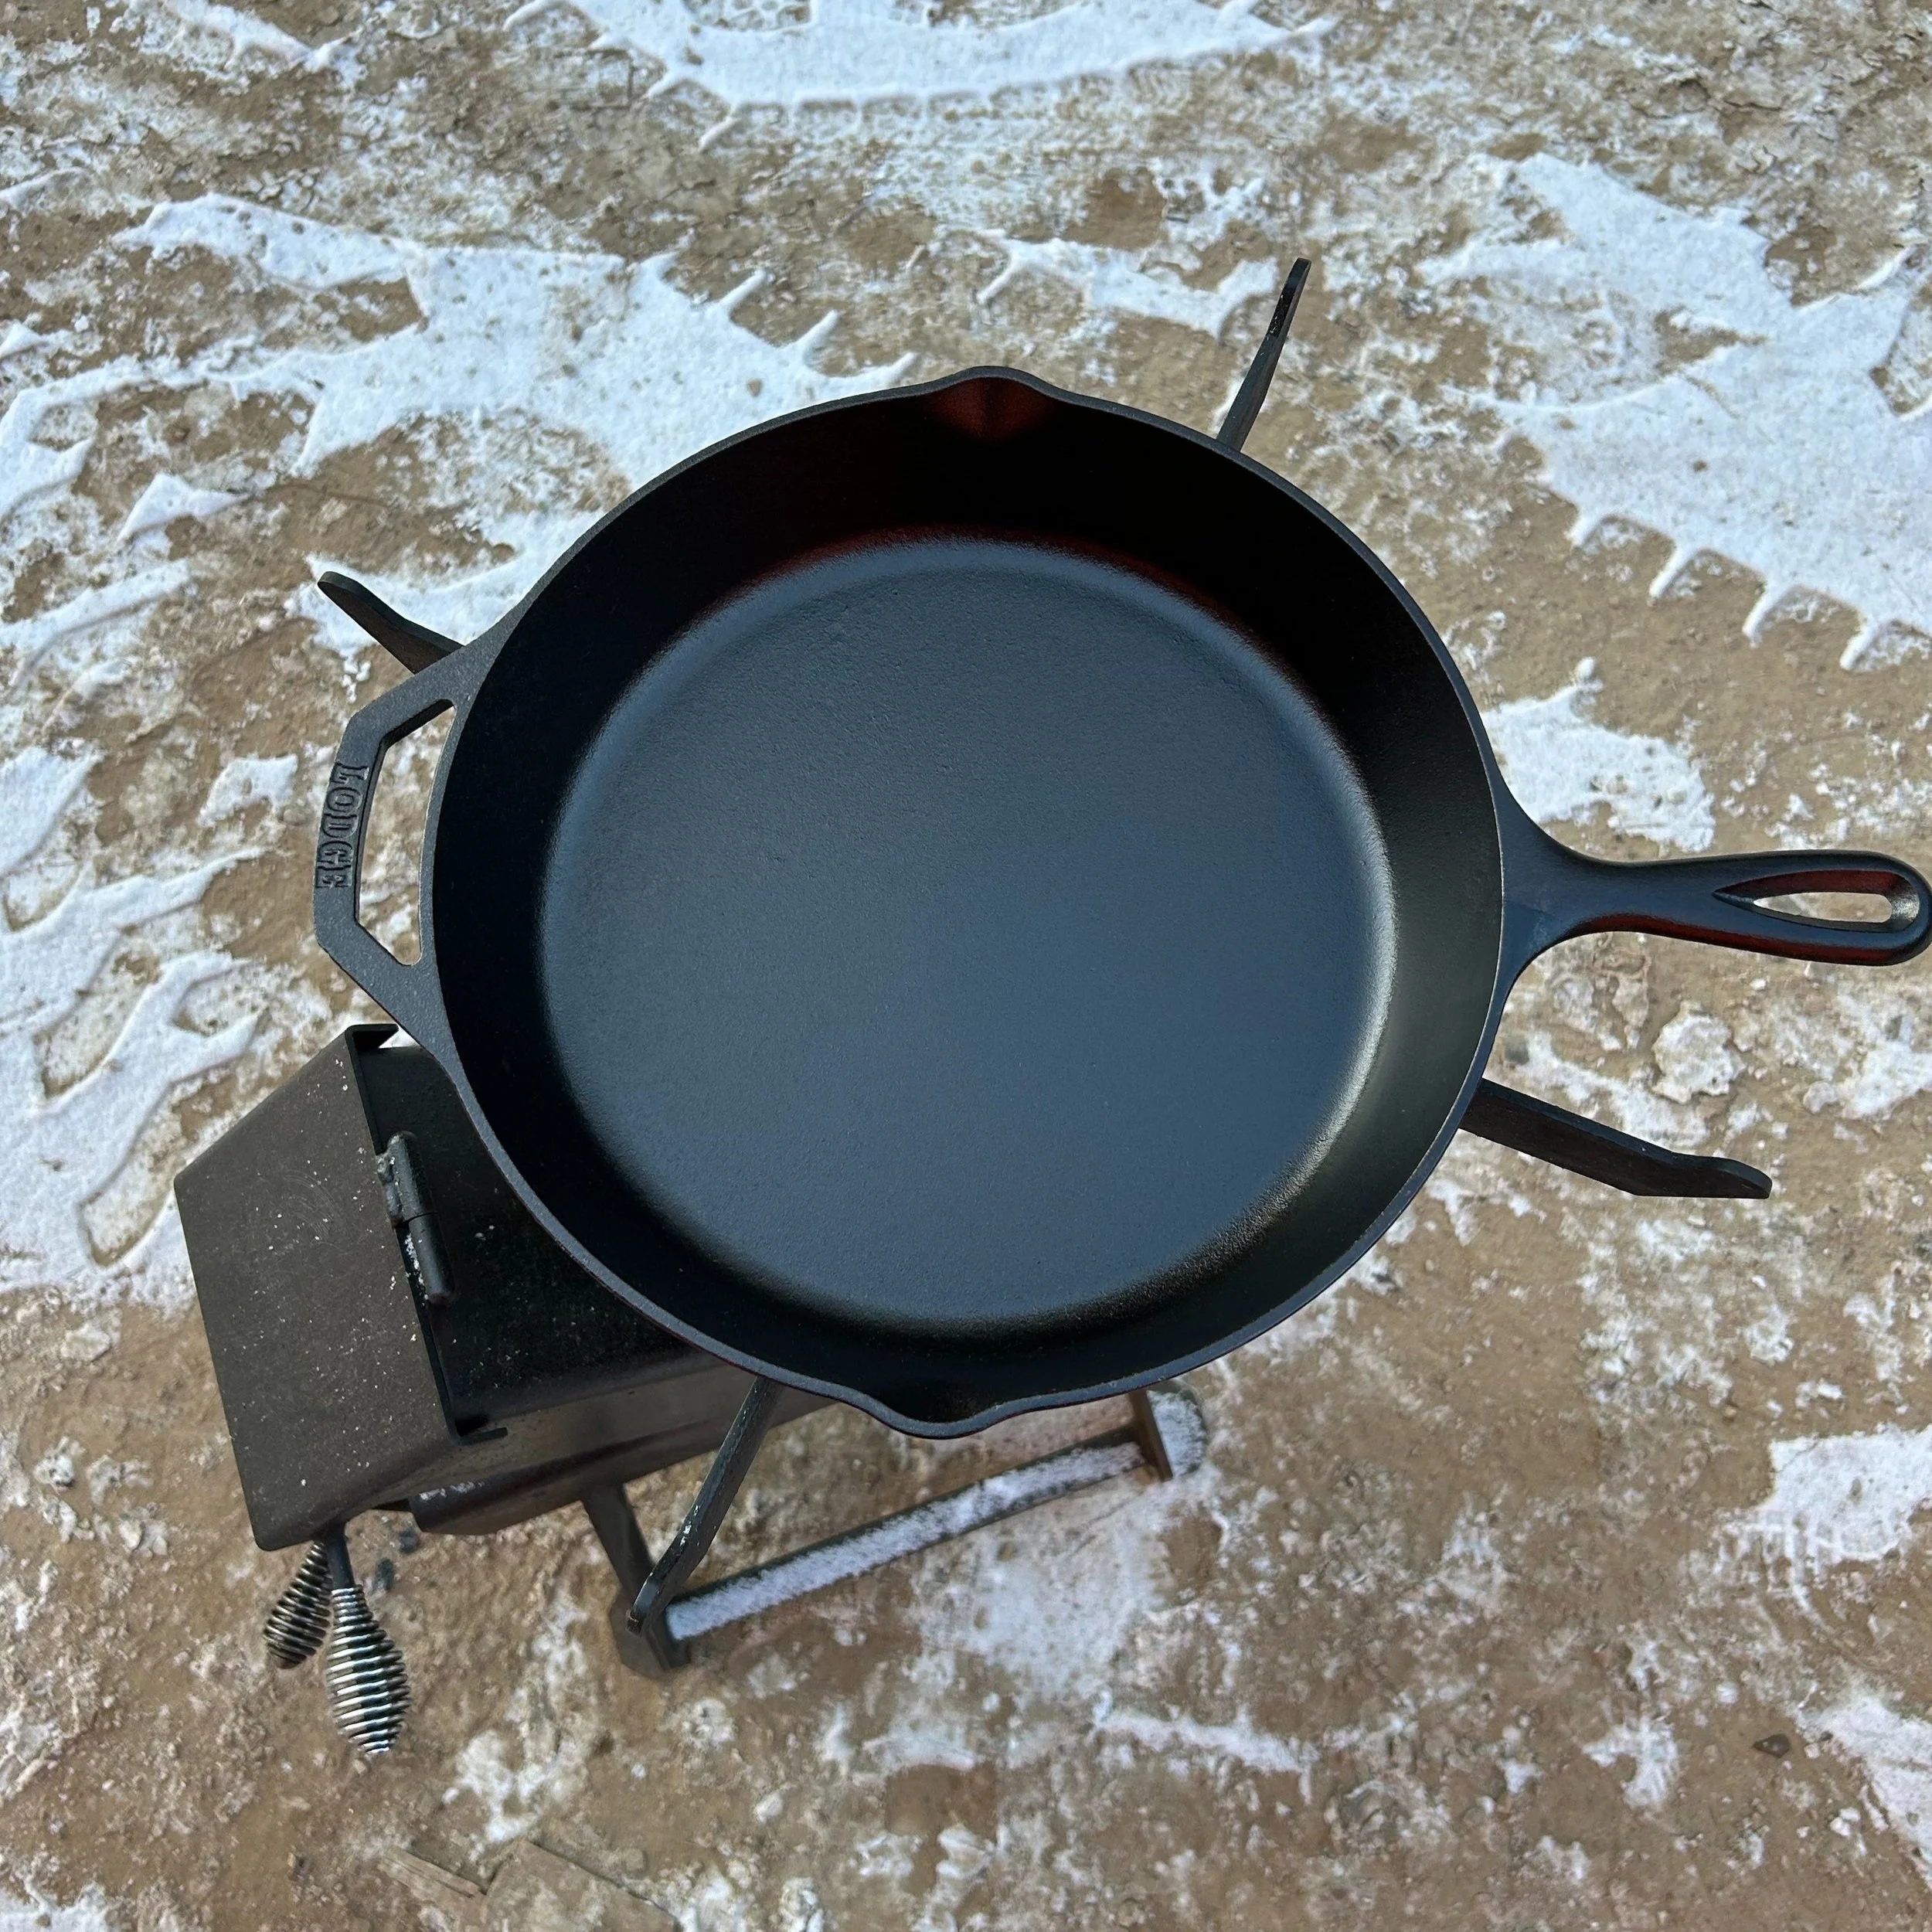
There’s a reason your grandma swore by her cast iron skillet—and probably still does. Cast iron is one of those rare kitchen tools that gets better with age, if you treat it right. It’s basically the superhero of cookware: tough, versatile, and (when seasoned properly) nearly indestructible. But if you skip the seasoning step, that same skillet can turn into a sticky, rusty mess that ruins dinner faster than you can say, “Why is my pancake glued to the pan?”
So, let’s talk about how to season your cast iron skillet the right way—without making it sound like rocket science. It’s easier than people think, and once you learn how, you’ll wonder why anyone ever cooks on anything else.
What Does “Seasoning” Even Mean?
No, seasoning your skillet (or grill, for that matter) doesn’t mean sprinkling it with salt and pepper. In cast iron land, “seasoning” means creating a protective, nonstick coating made from baked-on oil. This layer keeps food from sticking, stops rust from forming, and gives your skillet that smooth, black finish everyone brags about.
Here’s how it works in simple terms: when you rub oil onto the skillet and heat it up really hot, the oil goes through something called polymerization. That’s just a fancy way of saying it transforms from liquid oil into a thin, hard film that bonds to the metal. The more times you do this, the stronger your seasoning becomes. Think of it like building up layers of armor for your skillet.
Why It Matters (and Why You Should Care)
A properly seasoned cast iron skillet is basically a kitchen cheat code. You can fry eggs without them sticking. You can sear steak so perfectly you’ll feel like a pro chef. You can even bake cornbread that slides out like it’s greased with butter (because it kinda is).
But the real reason to season your skillet isn’t just about performance—it’s about protection. Cast iron rusts if you so much as look at it the wrong way when it’s wet. Seasoning creates a shield between the metal and moisture. It’s the reason some skillets last a hundred years. Treat it right, and your great-grandkids could be flipping pancakes on it one day. The same goes for your grill too, of course.
What You’ll Need
Before you get started, gather your supplies. You don’t need anything fancy—just a few simple things you probably already have in your kitchen:
A clean, dry cast iron skillet (new or used)
A small amount of oil (or seasoner– more on that in a second)
Paper towels or a clean cloth
An oven that can hit at least 400°F (205°C)
That’s it. Seriously. If anyone tells you that you need a dozen special tools or expensive cast iron products, they’re overcomplicating it.
Step 1: Clean It Like You Mean It
If your skillet is brand new, it might already have a thin factory coating on it—but don’t skip cleaning. If it’s old or rusty, definitely don’t skip cleaning. You want a clean surface so the oil can bond directly to the metal.
Here’s what to do:
Wash it with warm water and a drop of mild dish soap. (Yes, it’s okay to use soap this one time.)
Scrub off any rust or gunk using a sponge or stiff brush. If it’s really bad, you can use a little coarse salt as a gentle scrub.
Rinse and dry it completely. Like, totally bone-dry. Any leftover moisture can mess up the seasoning or cause rust spots later.
Pro tip: After drying with a towel, place the skillet on your stovetop over low heat for a few minutes to make sure every last bit of water evaporates.
Step 2: Choose the Right Oil

This is made of 100% pure beeswax from either our personal hives or our local beekeepers hives. We make this in house with a nice mix of Grapeseed Oil and Sunflower oil. Together with the beeswax, this makes the PERFECT seasoner for your cast or carbon steel pans or grill grates. Sold in 2 oz. tins, ships free.
Choosing the right oil for seasoning your cast iron is more important than most people realize. You need an oil that can handle high heat and will harden into a durable layer.
The best options are:
Grapeseed oil
Sunflower oil
Flaxseed oil (a favorite for a hard, glassy finish)
Avoid butter, olive oil, or anything that burns easily. You’re not making a salad dressing—you’re building a shield.
Our custom-made seasoner is made with 100% pure beeswax from either our personal hives or our local beekeepers hives. We make this in house with a nice mix of Grapeseed Oil and Sunflower oil.
Step 3: Oil It Up (But Don’t Overdo It)
Here’s where a lot of beginners go wrong: they use way too much oil. You only need a tiny amount—just enough to make the skillet look slightly shiny, not greasy.
Pour about a teaspoon of oil into the skillet, then use a paper towel to rub it all over—inside, outside, and even on the handle. Once everything is coated, use a clean paper towel to wipe off almost all of it. It should look like there’s barely anything left.
Remember, thin layers build better seasoning. Thick layers turn sticky and uneven, and you’ll end up with a tacky mess instead of a smooth finish.


Step 4: Bake It
Now comes the fun part: baking your skillet. Preheat your oven to 400°F (205°C). Place your skillet upside down on the middle rack, and put a piece of foil or a baking sheet on the rack below to catch any oil drips.
Bake it for one hour. Yes, a full hour. This is when the magic happens—the oil bonds to the metal and forms that protective layer.
After the hour’s up, turn off the oven and let the skillet cool inside with the door closed. Don’t rush it. Letting it cool slowly helps the seasoning set better.
Step 5: Repeat for Strength
One layer of seasoning is good. Three or four layers are great. The more you repeat the oiling-and-baking process, the tougher your skillet will be. If you just bought a new one, doing three rounds of seasoning before cooking on it is a good idea.
Once it’s seasoned, regular cooking with oil or fat will keep building that nonstick surface naturally. Every time you fry bacon or roast veggies, you’re basically adding a mini layer of seasoning.
How to Keep It Seasoned
Congratulations—you’ve seasoned your skillet! Now the goal is to keep it that way. Luckily, maintenance is simple.
Avoid soaking your skillet in water. Cast iron hates water like cats hate baths.
Skip the dishwasher. Always.
After washing, dry it immediately and rub on a thin coat of oil before putting it away.
Use it often. The more you cook with it, the better it gets.
If you notice dull spots or a little rust forming, don’t panic. Just scrub that area clean and repeat the oil-and-bake process. Cast iron is forgiving—it just wants a little attention now and then. If you follow the process, you won’t have to worry about replacing your skillet any time soon.
The Science Behind the Shine
Here’s a fun fact: the glossy black surface of a seasoned skillet isn’t paint or coating—it’s actually carbonized oil. That’s why each skillet’s patina (that smooth, shiny finish) looks slightly different. It’s made by heat, time, and the food you cook.
Over months and years, your skillet becomes a reflection of your cooking habits. Maybe you make bacon every Saturday morning, or you love cornbread, or you sear steaks twice a week. All those fats contribute to a unique, personalized seasoning. No two skillets ever end up the same.
Common Mistakes (and How to Fix Them)
Even though seasoning is simple, there are a few pitfalls that can trip you up:
Mistake #1: Using too much oil.
Thick oil layers don’t harden right—they turn sticky. If your skillet feels tacky after seasoning, just bake it again at 400°F for another hour with no extra oil.
Mistake #2: Skipping the drying step.
Moisture is your skillet’s worst enemy. Always dry it completely after washing, or you’ll see rust spots faster than you think.
Mistake #3: Using low-heat oils.
Oils like olive or coconut can smoke or burn before they bond properly. Stick with oils that have a high smoke point.
Mistake #4: Giving up too soon.
If your first few meals still stick a little, that’s normal. Keep cooking and letting the seasoning build. You’re not doing it wrong—it just takes time.
Cooking on a Seasoned Skillet

Once your skillet is seasoned, it’s time for the fun part: cooking. A well-seasoned cast iron pan can handle almost anything—steaks, fried chicken, cornbread, pizzas, veggies, even desserts like brownies or cobblers.
When you preheat it, give it time. Cast iron heats slowly but evenly. Once it’s hot, it stays hot, which is why it’s so great for searing and frying. Add a little oil before each use, and you’ll notice your food slides around beautifully.
Avoid super-acidic foods (like tomato sauce or vinegar-heavy dishes) until your skillet’s seasoning is thick and stable—acid can wear it down early on.
The Long Game: Building Character (and Flavor)
Here’s the thing: seasoning isn’t a one-and-done chore. It’s an ongoing relationship between you and your skillet. Every time you cook, you’re adding to its character. The surface darkens, smooths out, and becomes naturally nonstick in a way no modern coating can match.
That’s part of what makes cast iron special—it tells a story. It remembers every pancake, every steak, every late-night grilled cheese. The more you use it, the more it becomes yours.
So, keep cooking. Keep caring for it. A well-loved skillet isn’t just cookware—it’s a little piece of family tradition that only gets better with time.

Final Thoughts
Seasoning a cast iron skillet might sound old-fashioned, but it’s really just smart kitchen science. With a little oil, heat, and patience, you can turn a dull piece of metal into your most reliable cooking companion.
Treat it right, and it’ll reward you with a lifetime of perfectly crisp crusts, golden pancakes, and sizzling steaks. Treat it wrong, and—well—you’ll learn fast.
Either way, it’s worth the effort. Because when you finally master your cast iron skillet, you’re not just cooking—you’re carrying on one of the oldest (and best) traditions in the kitchen.