
The 3-2-1 Rib Method
Deep smoke. Serious tenderness. Zero stress.
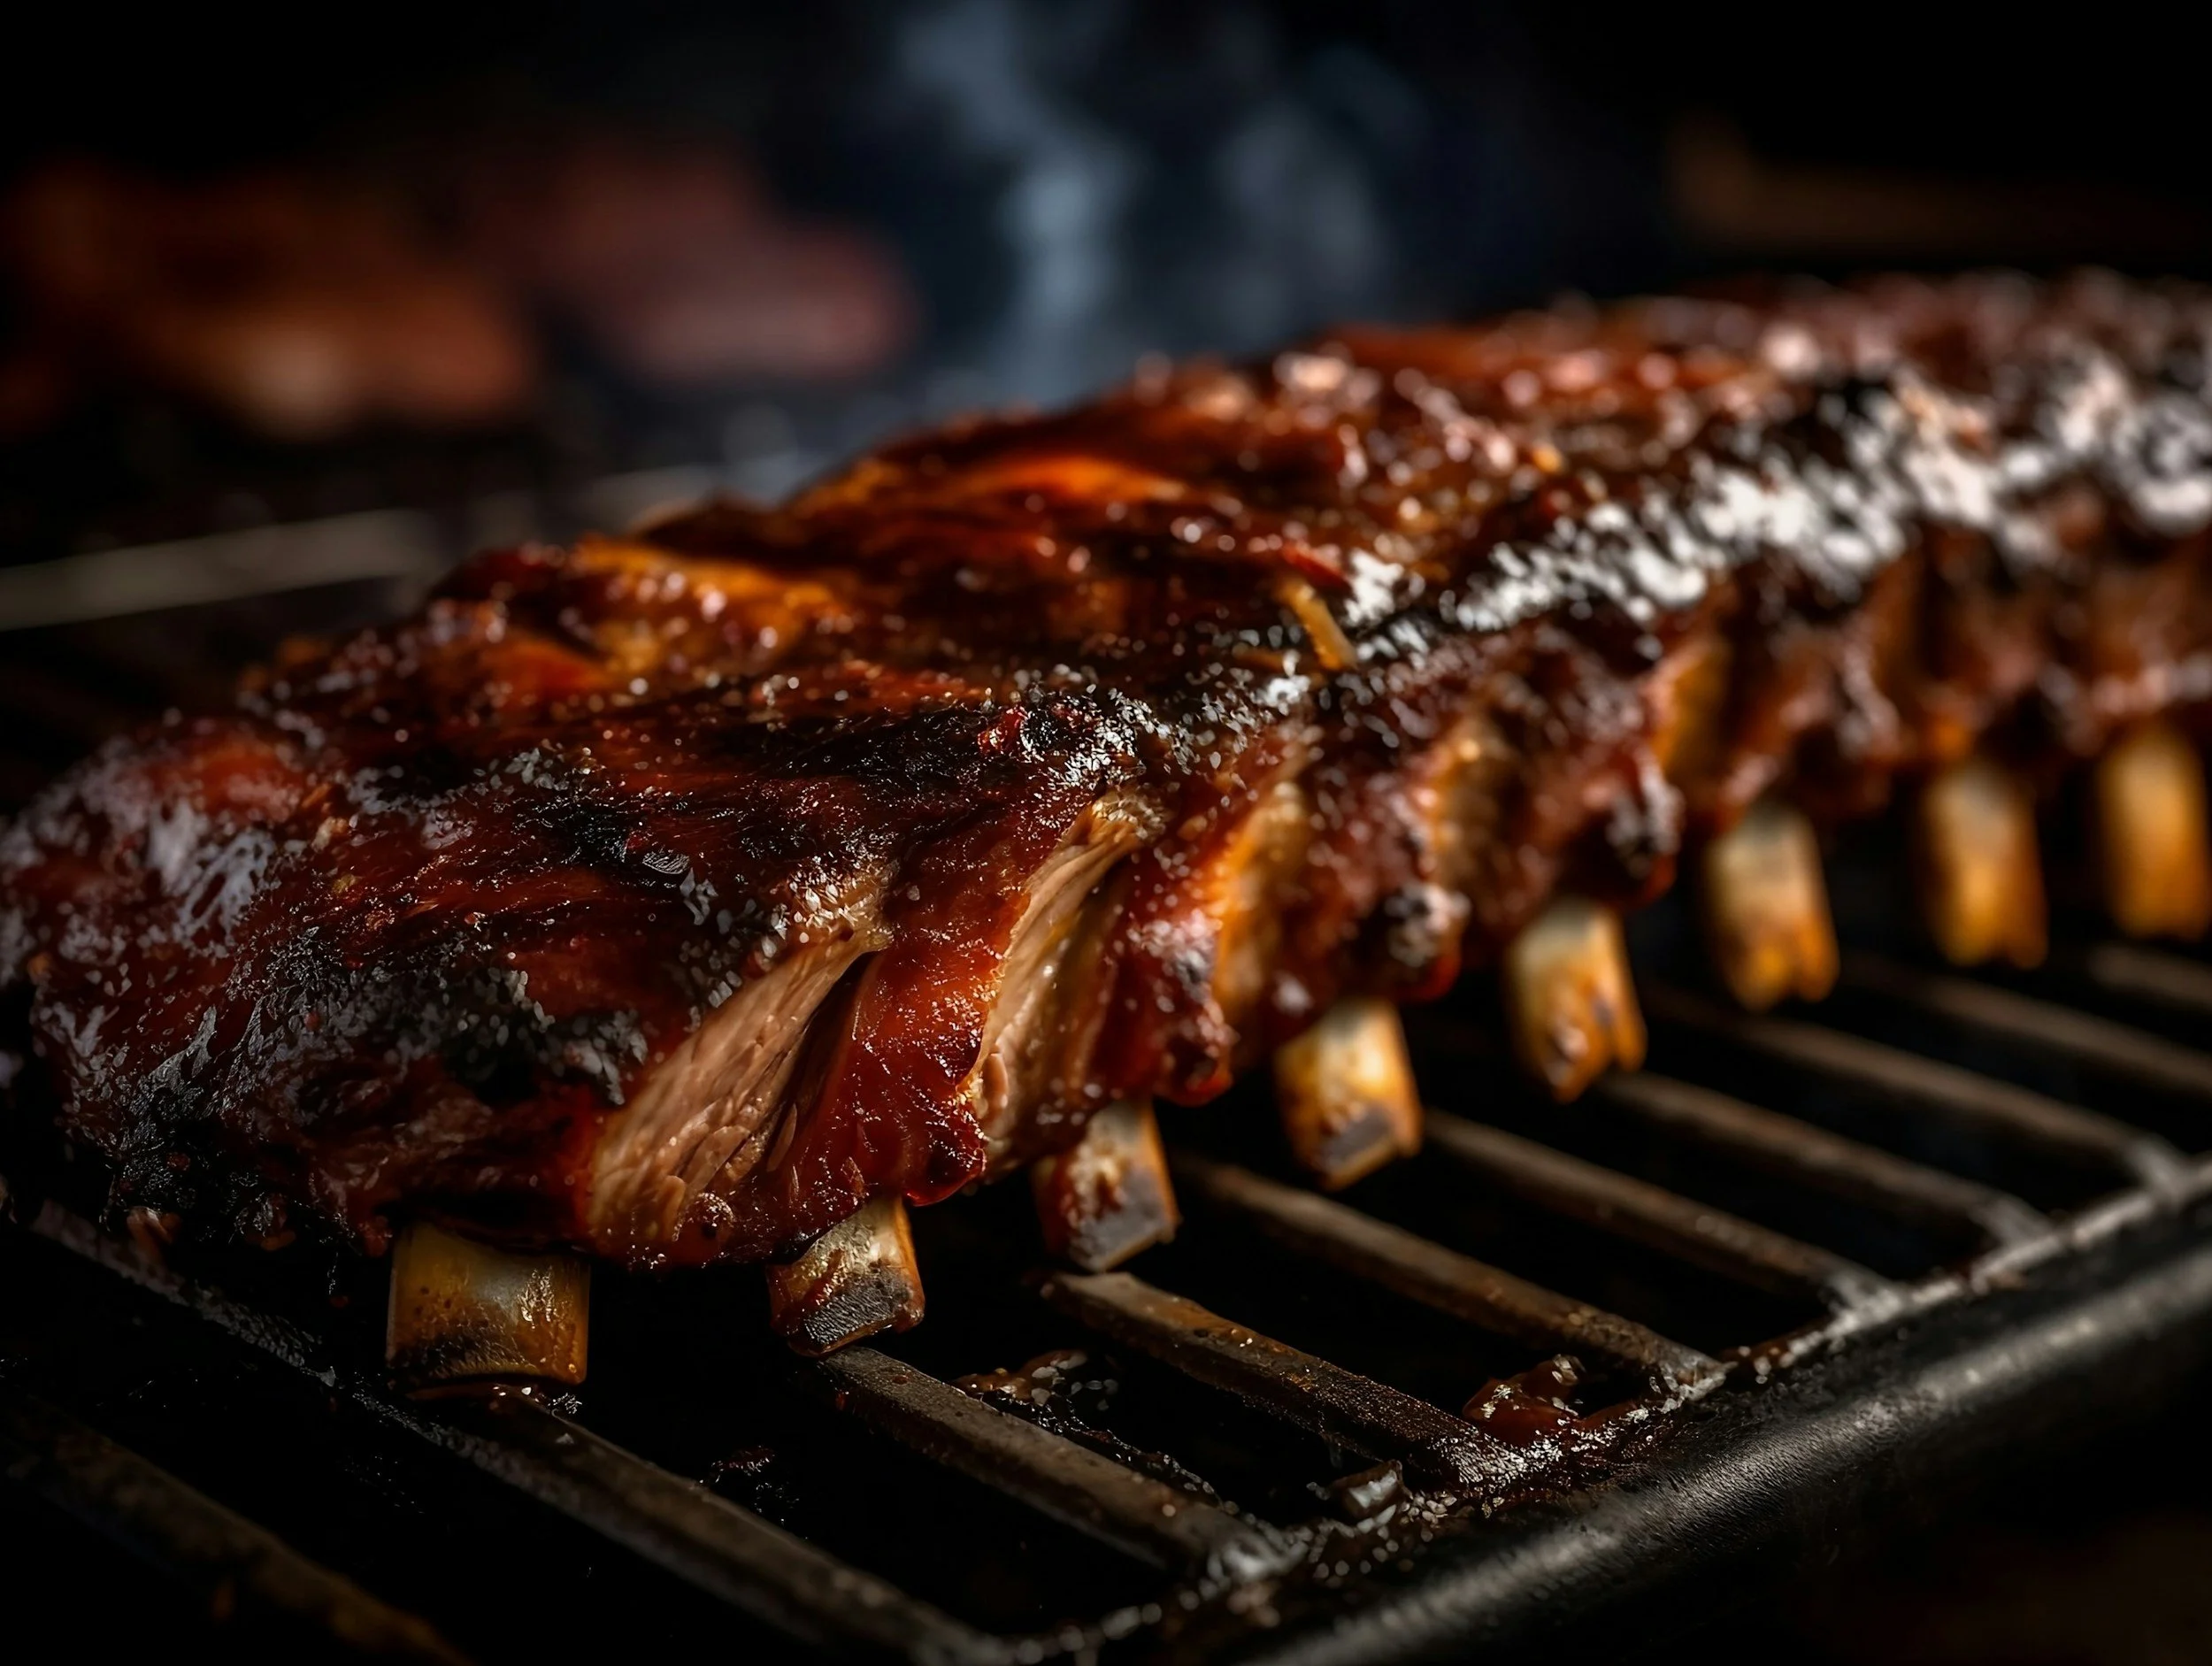
Few things say “proper barbecue” like a rack of ribs that bend effortlessly, glisten with sauce, and pull clean from the bone. The 3-2-1 rib method is a time-tested approach that delivers exactly that: consistently. It’s not flashy or complicated, but it works every single time, which is why pitmasters keep coming back to it.
This method shines with spare ribs, but it’s also a great confidence builder for anyone learning to smoke meat. If you want ribs that are juicy, flavorful, and unmistakably barbecue, this is the path.
What the 3-2-1 Method Is (and Why It Works)
The name comes straight from the cook timeline:
3 hours uncovered in the smoke
2 hours wrapped to tenderize
1 hour unwrapped to finish and sauce
Each stage has a purpose. The first builds smoke flavor, the second breaks down connective tissue and locks in moisture, and the final hour tightens everything up so the ribs aren’t mushy, just perfectly tender.
Think of it less as a recipe and more as a controlled transformation.
Choosing and Prepping Your Ribs
Start with quality spare ribs. Look for racks with good meat coverage and even thickness from end to end.
Before they hit the grill:
Pat them completely dry
Remove the membrane from the bone side (this is non-negotiable)
Trim loose or thin sections that could overcook
At this point, you’re setting yourself up for even cooking and better texture later.
Step 1: Smoke the Ribs (3 Hours)
Lightly coat the ribs with mustard or oil to help your seasoning stick. Then apply your rib rub generously, don’t be shy. This layer is responsible for much of the final flavor.
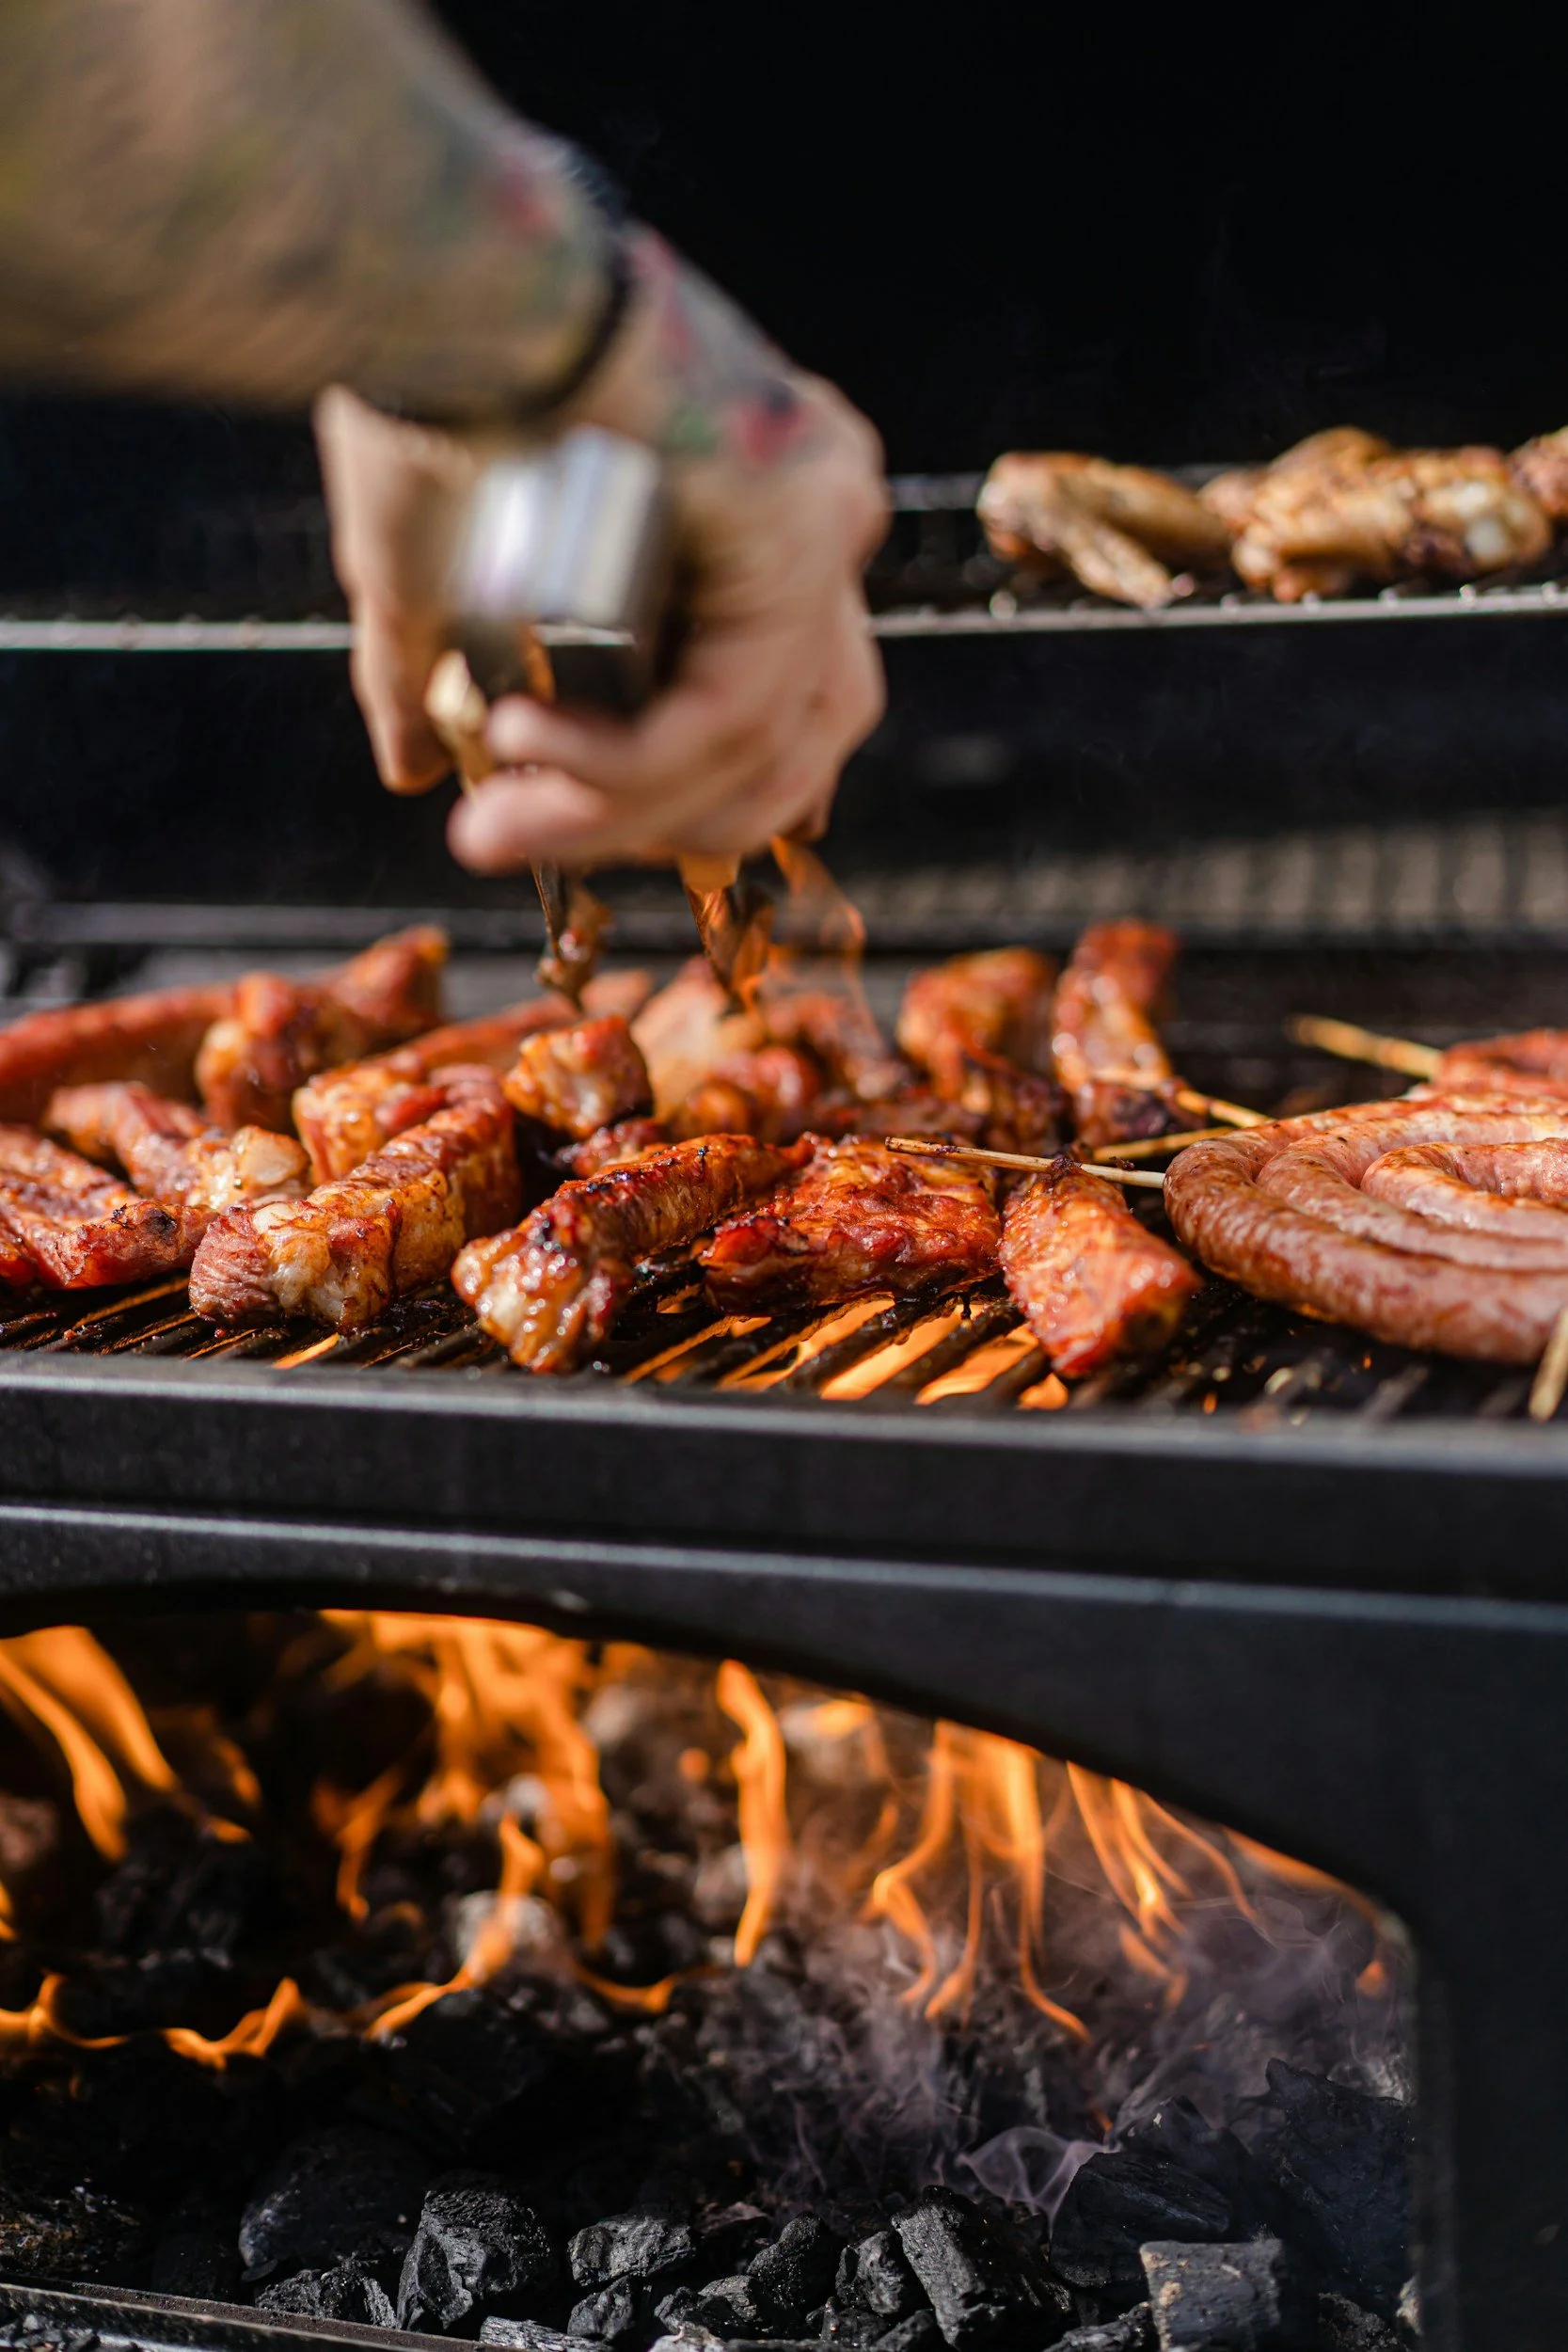
Place the ribs bone-side down on the grill and smoke at 225°F.
During this phase:
The smoke penetrates the meat
Fat begins to render
A dark, flavorful bark starts to form
Resist the urge to flip or fuss with them. Let the smoke do the work.
Step 2: Wrap for Tenderness (2 Hours)
After three hours, the ribs will look mahogany and smell incredible, but they’re not tender yet.
Wrap them tightly in heavy-duty foil. This creates a sealed environment that gently steams the meat.
Optional (but highly recommended) additions inside the foil:
Butter for richness
Brown sugar for sweetness
Honey for depth
About ¼ cup apple juice for moisture
Place the wrapped ribs back on the grill meat-side down and cook for two hours. This is the stage where the ribs soften dramatically and approach that classic fall-off-the-bone texture.
Step 3: Unwrap, Sauce, and Finish (1 Hour)
Carefully unwrap the ribs… They’ll be fragile at this point. Place them back on the grill bone-side down.
Now you choose your finish:
Sauced: Brush on barbecue sauce and reapply as needed
Dry: Leave them naked and spritz occasionally with a 50/50 mix of apple juice and apple cider vinegar
Start checking tenderness after about 20 minutes. You’re looking for an internal temperature around 185–190°F, and the meat should offer almost no resistance when pierced with a toothpick.
For a sticky, caramelized glaze, slightly increase the grill temperature near the end—but keep a close eye to avoid burning the sauce.
How to Know They’re Done
Perfect ribs don’t just rely on time. Look for these signs:
The rack bends easily when lifted
Meat has pulled back from the bones
A toothpick slides in like warm butter
When all three line up, you’re there.
The Final Payoff
The 3-2-1 method delivers ribs that are smoky, juicy, and deeply satisfying, every time. It’s forgiving, repeatable, and ideal for backyard cooks who want reliable results without constant micromanaging.
Master this method once, and it becomes the foundation for experimenting with rubs, sauces, and flavors for years to come.